No Bake Nutella Cheesecake
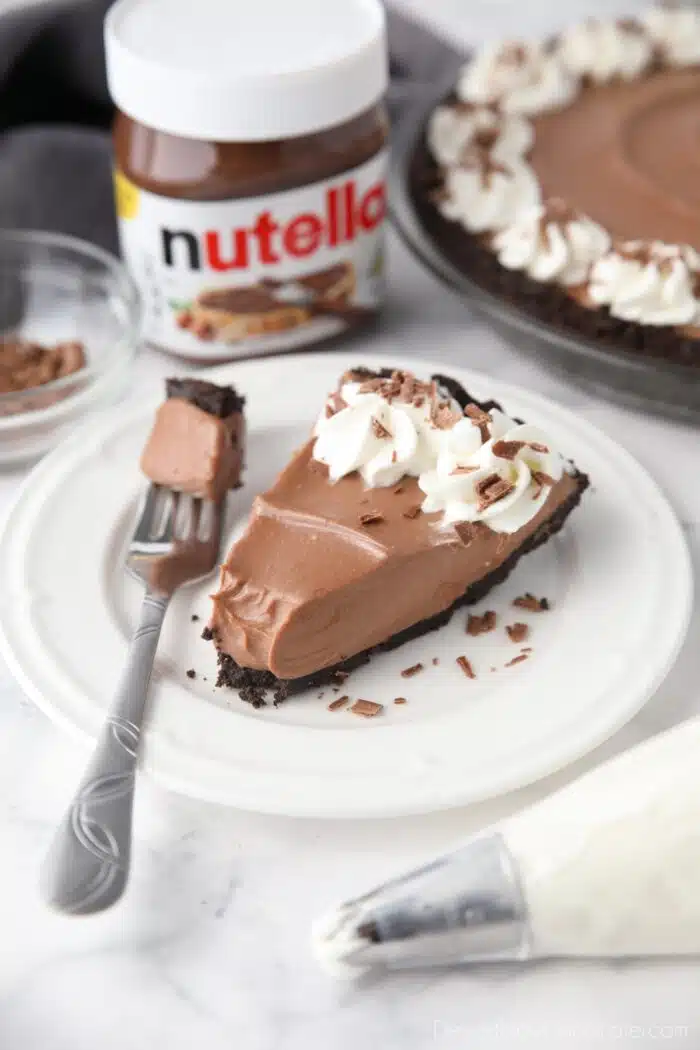
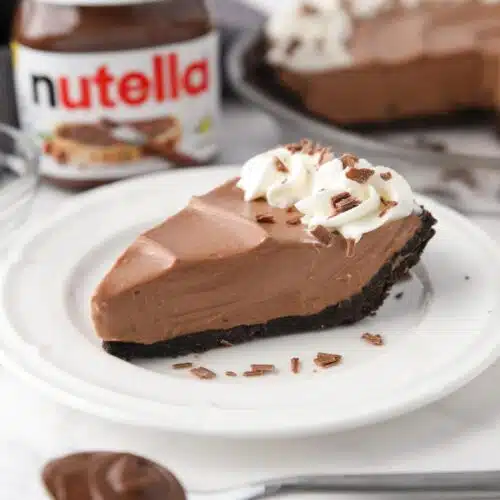
Easy No Bake Nutella Cheesecake is silky smooth, rich and creamy with an Oreo cookie crust. Cream cheese and real whipped cream are combined with Nutella to create the delicious no bake cheesecake filling.
Want more no bake desserts? Try my vanilla No Bake Cheesecake, Chocolate No Bake Cheesecake, or combine the two in my Layered No Bake Cheesecake. You can skip the cheesecake altogether and make no bake cookies, peanut butter bars, rice krispie treats, an icebox cake, or avalanche cookies.
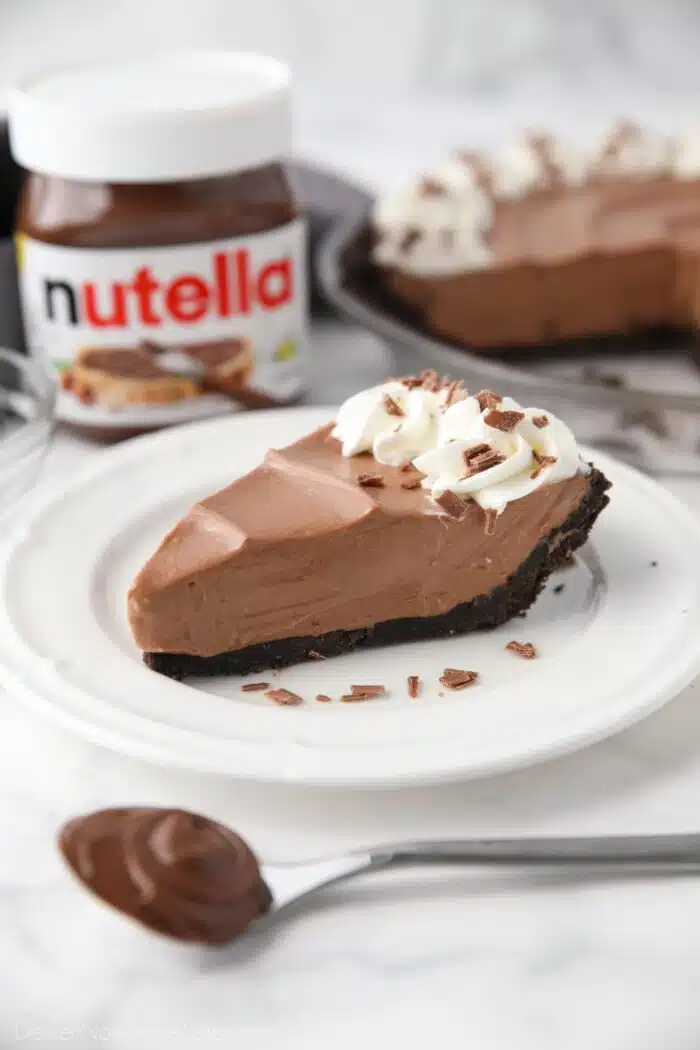
Why You’ll Love this No Bake Nutella Cheesecake Recipe
Summer is coming and I am almost done turning my oven on. Enter: No-bake desserts! A great option for those hot summer months without the hassle and heat of oven baking. This no bake Nutella cheesecake is:
Save This recipe
Enter your email below to get a link to this recipe emailed straight to you to save later! Plus be signed up for all new recipes.
- Completely No Bake: From the crust to the filling. Everything is set in the fridge or freezer. No oven required.
- No Cool Whip: Unlike other recipes, this Nutella cheesecake uses REAL whipped cream instead of frozen whipped topping for the filling.
- Oreo Crust: I’ll show you how to make a super easy 2-ingredient Oreo crust. However, you could use a store-bought Oreo crust to save time and dishes if you’d like.
The flavor of this no bake Nutella cheesecake actually reminds me of The Edward’s Hershey’s Créme Pie which is one of my favorite cheater desserts for my lazy sweet tooth days. This dessert is great from the fridge or the freezer. Plus, it’s very few ingredients and could not be any easier!
Helpful Tools
NOTE: These are Amazon affiliate links, where I earn a small percentage from qualifying purchases at no extra cost to you. I’m linking to the tools I personally use and love.
- Food Processor – To quickly and effortlessly crush the Oreo cookies for the crust.
- An Electric Stand Mixer or Hand Mixer – To beat the cream cheese and whip the heavy cream.
- 9-inch pie dish – To make the dessert in.
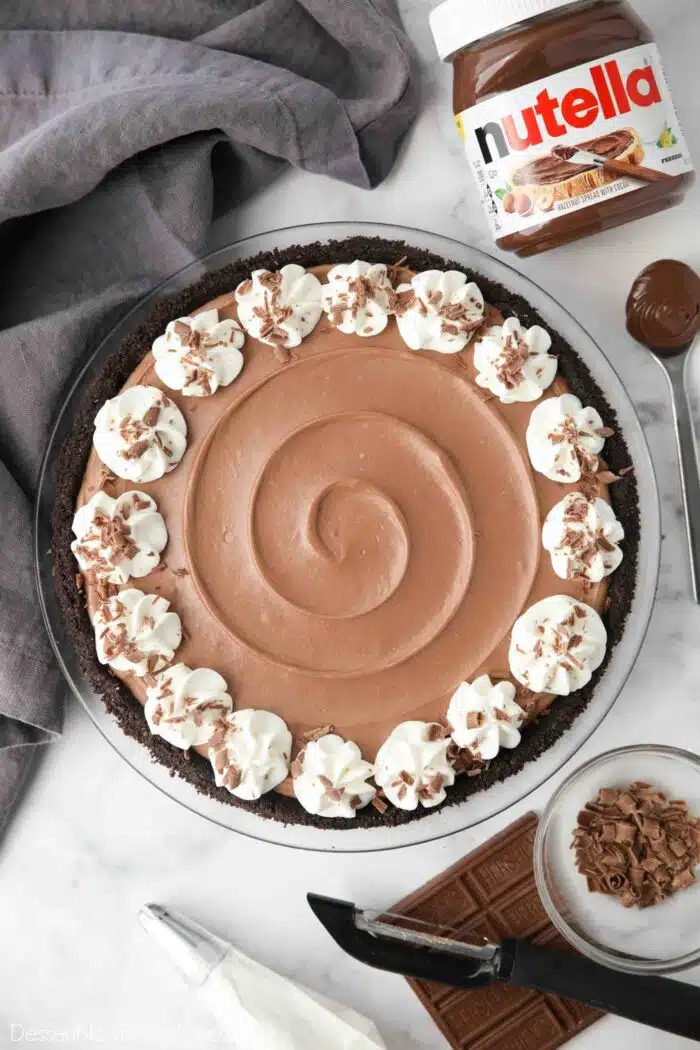
- Offset Spatula – To spread the filling evenly inside the crust. This is what I used for the swirled pattern on top.
- Vegetable Peeler – To easily make chocolate shavings to decorate the top.
Ingredients You’ll Need
*NOTE: Full ingredient amounts and instructions are in the printable recipe card at the bottom of the post.
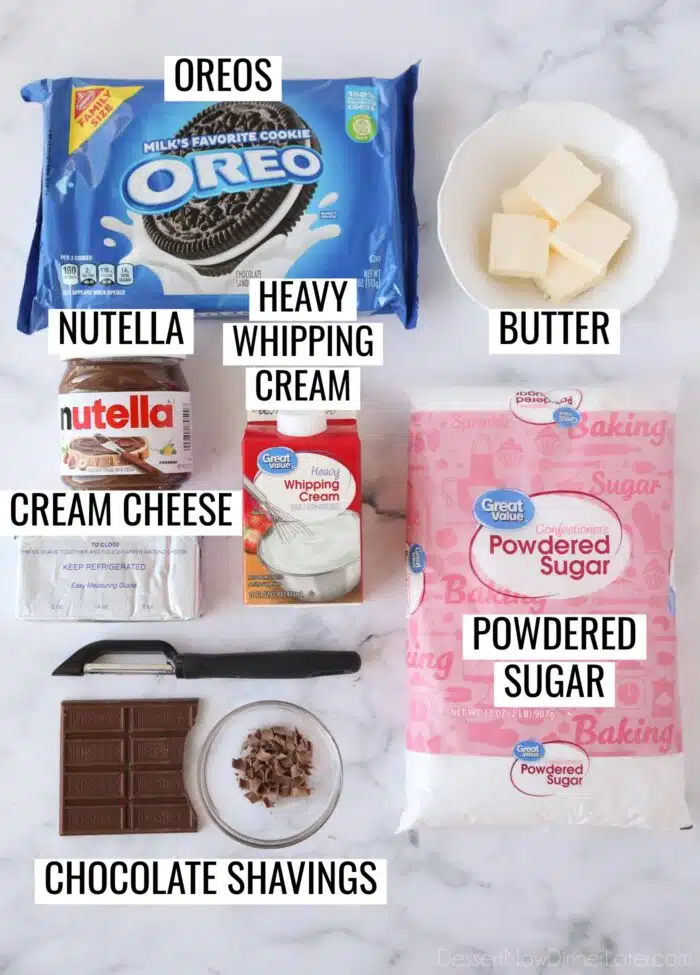
- Oreos – For the crust. Use the original, NOT double stuf, Oreos. Use the whole cookie, cream filling and all.
- Unsalted Butter – To bind the Oreo cookie crust.
- Nutella – Chocolate hazelnut spread to flavor the filling.
- Cream Cheese – Whole fat. Brick style. Not from the tub.
- Heavy Whipping Cream – To whip for the filling.
- Powdered Sugar – To sweeten the whipped cream.
- Chocolate Shavings – Optional for garnish. Easy to make with a chocolate bar and vegetable peeler.
How to Make the Oreo Crust
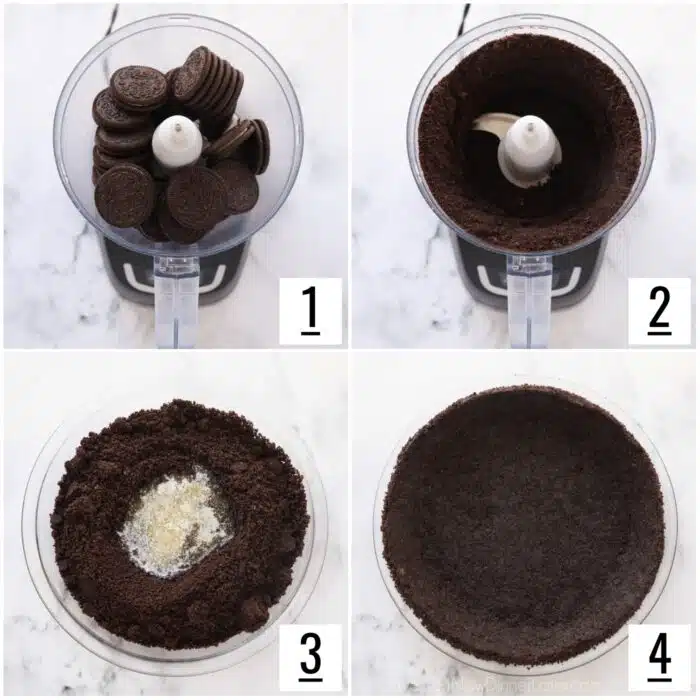
- 1. Place the Oreo cookies (filling and all) inside of a food processor.
- 2. Pulse or run the machine until cookies resemble fine crumbs.
- 3. Empty crumbs into a 9-inch pie dish. Add the melted butter.
- 4. Mix the crumbs and butter together, then press evenly on the bottom and up the sides of the pie dish. Chill the Oreo crust in the freezer while making the filling.
How to Make the No Bake Nutella Cheesecake Filling
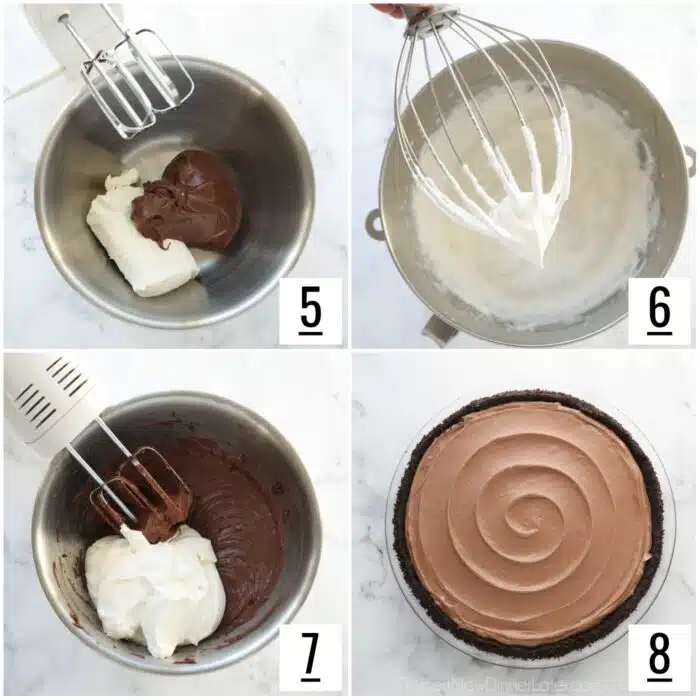
- 5. In a large bowl, beat together the Nutella and cream cheese with an electric hand mixer until smooth.
- 6. Whip the heavy cream and powdered sugar together until stiff peaks form using an electric stand mixer with the whisk attachment. Set aside one-third of the whipped cream (about 1 cup) for topping the pie with. Cover and place it in the refrigerator.
- 7. Add the remaining two-thirds of whipped cream (about 2 cups) to the Nutella cream cheese mixture. Use the electric hand mixer to beat the two mixtures together. Mixture should be very thick.
- 8. Spread the Nutella cheesecake filling evenly into the chilled Oreo crust.
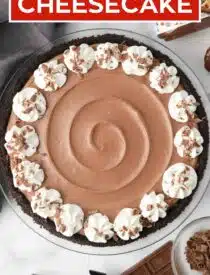
DECORATIVE TIP: I like to use an offset spatula and a cake turntable to swirl the top — holding the tip of my offset spatula in the middle and moving it towards the edge of the pie dish while spinning it with the turntable.
Chill and Serve
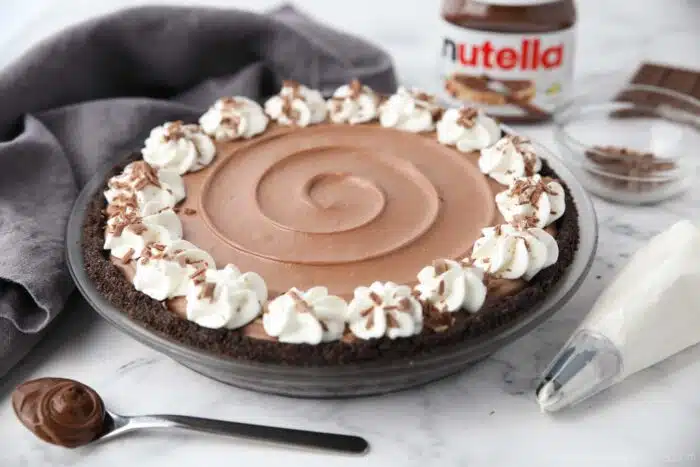
- CHILL: Lightly cover the no bake Nutella cheesecake with plastic wrap and chill in the fridge for a minimum of 4 hours to overnight. The longer it’s chilled, the better the whipped texture gets.
- GARNISH: Top with the leftover whipped cream and chocolate shavings. NOTE: I piped the whipped cream with a Wilton 2D tip and used a vegetable peeler to make chocolate shavings from a chocolate candy bar.
- CUT: Run a knife under hot water and dry it off with a towel before making each cut. This recipe will serve 8-12 people, depending on the size of the slice.
Storing and Freezing
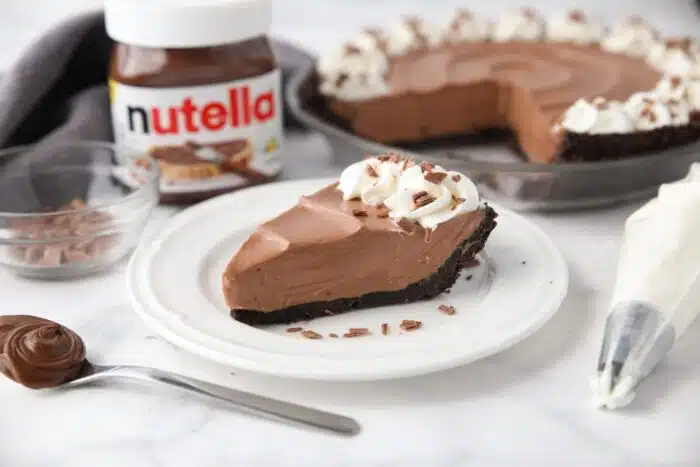
- TO STORE: Cover and store cheesecake in fridge for up to 5 days.
- TO FREEZE: Don’t add toppings. Cover the cheesecake tightly with plastic wrap, then a layer of foil, and freeze for up to 3 months. Thaw cheesecake in the refrigerator overnight or slice and serve it from frozen, if desired. Allow frozen cheesecake to sit at room temperature for at least 10 minutes before slicing from frozen.
If You Make This Recipe, Please Rate and Review it in the Comments Below. THANKS!
No Bake Nutella Cheesecake
Ingredients
Oreo Crust
- 25 Oreo cookies, original (NOT double stuf)
- 5 Tbsp (71 g) unsalted butter, melted
Nutella Cheesecake Filling
- 1 cup (296 g) Nutella chocolate hazelnut spread
- 8 oz (226 g) cream cheese, block (not tub); room temperature
- 1 ½ cups (355 ml) heavy whipping cream, cold
- ½ cup (60 g) powdered sugar
- 2 Tbsp chocolate curls, optional for garnish
Instructions
- Place the Oreo cookies (filling and all) inside of a food processor. Pulse or run the machine until cookies resemble fine crumbs.
- Empty crumbs into a 9-inch pie dish. Add the melted butter. Mix the crumbs and butter together, then press evenly on the bottom and up the sides of the pie dish. Chill the Oreo crust in the freezer while making the filling.
- In a large bowl, beat together the Nutella and cream cheese with an electric hand mixer until smooth.
- Whip the heavy cream and powdered sugar together until stiff peaks form using an electric stand mixer with the whisk attachment. Set aside one-third of the whipped cream (about 1 cup) for topping the pie with. Cover and place it in the refrigerator.
- Add the remaining two-thirds of whipped cream (about 2 cups) to the Nutella cream cheese mixture. Use the electric hand mixer to beat the two mixtures together. Mixture should be very thick. Spread the Nutella cheesecake filling evenly into the chilled Oreo crust.
- Lightly cover the no bake Nutella cheesecake with plastic wrap and chill in the fridge for a minimum of 4 hours to overnight. The longer it’s chilled, the better the whipped texture gets.
- Before serving, top the cheesecake with the leftover whipped cream and sprinkle with chocolate shavings. NOTE: I piped the whipped cream with a Wilton 2D tip and used a vegetable peeler to make chocolate shavings from a chocolate candy bar.
- To Cut: Run a knife under hot water and dry it off with a towel before making each cut. This recipe will serve 8-12 people, depending on the size of the slice.
Notes
- TO STORE: Cover and store cheesecake in fridge for up to 5 days.
- TO FREEZE: Don’t add toppings. Cover the cheesecake tightly with plastic wrap, then a layer of foil, and freeze for up to 3 months. Thaw cheesecake in the refrigerator overnight or slice and serve it from frozen, if desired. Allow frozen cheesecake to sit at room temperature for at least 10 minutes before slicing from frozen.
Nutrition
Did you make this?
Don’t forget to leave a rating below and make sure to follow on Pinterest and Instagram for more!
*Originally published 5/24/13. Post updated April 2024.


I have just started baking and creating desserts and I am so grateful for your website. Thanks for sharing your talent!
So glad you are enjoying my recipes Ben! Thanks for your comment!
Super excited to try this no-bake nutella cheesecake, seems amazing. Thanks for sharing this one with us.
i need to copy down the recipe please
Go ahead and print it. It’s free for personal use. 🙂