Coconut Cream Poke Cake + Video
Coconut Cream Poke Cake starts with a cake mix, is soaked with cream of coconut, and slathered with whipped topping and crunchy toasted coconut!
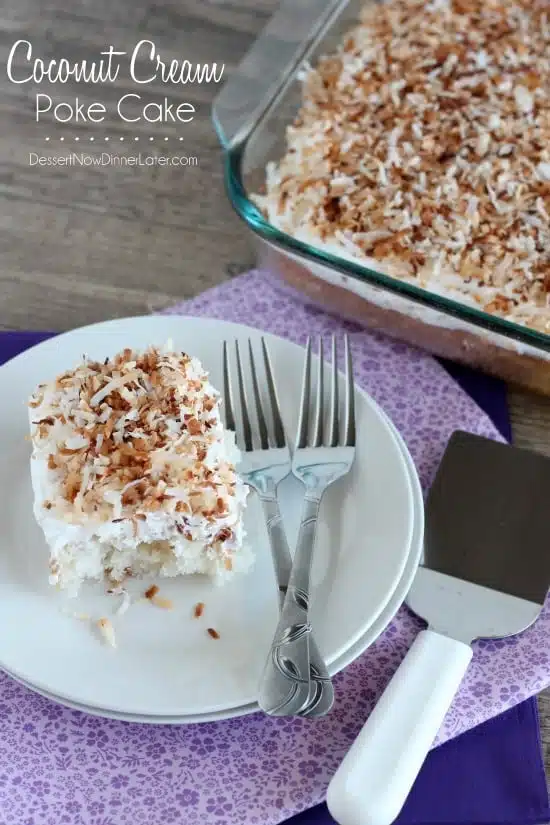
I know summer only just began, but it feels like it is flying by fast! I am soaking up every ounce of fun in the sun that I can, and today’s recipe is a great one to share at your next bbq! Coconut Cream Poke Cake starts with a cake mix, uses one of my favorite summer ingredients (cream of coconut), is frosted in cool whip, and topped with crunchy toasted coconut! Sounds simple enough right?!
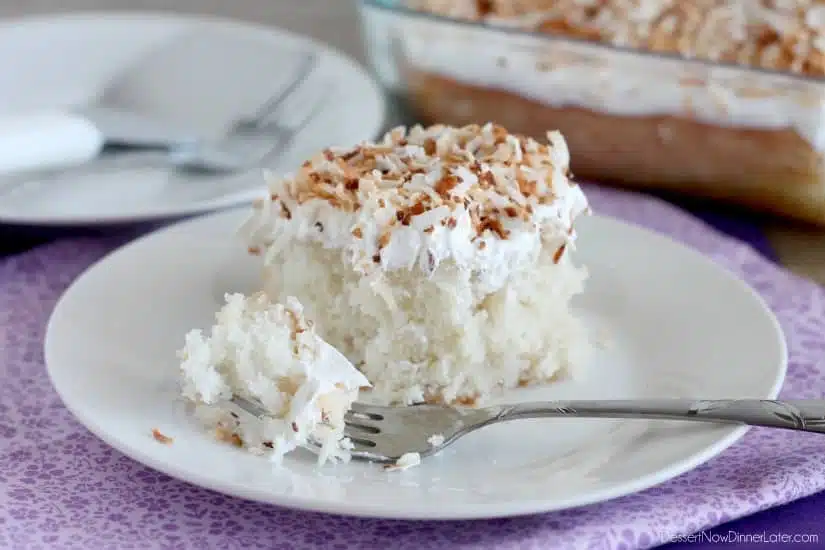
I’m all for semi-homemade when you need a quick treat to bring to a party, and this recipe is so fabulous! The toasted coconut on top gives it the perfect crunch amongst the moist, yet fluffy cake. The toasted coconut only stays crunchy for a couple of hours though because it pulls the moisture from the cool whip topping, so don’t put it on until just before serving! It seriously is one of my favorite parts about this cake!
Save This recipe
Enter your email below to get a link to this recipe emailed straight to you to save later! Plus be signed up for all new recipes.
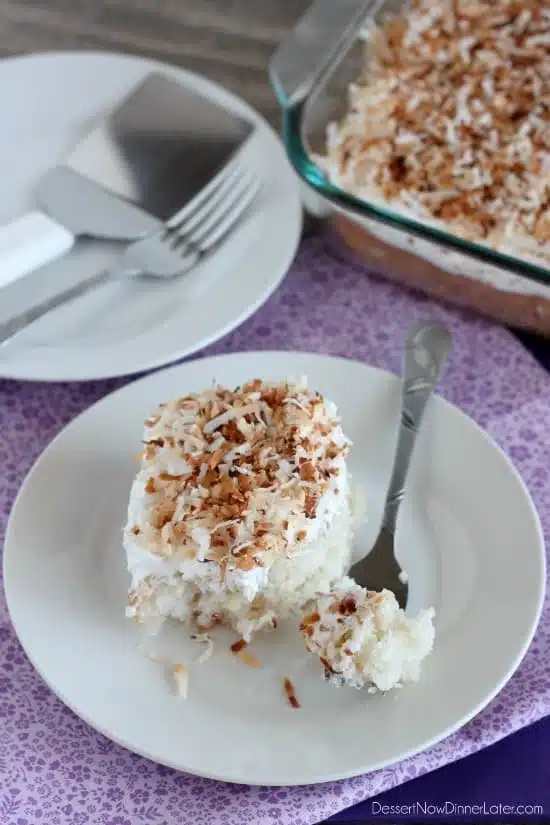
Remember how I mentioned my favorite summer ingredient, Cream of Coconut?! This cake is poked with a fork and filled with that sweet coconut, dreamy liquid! I use it in my Coconut Cream Fruit Dip, and in my Frozen Coconut Limeade, Caribbean Slush, and Piña Colada drinks as well. It’s very versatile and oh, so delicious!
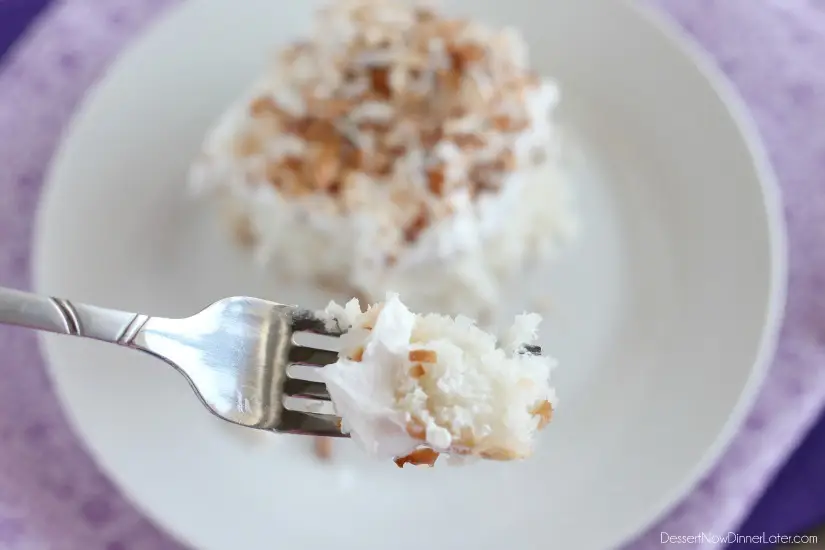
I hope you love this cake as much as we did!
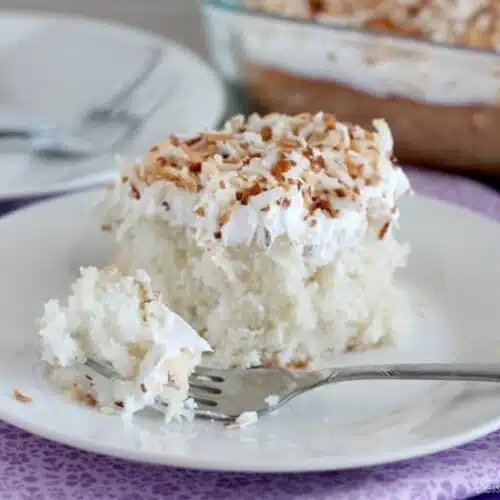
Coconut Cream Poke Cake
Ingredients
- 15.25 oz (432 g) box white cake mix
- Ingredients for the cake according to the box. Mine said: 3 large egg whites, 1 cup water, ¼ cup oil
- 15 oz (425 g) can Cream of Coconut, (Not to be confused with coconut milk or coconut cream! See Notes.)
- 8 oz (226 g) tub light cool whip
- 2 cups (240 g) of coconut flakes, toasted (directions below)
Instructions
- Prepare and bake the cake according to the directions on the box for a 9×13-inch pan. Make sure to grease your dish before adding the cake batter. My cake baked at 350 degrees Fahrenheit for 23 minutes. Allow cake to cool to room temperature.
- Meanwhile, toast the coconut on an un-greased baking sheet at 350 degrees Fahrenheit for 3 minutes. Stir it up, and then continue baking and stirring every 30 seconds to 1 minute or until golden brown. Coconut browns and burns quickly, so stay right by the oven and stir it frequently. Allow the toasted coconut to cool.
- Using a fork, poke holes all over the top of the cooled cake. Open the can of Cream of Coconut, empty it into a 2-cup measuring glass and heat it for 15 seconds in the microwave. Whisk the mixture well and then pour it all over the cake and into the holes. Allow the cake to soak up all of the Cream of Coconut, about 5 to 10 minutes.
- Frost the cake with cool whip and sprinkle the top with the toasted coconut. Cut and serve immediately. Keep leftovers refrigerated.
Video
Notes
- Cream of Coconut is a sweetened coconut syrup similar to sweetened condensed milk. It is found in the aisle with the alcoholic mixers. Popular brands include: Coco Lopez, Coco Real, and Coco Goya. (Coconut milk and coconut cream are not sweetened, and will not work in this recipe.)
- NOTE: The toasted coconut only stays crunchy for a couple of hours because it pulls the moisture from the cool whip topping, so don’t put it on until just before serving! You can even sprinkle it on top individually as you plate up servings.
Did you make this?
Don’t forget to leave a rating below and make sure to follow on Pinterest and Instagram for more!


Made this for Christmas and it was a huge hit and it is incredibly easy to make. My only adjustment was I topped the entire cake with 1 1/2 cups of untoasted coconut and then toasted an additional cup that I add just before serving.
So glad you enjoyed this recipe Karen! Thanks for sharing your review!
I had high hopes for this cake with my love of coconut, but I was actually disappointed. I have never had coconut cream before and I suppose I was expecting it to taste like coconut, but it really didn’t . That and I expected a moist cake with the cream being dispersed into the cake and again, it really wasn’t. I do think this is a good base for a cake and I would make some changes. Instead of piercing with a fork, I believe I would have been happier with using the end of a wooden spoon and proceed as though this was a poke cake so that the liquid would seep deeper into the cake. I like the idea that one person said about using condensed milk in addition to the cream. Perhaps even coconut milk or even a bit of pina colada mix might have worked better. Also, I would like to perhaps use pineapple juice instead of the milk/water my boxed milk called for.
Hi Cathy. I’m worried you used the wrong product here and that led to your disappointment. Coconut Cream and Cream of Coconut are two very different products.
Coconut Cream is merely the fat of the coconut, whereas Cream of Coconut is a sweetened coconut sauce/syrup that is very similar to sweetened condensed milk. It is used for making pina coladas and can be found in the aisle for alcoholic mixers.
Sorry for the mix-up. You definitely wouldn’t need condensed milk if you use the Cream of Coconut. I will try and add a photo of the product to add to the post to help future bakers not have the same problem.
Thank you for your kind reply. I purchased several cans and just checked. I’m so glad I commented as you are exactly right – I bought coconut cream! I didn’t even realize they are two different products. Now I’ll have to look for cream of coconut and try this again.
This cake is delicious!! Do not cheat yourself by foregoing the toasting of the coconut!!
I agree about the coconut! Thanks for sharing your experience with the recipe Kimberly!
hello! do you recommend sweetened or unsweetened coconut flakes? also curious about light versus regular cool whip? thank you! can’t wait to try!
I typically use sweetened coconut flakes but use what you prefer. And light Cool Whip would be just fine. I often use it as well.
Thank you!
So glad to see this recipie
Used it , years ago, to make an
Easter Bunny cake out of 2 round
8in. Cake pans, 1 for the body & 2nd for ears and head. Colored the coconut to make a jacket. And you can get creative here.
And with the bunny face. Fun and cute…. Would make a cute
Santa cake too. Just have fun!!!
.
What a fun idea! Thanks for sharing!