Raspberry Pie
This Raspberry Pie can be made with frozen or fresh raspberries for a vibrant and delicious fruit pie!
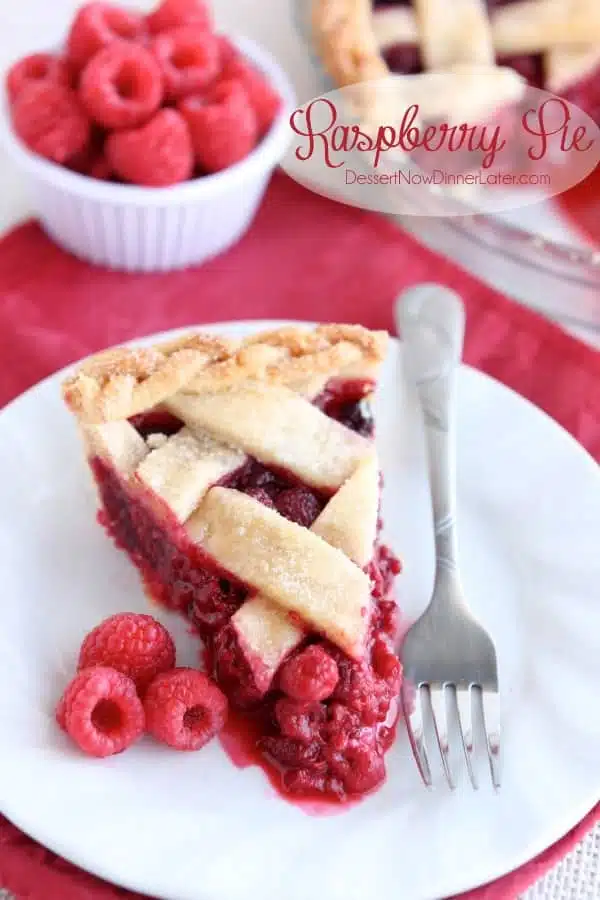
The holidays will be here before you know it and today I am participating in a blog hop for all things Thanksgiving food! I’m sharing the recipe for this incredible Raspberry Pie, and yesterday I provided the tutorial for the lattice crust and braided edge, so you are all set to impress your guests with your dessert this year!
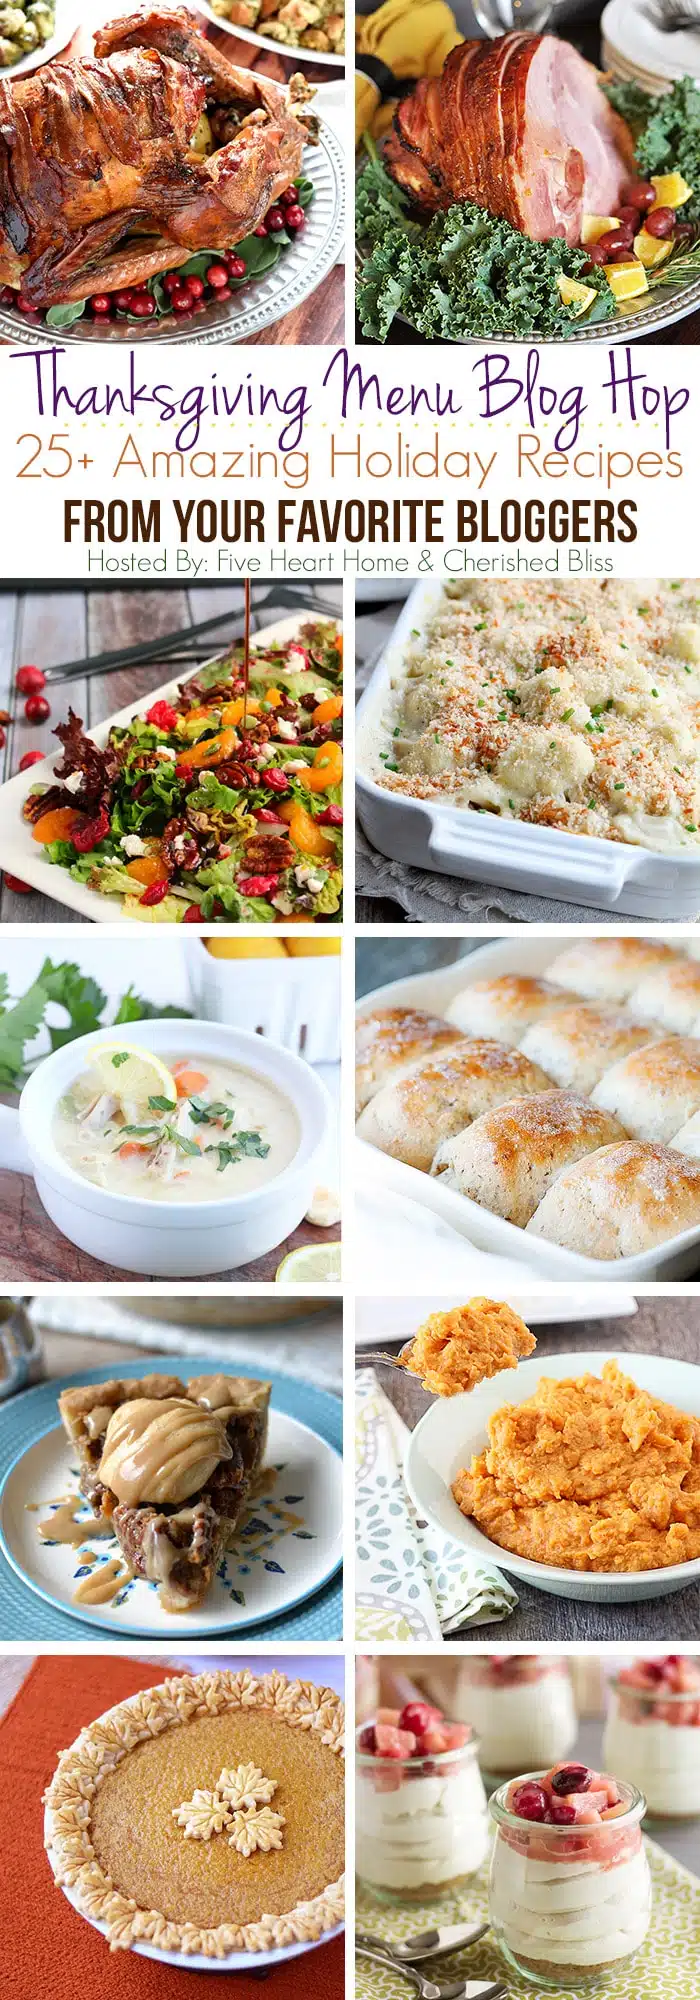
Don’t forget to check out the other amazing holiday recipes at the bottom of this post. Here’s a picture to tease you of what’s been included in this blog hop:
Save This recipe
Enter your email below to get a link to this recipe emailed straight to you to save later! Plus be signed up for all new recipes.
I’m a sucker for fruit pies, but if you don’t read my blog regularly, then you don’t know that I hate using fresh fruit for them. Fresh fruit is for snacking, not baking, but if it’s going to go bad, or you have frozen fruit, THAT’S when you make a pie!
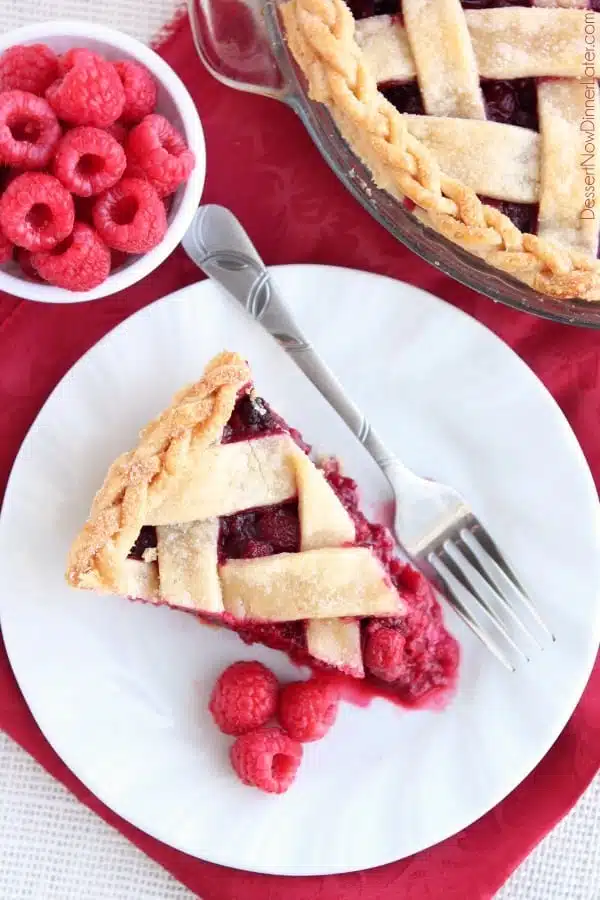
I bought a huge bag of frozen raspberries at Sam’s Club for this pie. It’s a better deal than purchasing fresh fruit for your pie, and it all bakes up the same anyway.
Plus, raspberries are my absolute FAVORITE! When I first started blogging I actually posted about a frozen mixed berry pie. Same concept! Frozen fruit can be made into pie any time of year, no matter the season!
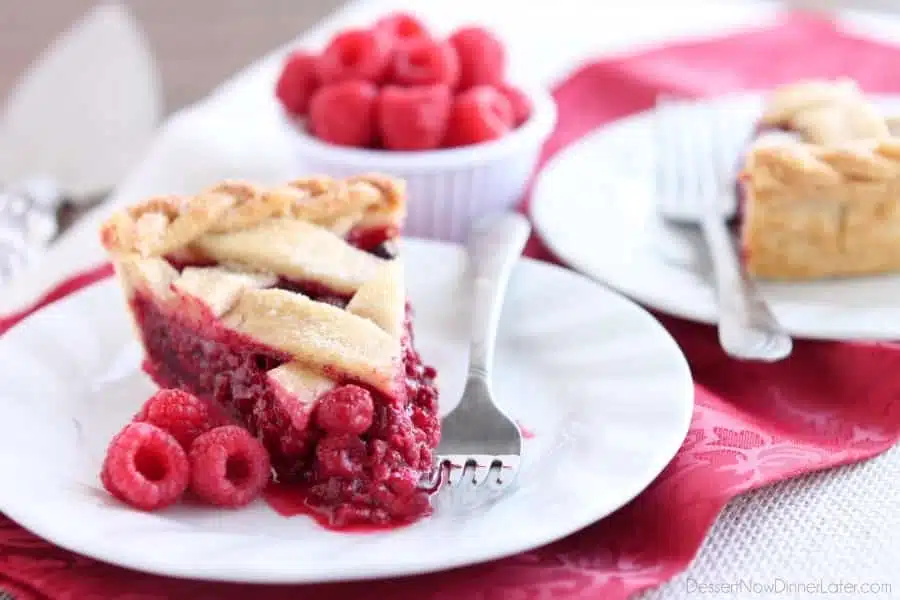
I think the bright red of the raspberries is just perfect for the holidays! This pie is sure to get gobbled up and you won’t believe how easy it is to prepare the filling. It’s the crust that takes time making, but homemade is way better than store bought! Enjoy!
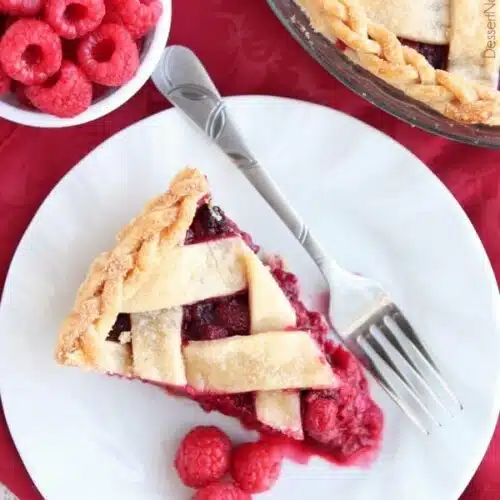
Raspberry Pie
Ingredients
- 1 recipe Perfect Pie Crust
- 6 cups (840 g) fresh or frozen raspberries
- ½ cup (100 g) granulated sugar, (add more if the berries are especially tart)
- 6 Tbsp cornstarch
- 1 egg, whisked, for brushing
- Extra sugar or sugar crystals, for sprinkling on top
Equipment
Instructions
- Prepare Perfect Pie Crust and divide dough in half. Roll out one half and fit it inside the pie dish, cutting off the excess crust.
- Gently toss the raspberries with the sugar and cornstarch in a bowl. Taste the berries and add more sugar and cornstarch if needed. (About 1 Tbsp of cornstarch for each ¼ cup of extra sugar.) Empty the raspberries into the pie crust shell.
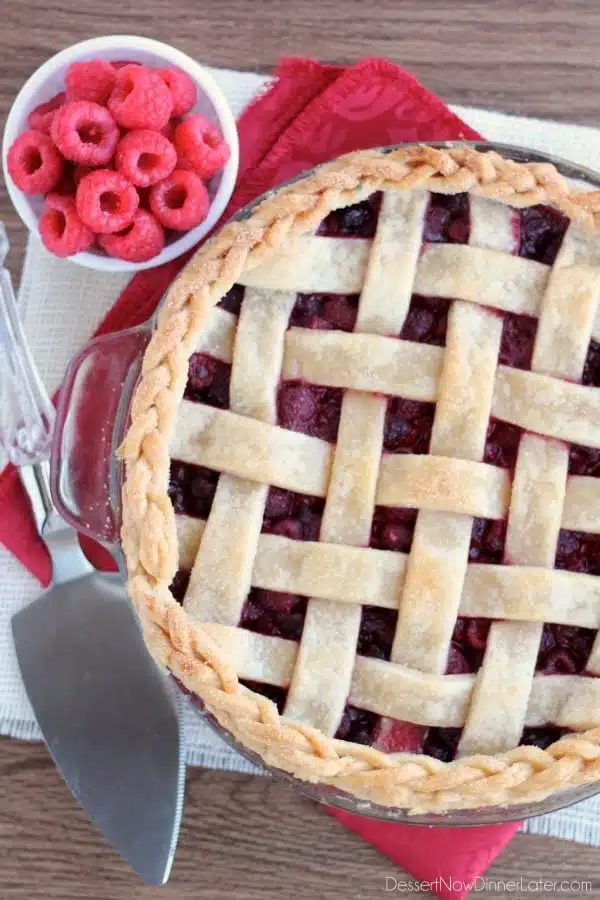
- Roll out the other half of the pie crust and cut 1-inch strips. Weave the strips into a lattice crust. Wet edge of bottom crust and press lattice strips into the edge of the bottom crust firmly. Cut off excess crust. Check out my Lattice Tutorial for step-by-step photo instructions on how to make a lattice top. Optionally, use extra crust to braid an edge for the crust. Attach with a little water, and press firmly to the edge of the bottom crust. (The steps for the braid are also in this tutorial.)
- Lightly brush the crust with a whisked egg and sprinkle the top with sugar.
- Bake at 350 degrees Fahrenheit for 60 to 75 minutes or until the crust is golden and the filling is bubbling in the center; cover with foil if crust gets brown before filling bubbles. Allow pie to cool for the filling to gel.
Notes
Did you make this?
Don’t forget to leave a rating below and make sure to follow on Pinterest and Instagram for more!
Here are some other recipes you may want to include in your holiday menu:

Main Dishes
Maple – Glazed Turkey with Bacon and Sage | Five Heart Home Turkey Tetrazzini w/ Mushrooms and Kale | The Fountain Ave Kitchen Orange Balsamic Glazed Ham | Cherished Bliss Turkey Soup | Carmel Moments Cranberry Stuffed Turkey | Thoughts from Alice
Vegetables
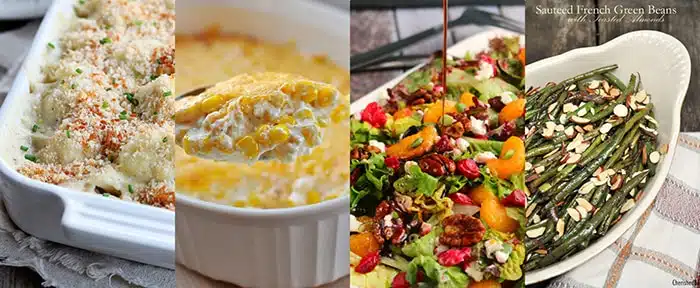
Cauliflower Gratin | Love Grows Wild Creamy Cheese Corn Casserole | Five Heart Home Cranberry Citrus Salad with Goat Cheese and Pecans | Delightful E Made Sautéed French Green Beans | Cherished Bliss
Potatoes
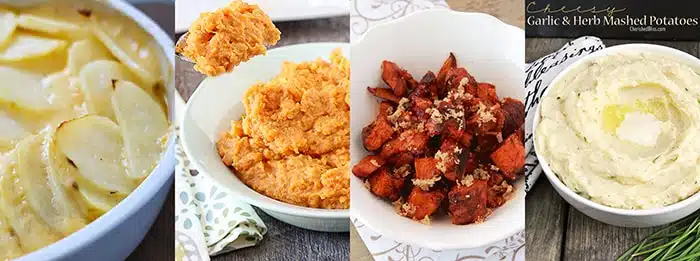
Potatoes Au Gratin | Yummy Healthy Eats Mashed Sweet Potatoes | Live Laugh Rowe Honey-Cinnamon Roasted Sweet Potatoes | Cooking with Ruthie Cheesy Garlic & Herb Mashed Potatoes | Cherished Bliss
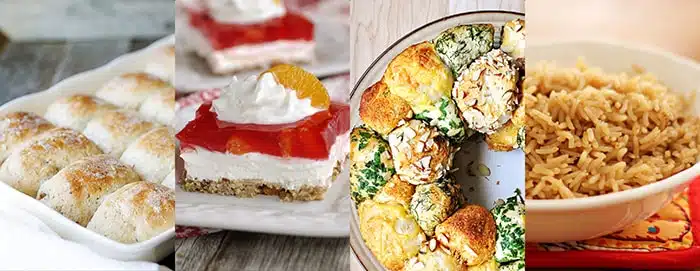
Sides & Breads
Harvest Grain Rolls | Heather’s French Press Jello Salad | Your Homebased Mom Herb and Cheese Monkey Bread | Five Heart Home Brown Rice | Uncommon Designs

Pies
Dairy Free Pumpkin Pie | Cooking with Curls Apple Pie Waffles | Club Narwhal Raspberry Pie | Dessert Now Dinner Later Triple Layer Chocolate Pie | I Should be Mopping the Floor Salted Caramel Pumpkin Pecan Pie | Lemon Tree Dwelling
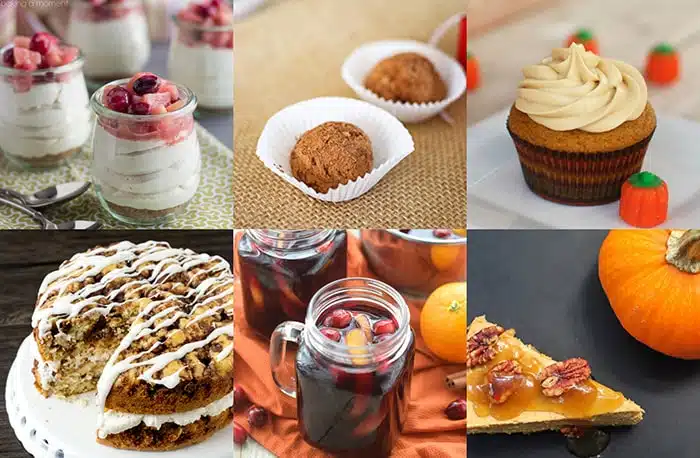
Desserts
No Bake Brown Sugar Cheesecake w/ Spiced Pears | Baking a Moment Nutella Kahlua Truffles | Kleinworth & Co Pumpkin Cupcakes & Maple Cream Cheese Frosting | Cupcake Diaries Cream Filled Coffee Cake | Tastes of Lizzy T Cranberry Orange Mulled Wine | Wine and Glue Praline Pumpkin Cheesecake | Maison De Pax






I used this recipe today. It was the first pie I’ve ever made. The filling wasn’t too runny (I cut the pie after it has cooled for about 2 hours) but I think it could definitely use more sugar. It was a very tart flavour.
Yes, that can happen depending on how sweet/tart the berries are. Next time, try tasting the berries after you mix them with the cornstarch and sugar. You can definitely add more if needed.
Made this for the first time today! Never tried a braided edge before. I think it came out pretty good!
https://www.instagram.com/p/BSfdGIUjfvl/
Great job! Thanks for sharing!
Eggish, it kinda failed. I guess I shouldn’t have substituted starch with flour… It would me a nice traditional dessert, but it was disgusting and sour 🙁
Hi! I’m so sorry for your bad experience! I like to taste my filling before I bake my pie, especially with berries, because some are more tart than others. I can definitely add that tip to the recipe. If it was “eggish,” then you can try and dilute the egg with some water (maybe 1 Tbsp), or leave it out altogether. The egg wash just browns the crust a bit more. I also prefer cornstarch to thicken my fillings, but you can feel free to stick with flour if that’s what you prefer. Sorry again!
Mine is in the oven!!! Can’t wait! It looked so pretty and festive!! Keep you posted
If you slice it warm, it will be a little runny like my pictures suggest. If you let it cool completely or refrigerate it, the filling should solidify completely. I hope you love it!
It was AMAZING!!! Was a big hit with the family!! I already have requests for next time!!
Thank you for sharing!
Yay! That’s great news! So glad you liked it!
Amber – this is definitely on my next to-do list for pie. It not only looks delicious but the recipe is relatively straight forward and simple and perfect for my first attempt at a raspberry pie. I am just coming off having baked my first lattice peach pie and and am ready for the next challenge! I’ll let you know how it turns out and how my #1 taste taster likes it (my 9yr old daughter who has taken an extreme interest and liking into my pie baking hobby!)
How fun! Love the theme of your blog! I hope it works out wonderfully for you!
2 questions…
1. Do you defrost your frozen berries?
2. I have made a few berry pies in the past, but I find they always are too watery. Does 6 tbls solve this problem??
Hi Melissa,
I do NOT defrost my berries. I bake them frozen.
This pie was a little wetter than I typically do because I put more berries in and didn’t up the amount of cornstarch, but I did slice it while still slightly warm for the pictures. The refrigerated leftovers were just fine. I typically do 6 Tbsp of cornstarch per 4 to 5 cups of frozen berries (blueberries or mixed berries, etc). I would up the amount to 7 Tbsp but definitely no more than 8 Tbsp if you want a jellied type filling.
Oh, Amber, this pie looks so beautiful. I love the braided crust! It’s so cute.
Thank you! I love to play with pie crust!
Absolutely stunning. And a nice change of pace – a refreshing pie after all that turkey!
Thank you! Not a traditional thanksgiving pie, but definitely a tasty one!
What a fun twist on the usual pumpkin and apples pies you see this time of year! I absolutely adore raspberries and the color of this pie is so inviting!
I quite love the pop of red this pie gives! And it’s a nice change of pace for the holidays, for sure!
This is such a gorgeous pie, Amber! It looks perfect!
Thanks so much Jessica!