All Bran Muffins Recipe
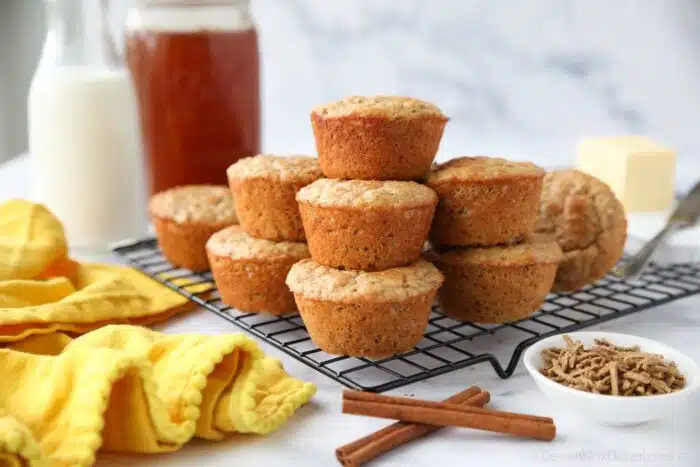
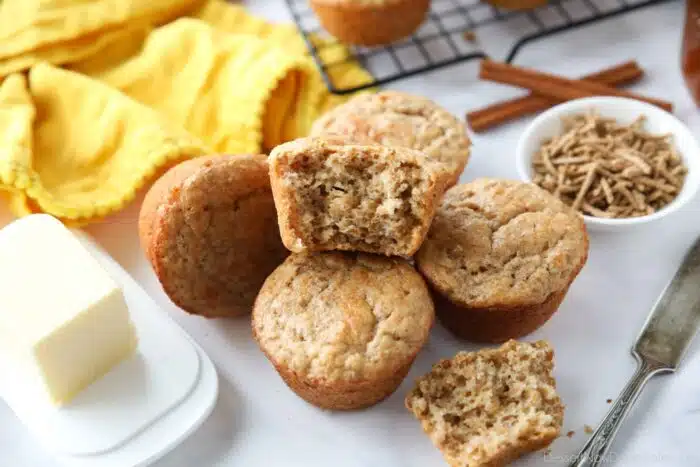
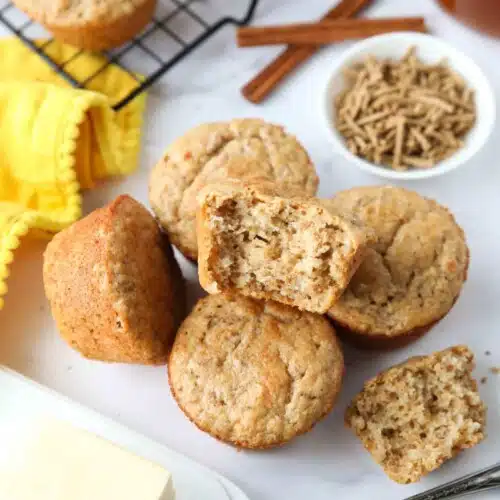
This All Bran Muffins Recipe uses bran cereal to create hearty, yet fluffy and moist, breakfast muffins. They’re high in fiber and protein with a hint of sweet cinnamon and vanilla.
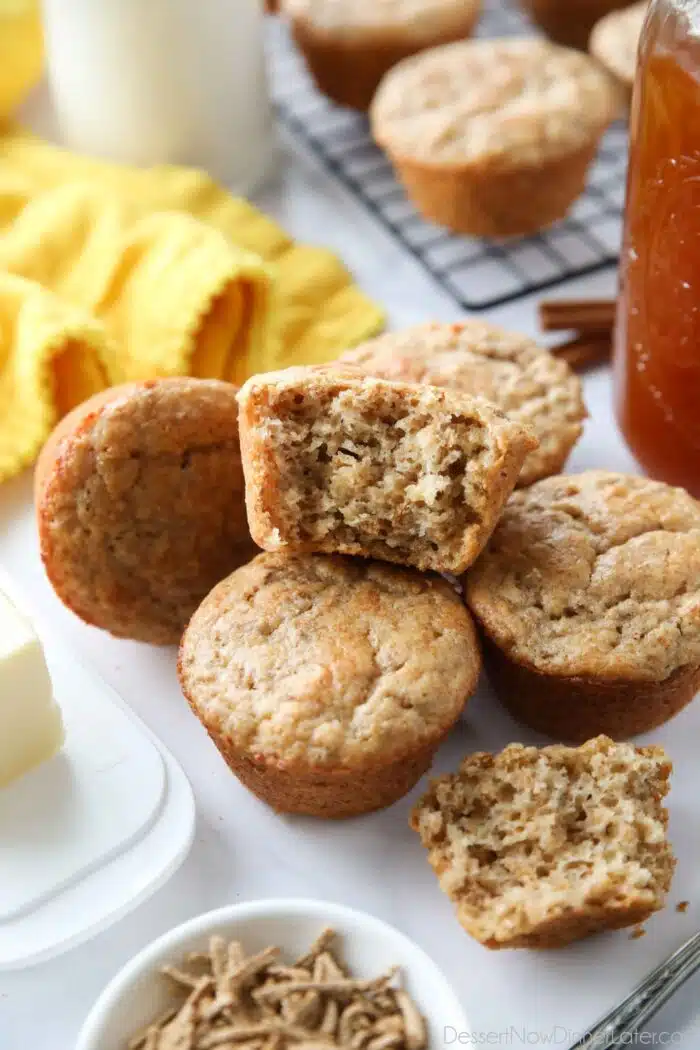
Make-Ahead Breakfast or Snack
Muffins are a great make-ahead breakfast option for those busy on-the-go mornings. They also make a great mid-afternoon snack.
Of course, you might want something healthier than the grocery store’s muffins — that are really just cupcakes disguised as muffins. (I know this, because I worked in a grocery store bakery.)
Save This recipe
Enter your email below to get a link to this recipe emailed straight to you to save later! Plus be signed up for all new recipes.
Homemade muffins are definitely the way to go, since you can control the amount of sugar and ingredients that go into them.
Bran muffins come to mind for an especially healthy muffin, as bran contains high sources of fiber and protein.
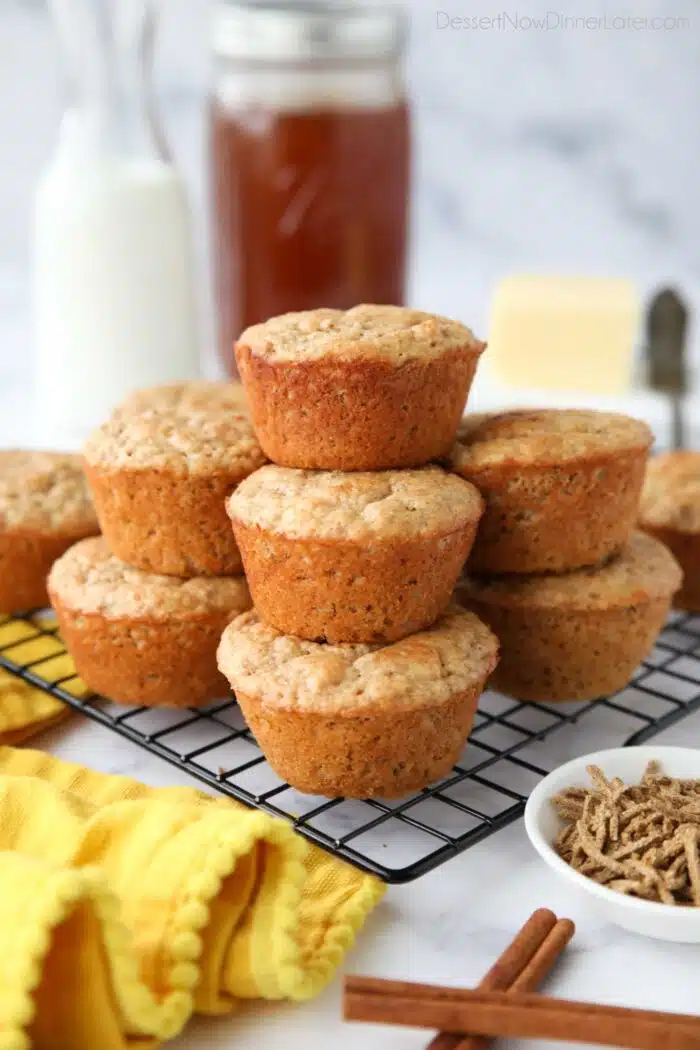
Original All-Bran Muffins Recipe
The only problem with bran muffins is that they can seem really dense (heavy), dry, and not that great tasting.
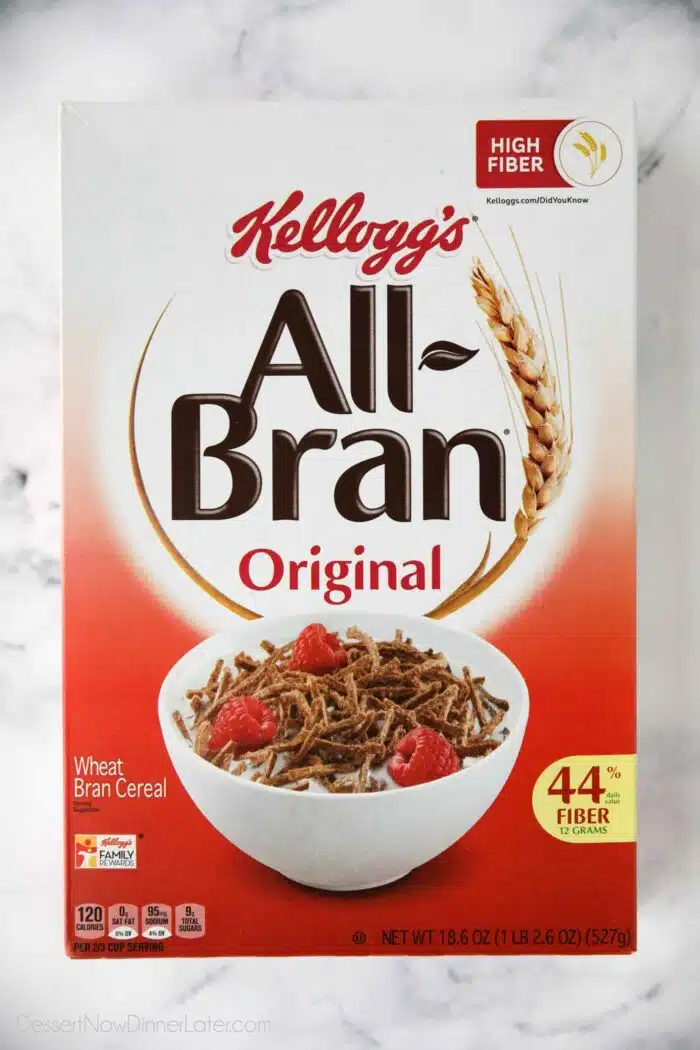
The original all-bran muffins recipe from Kellogg’s was a great starting point for my recipe.
I knew I wanted to use bran cereal instead of wheat bran for my bran muffins because it’s easier to find. And using cereal for muffins is actually quite simple.
HOW MY RECIPE DIFFERS — I am not used to eating “healthy” muffins, so I knew I had to make them lighter and extra tasty. My three kids gobbled them up and asked me to make more, so that tells you something.
This is what I changed from the original recipe:
- I decreased the amount of All-Bran Cereal. I used 1 1/4 cups of All Bran Cereal instead of 2 cups. If I wanted the texture to be more similar to a regular muffin, I knew I had to hold back on the bran a little bit.
- I used buttermilk instead of fat-free milk. Buttermilk is low in fat, but the acid helps tenderize and boost the leavening creating a softer, lighter crumb.
- I used brown sugar instead of granulated sugar. The molasses in brown sugar adds a deep, rich flavor to baked goods.
- I added cinnamon and vanilla. Adding these flavors made the classic bran muffins taste more comforting. FYI: Cinnamon is actually considered a superfood (more like super-spice). It contains antioxidants, anti-inflammatories, and many other nutritious benefits.
These muffins might seem somewhat boring and plain (no fillers). Of course there are additional mix-in options, which I will share a bit later.
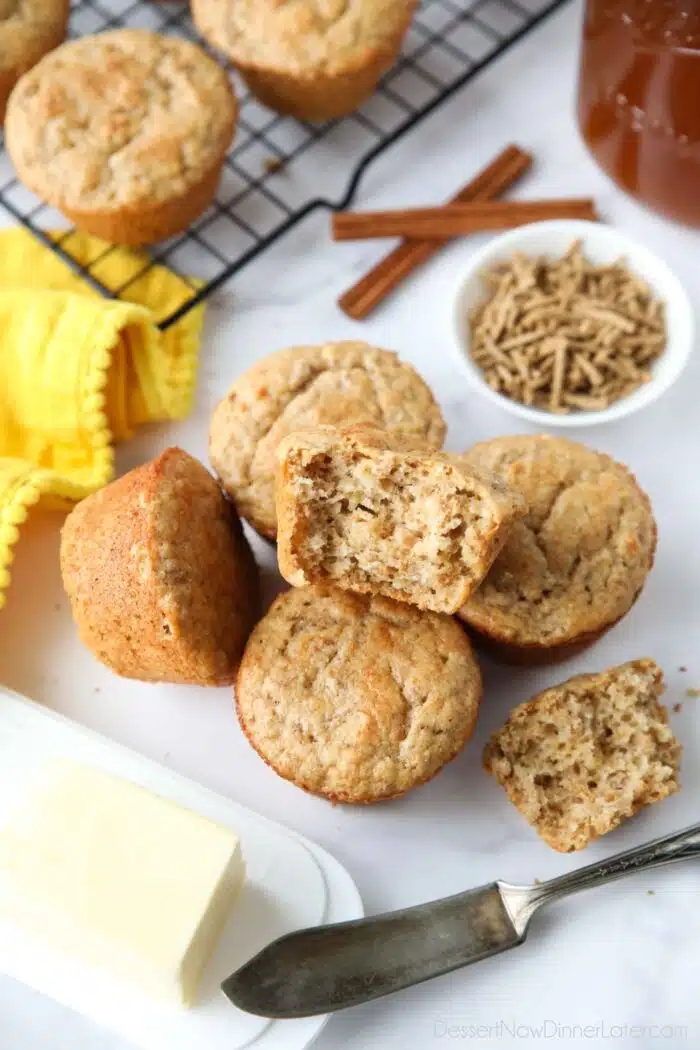
How to Make All Bran Muffins
First, let me show you just how easy it is to make this all bran muffins recipe.
- Preheat the oven to 400 degrees Fahrenheit and grease a muffin tin with non-stick cooking spray.
- NOTE: Bran muffins tend to stick to paper liners more, so I’d avoid using them, if possible.
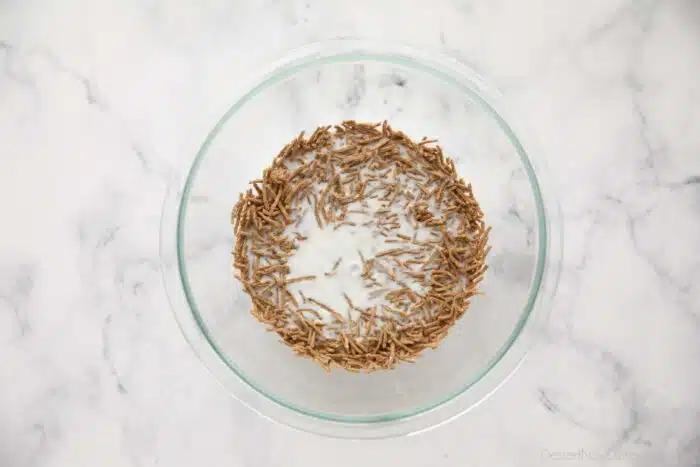
- Combine the bran cereal and buttermilk in a large bowl. Set aside for 10 minutes to allow the cereal to absorb the liquid and soften.
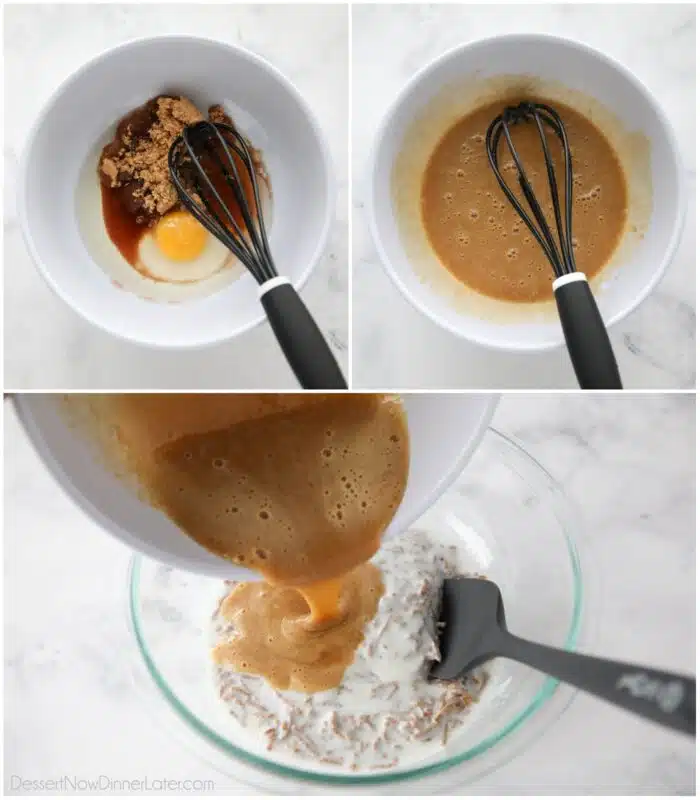
- In a large bowl whisk together the brown sugar, oil, egg, and vanilla.
- Add the wet ingredients to the cereal mixture and stir to combine.
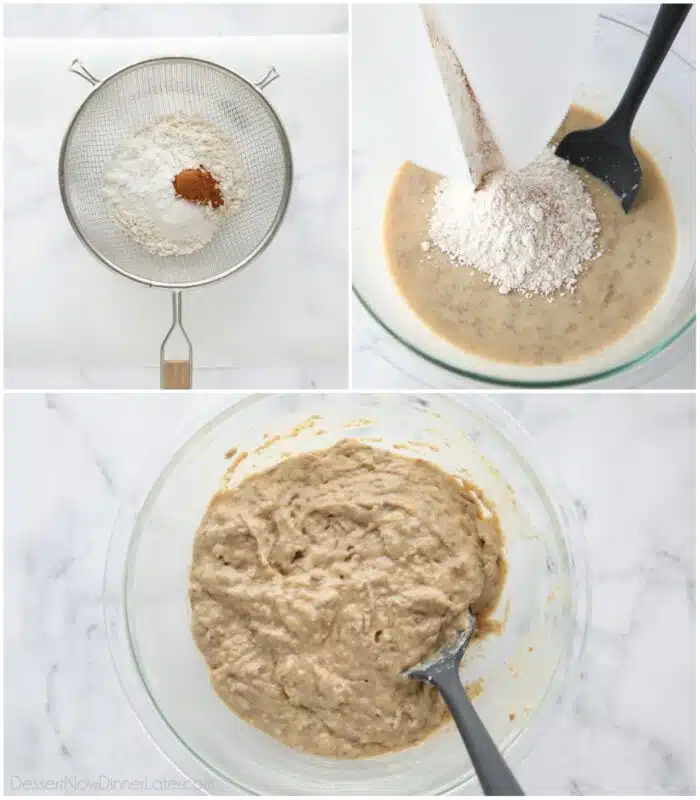
- Sift the flour, baking powder, cinnamon and salt.
- NOTE: Sifting the dry ingredients creates lighter muffins. If you don’t own a fine mesh sieve, whisk these ingredients together well.
- Add the dry ingredients to the wet ingredients and stir until just combined. The batter will be thick, but start to fluff up from the buttermilk reacting to the baking powder.
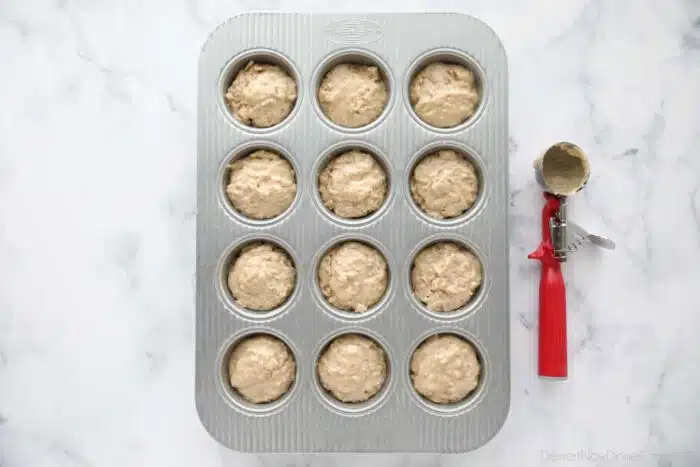
- Divide the batter evenly into 12 muffin cups.
- NOTE: I used a rounded #24 scoop. Because this batter is thicker, you can fill the cavities about 3/4 full.
- Bake at 400˚F for 14-18 minutes or until golden brown and a toothpick inserted into the center of the muffins comes out clean.
- Allow the muffins to cool in the pan for a few minutes, then remove the muffins from the pan to cool completely on a wire rack.
Serving and Storing
All Bran Muffins are delicious warm or cool, however I prefer them warm. This makes them taste even more moist.
Store muffins in an airtight container or zip-top bag at room temperature for up to 3-4 days. Alternately, you can individually wrap the muffins and refrigerate them for up to 2 weeks.
TIP: Nuke leftover muffins in the microwave for 10-15 seconds to make them extra fresh tasting.
To Freeze Bran Muffins: Cool the muffins completely. Then place the muffins in a freezer-safe container or zip-top bag with parchment paper separating any layers. Freeze for up to 2-3 months. Thaw overnight or microwave for 30-40 seconds.
Substitutions
- No Oil: Use applesauce instead. One 4-oz applesauce cup is equal to 1/4 cup, which is just enough to replace the oil. You could also use 4 Tbsp of melted butter.
- No Buttermilk: Use regular milk mixed with 2 tsp of white vinegar or lemon juice. Let mixture sit for 5 minutes before using.
- Wheat Flour: You may use wheat flour in place of all-purpose flour, but the muffins will be slightly more dense.
NOTE: Keep in mind any alterations may alter the muffin texture slightly.
Optional Mix-ins
These all bran muffins are simple and delicious as-is, but you may add up to 1/2 cup of mix-ins to the batter, to jazz them up a bit. I’d recommend:
- Chocolate Chips – Mini chocolate chips distribute more evenly.
- Chopped Nuts – Such as pecans or walnuts.
- Dried Fruit – Like raisins or dried cranberries. You may soak these in hot water for 20-30 minutes to make them more plump. Make sure to drain the excess water and pat dry before adding to the batter.
More Muffin Recipes
- Almond Poppy Seed Muffins
- Zucchini Chocolate Muffins
- Banana Crumb Muffins
- Pumpkin Cream Cheese Muffins
- Blueberry Muffins high altitude
- Coffee Cake Muffins
- Fresh Cranberry Muffins
- Apple Cinnamon Muffins with crumb topping
- Banana Chocolate Chip Muffins with sour cream
If You Make This Recipe, Please Rate and Review it in the Comments Below. THANKS!
All Bran Muffins Recipe
Ingredients
- 1 ¼ cups (77 g) Kellogg’s All-Bran Cereal
- 1 ¼ cups (296 ml) buttermilk
- ½ cup (100 g) light brown sugar, gently packed
- ¼ cup (59 ml) oil, (canola/vegetable)
- 1 large egg
- 1 tsp vanilla extract
- 1 ¼ cups (150 g) all-purpose flour, (stir, spoon & level)
- 1 Tbsp baking powder
- ½ tsp ground cinnamon
- ¼ tsp salt
Equipment
Instructions
- Preheat the oven to 400℉ and grease a muffin tin with non-stick cooking spray. NOTE: Bran muffins tend to stick to paper liners more, so avoid using them, if possible.
- Combine the bran cereal and buttermilk in a large bowl. Set aside for 10 minutes to allow the cereal to absorb the liquid and soften.
- In a large bowl, whisk together the brown sugar, oil, egg, and vanilla.
- Add the wet ingredients to the cereal mixture and stir to combine.
- Sift the flour, baking powder, cinnamon and salt into a medium bowl. NOTE: Sifting the dry ingredients creates lighter muffins. If you don’t own a fine mesh sieve, whisk these ingredients together well.
- Add the dry ingredients to the wet ingredients and stir until just combined. NOTE: The batter will be thick, but start to fluff up from the buttermilk reacting to the baking powder.
- Divide the batter evenly into 12 muffin cups. NOTE: I use a rounded #24 scoop. Because this batter is thicker, you can fill the cavities about 3/4 full.
- Bake at 400℉ for 14-18 minutes or until golden brown and a toothpick inserted into the center of the muffins comes out clean. Allow the muffins to cool in the pan for a few minutes, then remove the muffins from the pan to cool completely on a wire rack.
Notes
- Store muffins in an airtight container or zip-top bag at room temperature for up to 3-4 days. Alternately, you can individually wrap the muffins and refrigerate them for up to 2 weeks.
- TIP: Nuke leftover muffins in the microwave for 10-15 seconds to make them extra fresh tasting.
- To Freeze Bran Muffins: Cool the muffins completely. Then place the muffins in a freezer-safe container or zip-top bag with parchment paper separating any layers. Freeze for up to 2-3 months. Thaw overnight or microwave for 30-40 seconds.
- Substitute for Buttermilk: Use regular milk mixed with 2 tsp of white vinegar or lemon juice. Let mixture sit for 5 minutes before using.
- Substitute for Oil: Use ¼ cup applesauce or one 4-oz applesauce cup. You could also use 4 Tbsp of melted butter, cooled slightly.
- Optional Mix-Ins: Chocolate chips (mini are best), chopped nuts, or dried fruit. Add up to ½ cup total mix-ins.
Nutrition
Did you make this?
Don’t forget to leave a rating below and make sure to follow on Pinterest and Instagram for more!







The are delicious. I added frozen blueberries and swapped out all purpose flour for oat (3/4 less). I am curious as to why the nutritional label only shows 1 gram of Fibre when your intro and I agree, there must be more. Any explanation?
Otherwise, It’s a winner and kudos for very professionally written recipe!
Glad you enjoyed the muffins Kathy! Blueberries sound like a great addition! So the nutrition calculator in my recipe card calculates an estimate without inputting the exact ingredients/brands used, which unfortunately can result in some inaccuracies. I provide these nutrition labels as a courtesy and an estimation only. I cannot guarantee its accuracy, especially since everyone uses different brands of ingredients. If the precise nutrition information is vital to you, it’s best to input the recipe into your favorite app with the exact ingredients used for better accuracy. I will also try running it again, because yes, there should be more fiber.
Baking time: I have the medium sized muffin tins and I never bake any muffins for more than 12-14 minutes, including this recipe. 12 min was perfect moisture and toothpick came out clean. Also, the bran doesn’t need to soak up the buttermilk before you mix it. Soupy batter works fine; I do it all the time with this one. This is an excellent recipe..a definite keeper !
Thanks for sharing your experience with the recipe! Glad you’re enjoying the muffins!
Thanks for this recipe! The muffins turned out amazing and we’ve made them multiple times already. We’ve been trying to find ways to increase fiber in our kids’ diets and this did the trick. They love them!
Awesome! Thanks for taking the time to share your experience with the recipe Gina!