How To Do Bakery Swirled Frosting
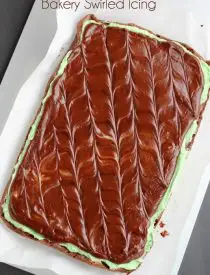
All you need is an offset spatula to create this bakery swirled frosting. An easy way to decorate sheet cakes, dessert bars, and brownies.
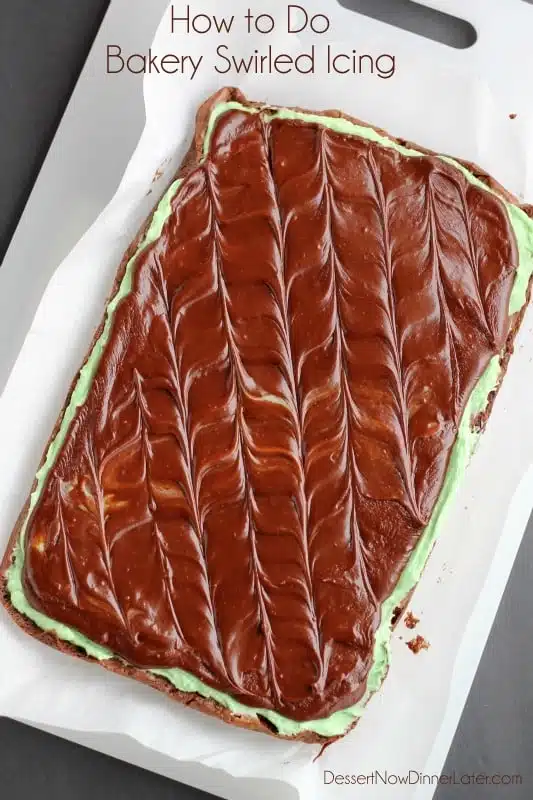
I have been wanting to share this fun icing decoration with you all for a while. In case you don’t know, I am a culinary graduate, and for one of my internships I worked in a bakery, well I worked in a couple bakeries. Anyway, we ALWAYS frosted all the sheet cakes and brownies the same way with this swirled frosting pattern. It is so simple, yet fancy. Everyone always asks how to do it, so I put together this tutorial for you all.
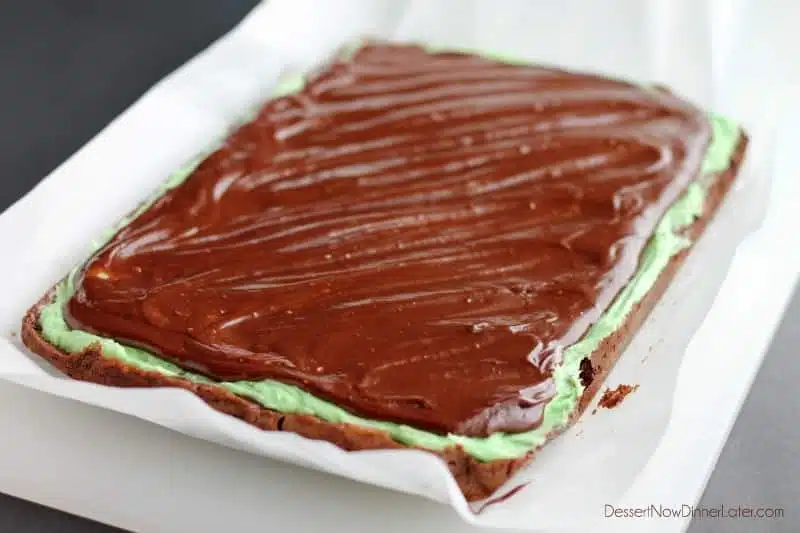
STEP 1: Whatever frosting you are using needs to be zig-zagged across the sheet cake/brownies from one corner to the opposing corner, dragging the spatula the full width of the sheet cake/brownie. Once you start zig-zagging, don’t lift your spatula up until you have reached the opposite corner.
Save This recipe
Enter your email below to get a link to this recipe emailed straight to you to save later! Plus be signed up for all new recipes.
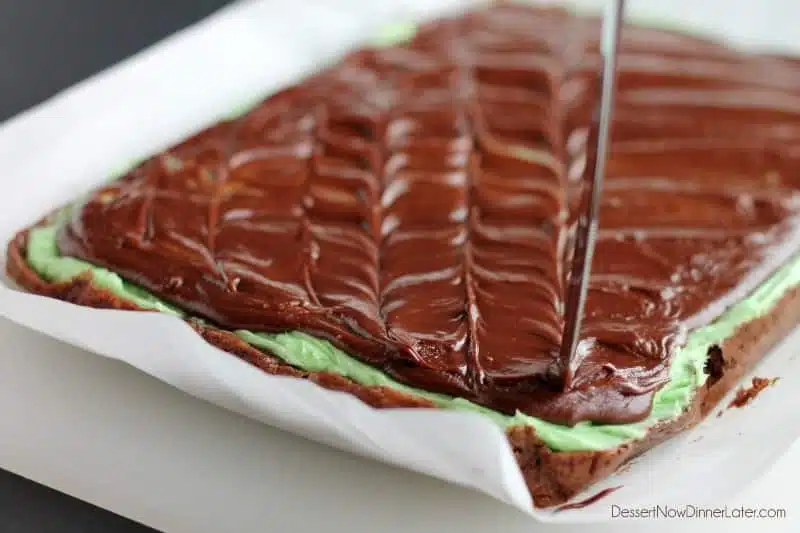
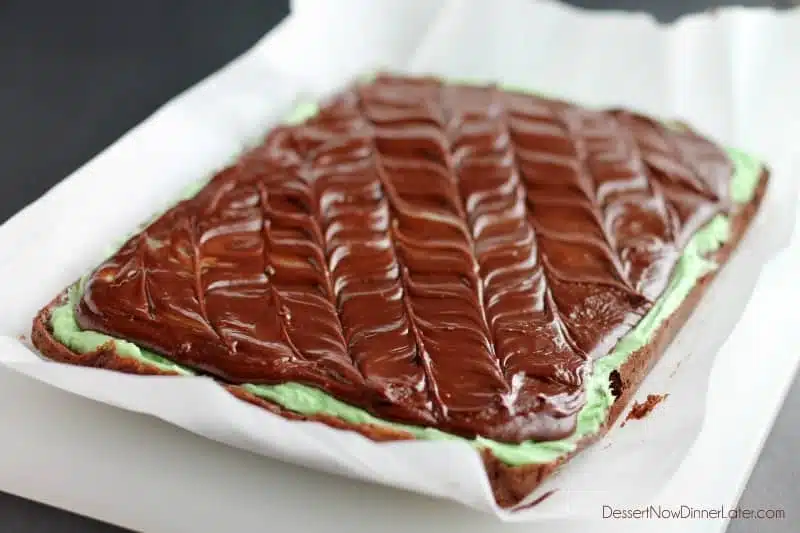
STEP 2: Next you can use the tip of your spatula or a butter knife and drag it back and forth through the zig-zag that you made. You need to switch directions every time you drag it through. Example: one line would go from top to bottom, then the next line would go from bottom to top. Space lines as close or wide as you like; I typically do at least 1-inch apart. I hope that makes sense and you can get a sense of how to do it from the pictures. Continue dragging the knife through, switching directions until you come all the way across the sheet cake/brownies. This creates a rippled/marbled effect.
If your icing is wet, warm or really drippy, wait until it hardens to slice your dessert. Enjoy!
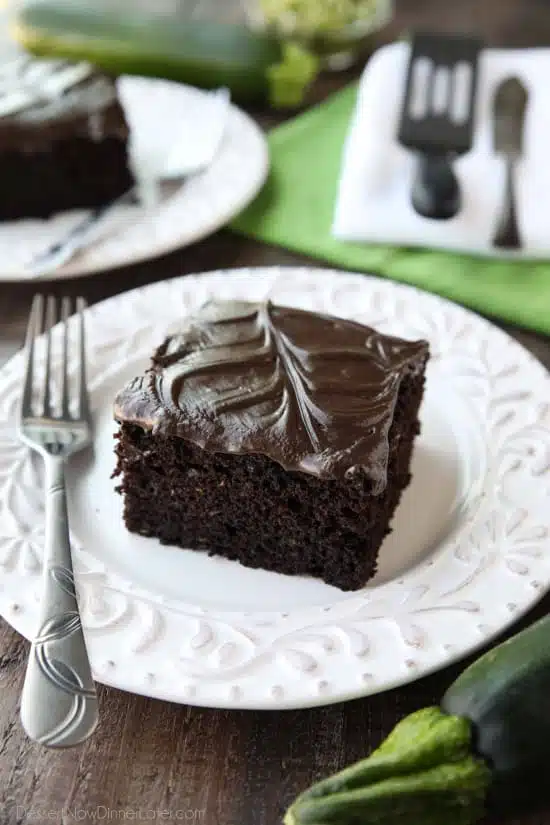
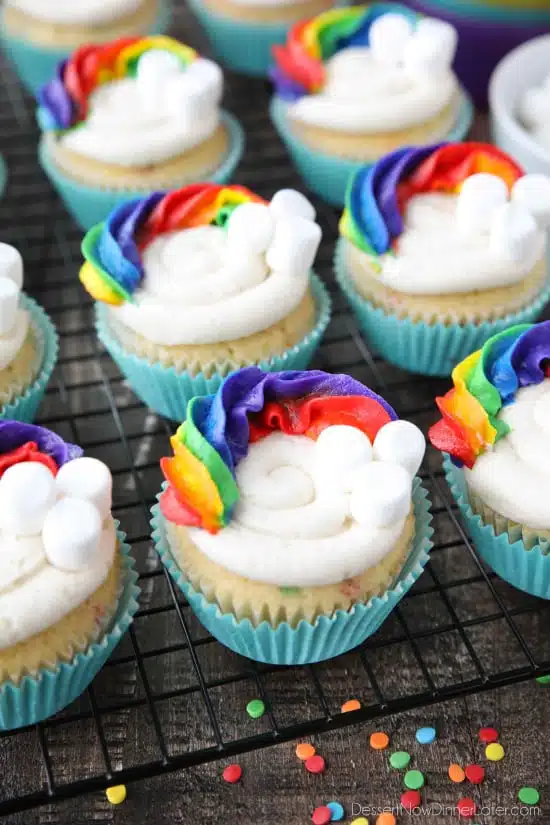
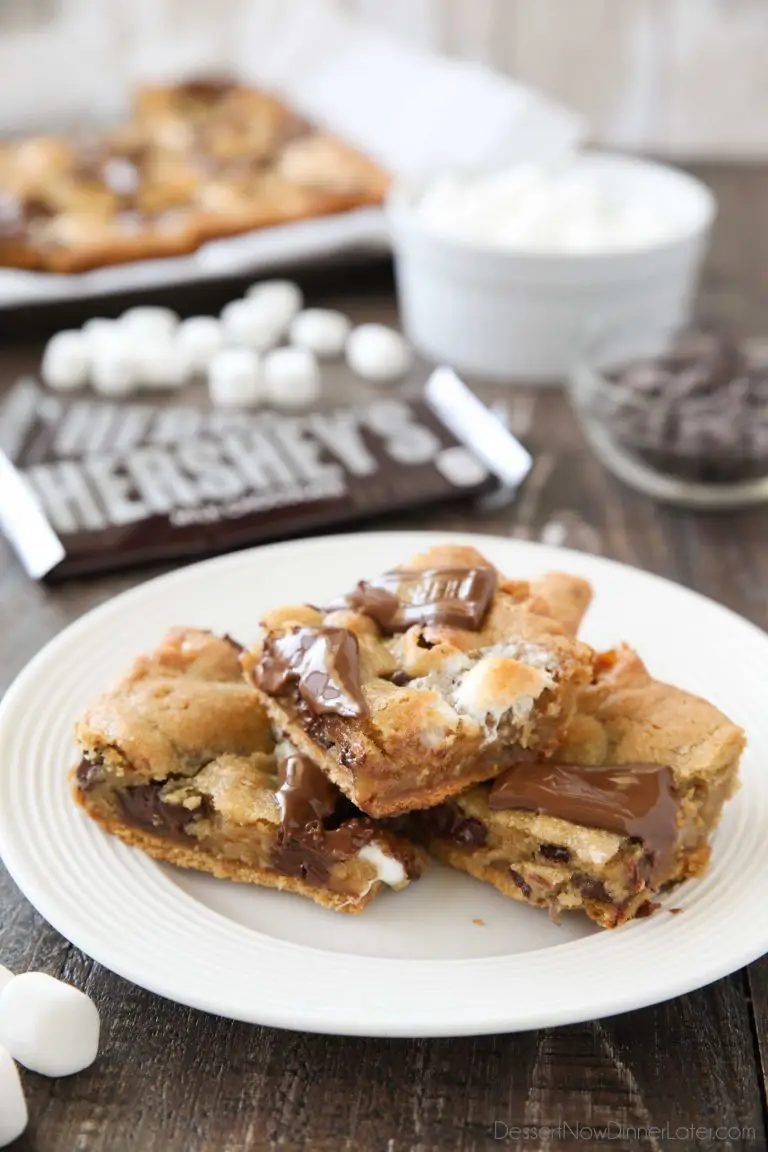
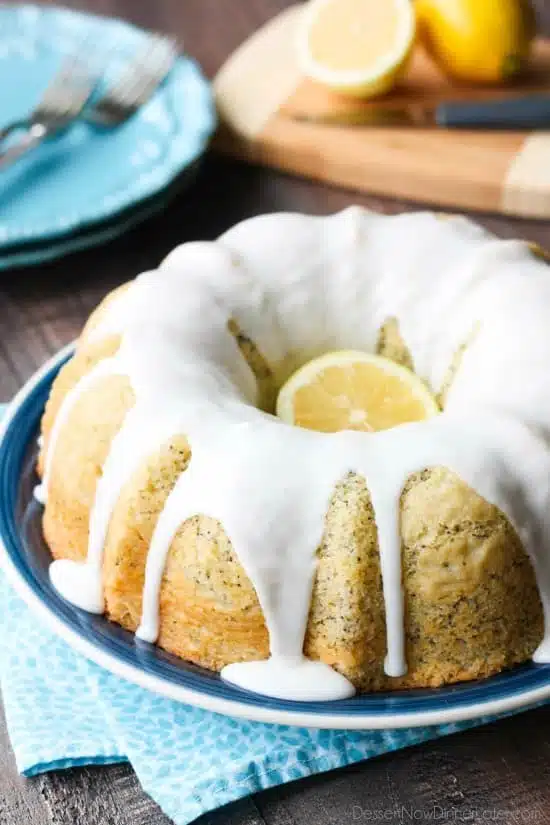
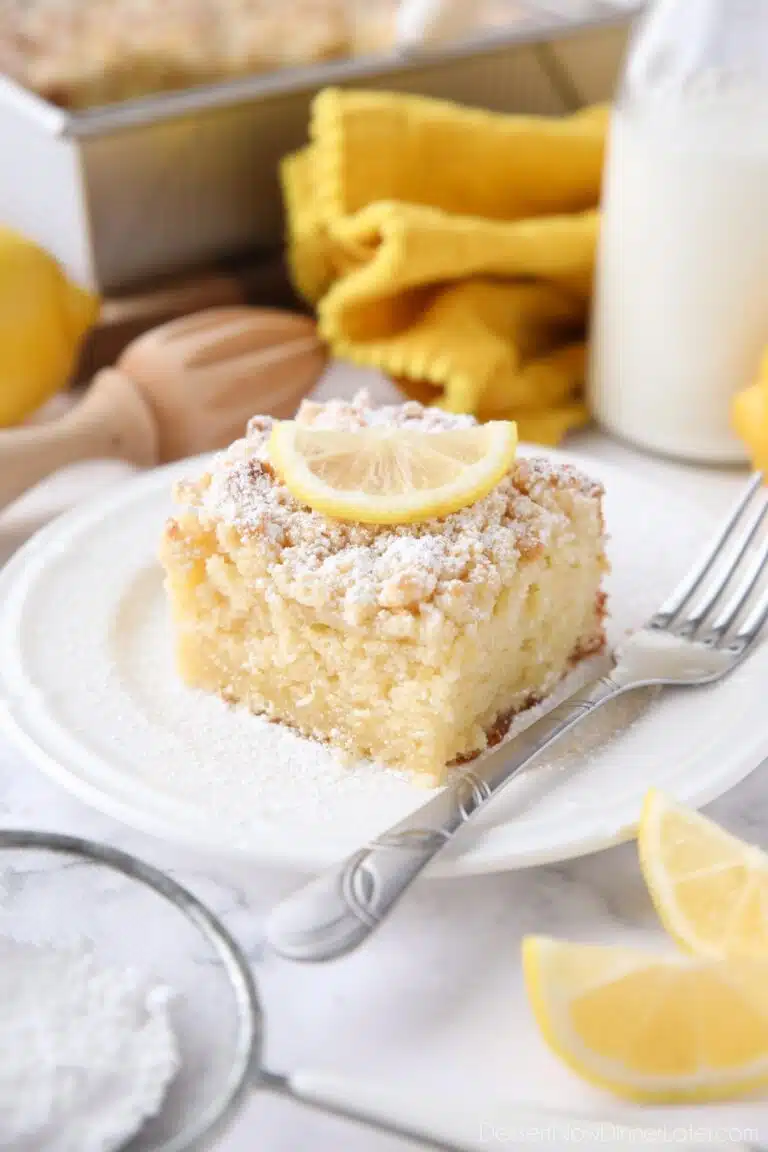
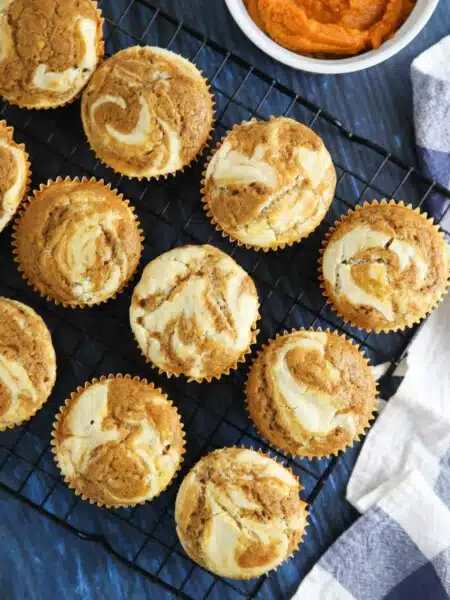
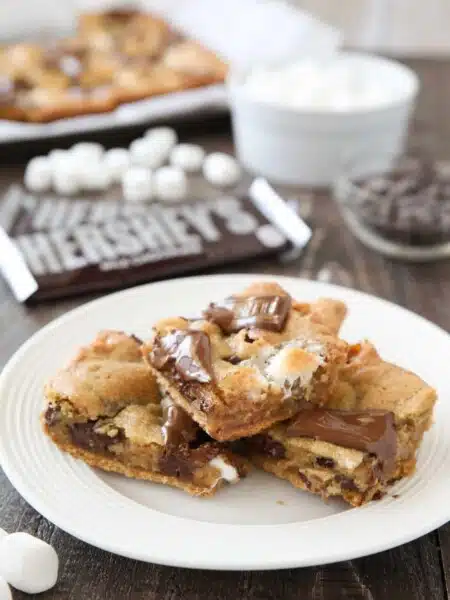
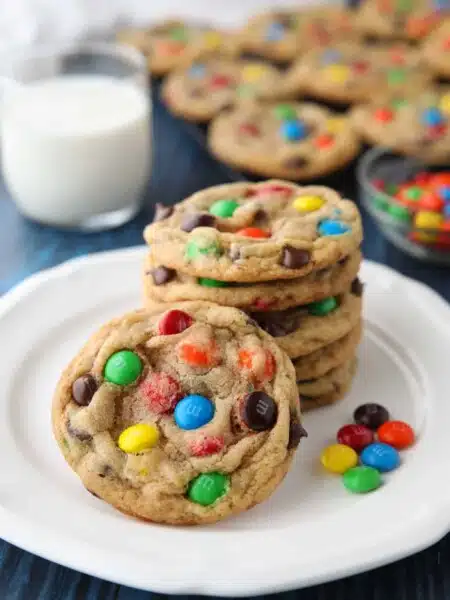
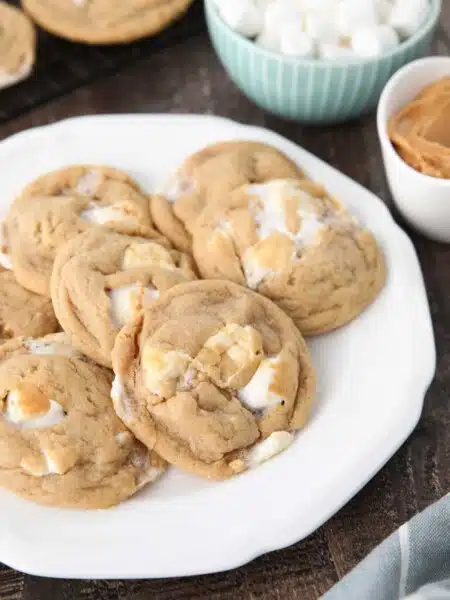
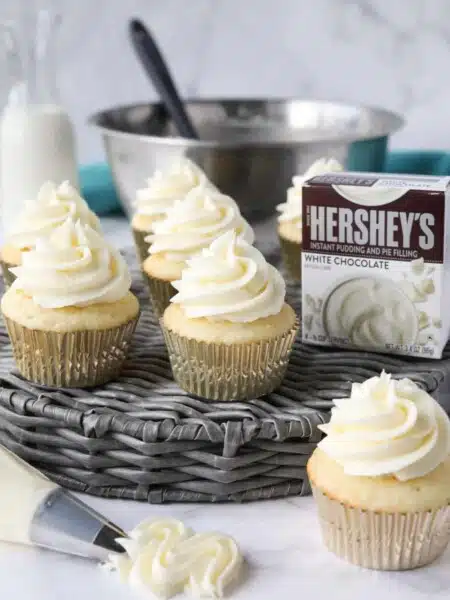
You can use this design for any smooth frosting, icing, spread or dip that you want to make look fancy like these:


You are darling – thanks for sharing your culinary expertise with me (the rookie!) You’re amazing!!!
I had no idea it was so simple! I can’t wait to try this out next time I frost some brownies!
Ah ha! Now my cakes can look pretty too. Thank you for sharing this tip. Great tutorial.
It makes everything look so polished and straight from a bakery! Thanks for the tip!
Love your tutorial! I have done this before and love how pretty it is!
Who knew it was so easy!! Thanks for this, Amber!
This is so easy! Thanks for the tutorial!
The littlest details make desserts look so professional! Great post!
Such a simple way to add detail
Hi Amber love your recipes! I just made your red velvet pancakes and they tasted just like the ones at IHOP!
That’s great! I am so glad you liked them!