Homemade Crescent Rolls + Video
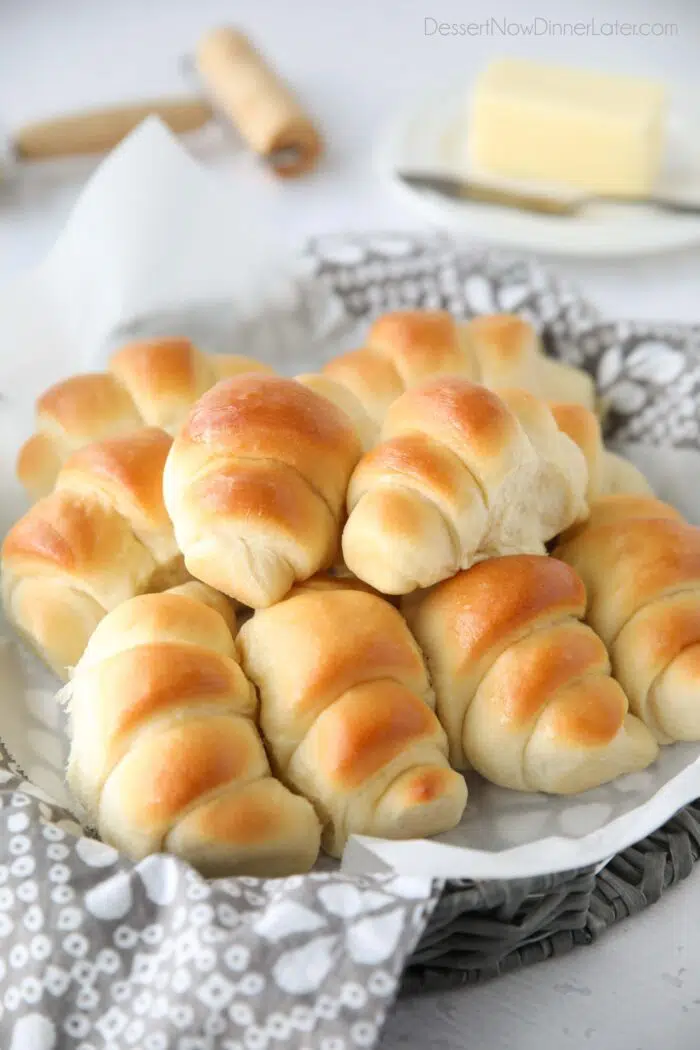
This Homemade Crescent Rolls recipe creates soft and fluffy dinner rolls. They’re easy to make, tender, and buttery. Perfect for Sundays and holiday meals.
Want more roll inspiration? You can make the same dough from this recipe and shape it into balls for classic dinner rolls or try my whole wheat rolls for a whole grain bread. Feeling advanced? Try my butterflake rolls. New to bread making? Try these easy yeast rolls for beginners.
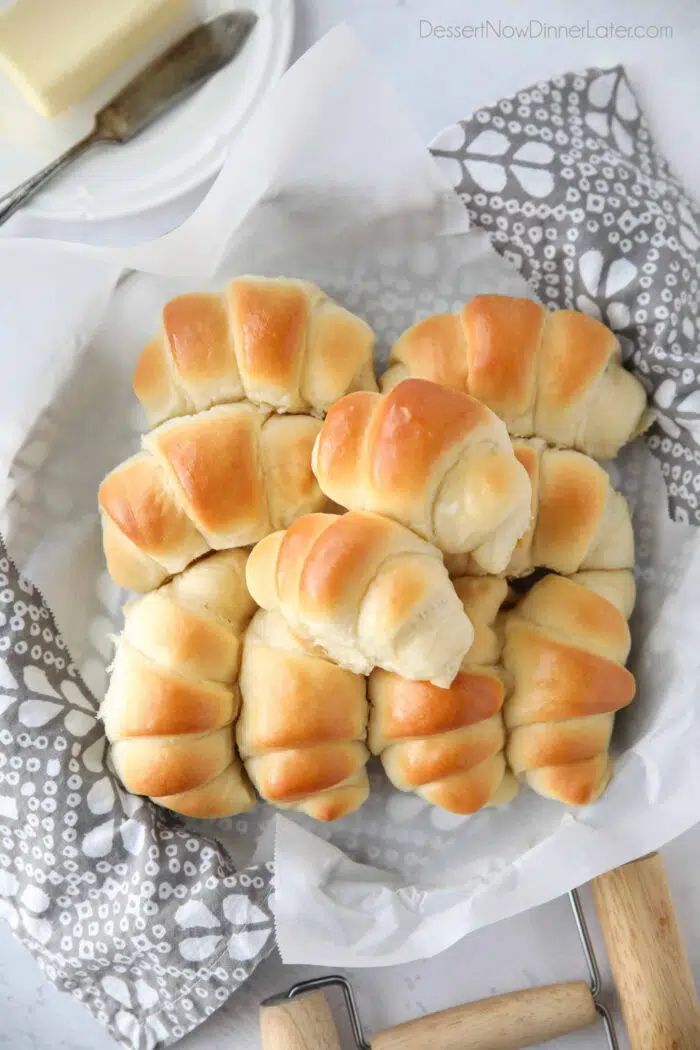
What is the difference between croissants and crescent rolls?
Croissants and crescent rolls are often mistaken for the same thing because they are shaped the same way.
Save This recipe
Enter your email below to get a link to this recipe emailed straight to you to save later! Plus be signed up for all new recipes.
The difference between the two is that croissants have chilled butter folded into several layers of the dough to make it flaky. Like puff pastry, but with yeast.
Crescent rolls are made from a buttery enriched dough that is fluffy and light with layers only from rolling the dough during shaping.
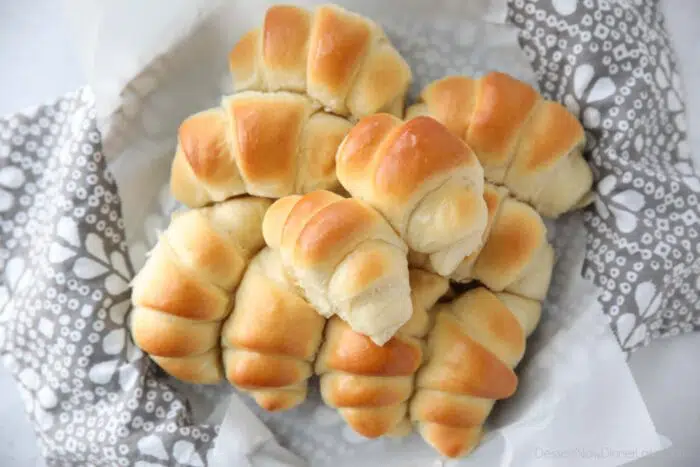
Why should I make these?
Crescent rolls are fun to make, easy to shape, and look more impressive than a standard dinner roll. Making them great for special occasions and holidays, but they’re honestly just as good for Sunday dinner.
Plus, leftovers make a great breakfast warmed up and smothered with butter and jam or honey.
Making crescent rolls from scratch isn’t going to be as quick as popping open a can of Pillsbury Crescents. (Which are more like a biscuit than a bread.) But, homemade crescent rolls are made with real butter instead of vegetable shortening, and yeast instead of baking powder, making them lighter and softer.
Why is it called a crescent roll?
Crescent rolls got their name due to the fact that they’re shaped like a crescent moon.
I actually prefer to keep mine more straight than curved, so it’s easier to cut them in half and spread butter inside. Or make a sandwich with them.
What is crescent roll dough made of?
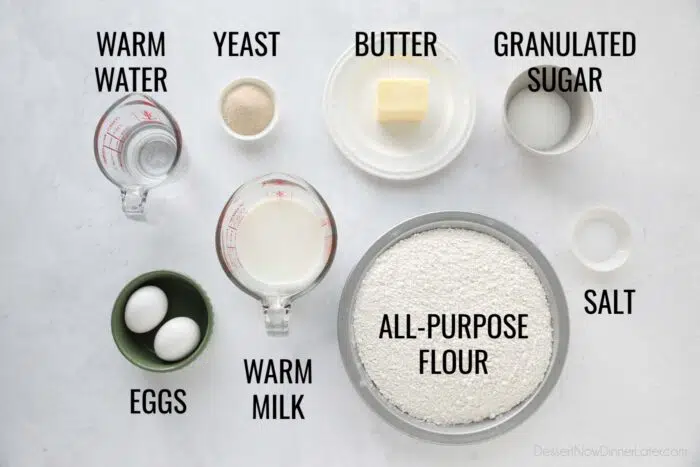
These homemade crescent rolls are made with simple ingredients.
- Quick Rise or Instant Dry Yeast – Active dry yeast will also work, but the dough will take longer to rise.
- Warm Water – To activate the yeast. Aim for 110˚F.
- Butter, softened. Unsalted is preferred. If using salted, adjust the amount of salt in half or omit it completely.
- Granulated Sugar – Helps feed the yeast and creates a golden brown exterior.
- Eggs – Large eggs are best for baking. Eggs leaven and enrich the dough making it rise higher. They also make the crumb more tender and light.
- Warm Milk – For added flavor and a golden crust. Warm milk (110˚F) also helps the yeast rise.
- Salt – Table salt is used to bring out the flavor of the bread.
- All-Purpose Flour – To create the structure of the bread.
Blooming Yeast
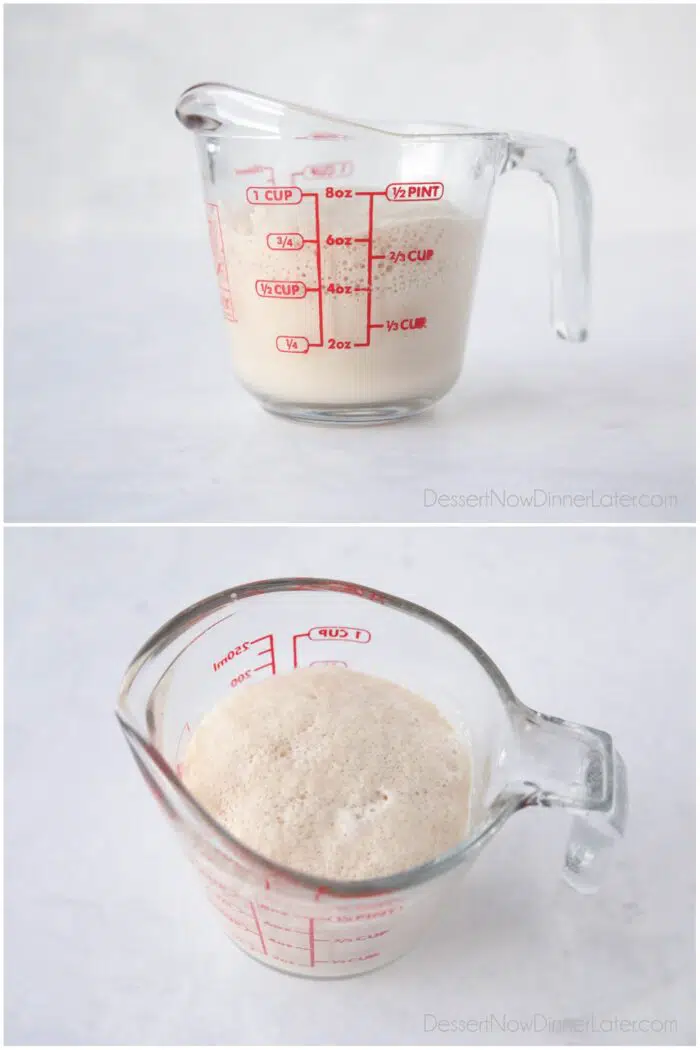
The first step to making homemade crescent rolls, or any yeast dough, is to bloom the yeast. Technically, if you’re using quick rise/instant yeast you don’t need to bloom it first. I always do this anyway, to ensure my dough will work.
To bloom yeast, warm the water to 110˚F, then add the dry yeast and stir it together. Set the mixture aside for 5 minutes to dissolve.
If you don’t have a thermometer, test the water on your wrist. If it feels very warm, then it’s perfect for yeast.
Bloomed yeast bubbles up. If it looks the same after you’ve mixed it and waited, then the yeast might be old. Other reasons may be that the water was too hot and it killed the yeast. Or the water was too cold and it didn’t activate the yeast.
NOTE: You can add 1 Tablespoon of the sugar with the yeast when mixing it with the water to help feed it. This is especially helpful if using active dry yeast.
Making the Dough
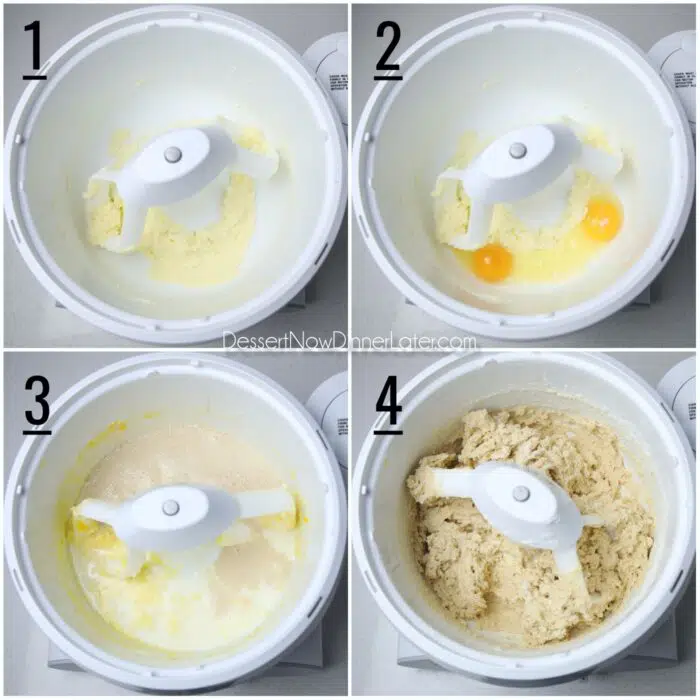
While the yeast dissolves and blooms, follow these crescent rolls instructions for making the dough:
- Cream butter and sugar in a mixer with the paddle attachment.
- Add eggs and mix well. Scrape bowl.
- Add the milk, salt, and yeast mixture. Mix together.
- Add 5 cups of flour and mix slowly, until just combined. Then switch to a dough hook.
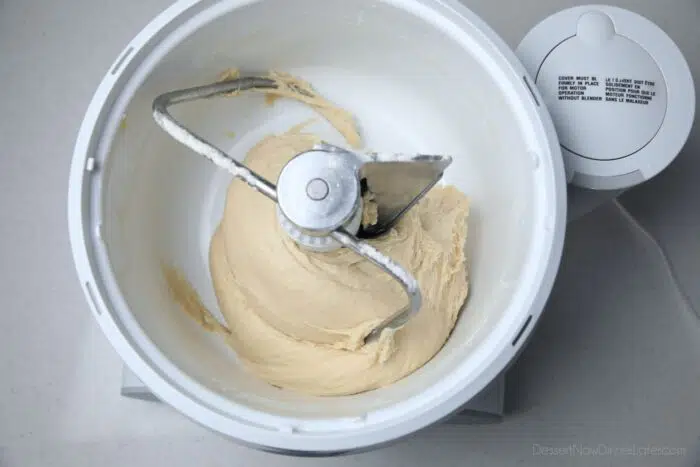
Knead dough for 5 minutes on medium speed, until a soft dough is formed. Add up to 1/2 cup of extra flour 1 Tbsp at a time, as needed. Dough will be sticky, but should pull away from the sides of the bowl.
NOTE: Pictured is my Bosch Mixer. (Affiliate link.) I prefer it over my KitchenAid for breads, as it kneads the dough much more efficiently.
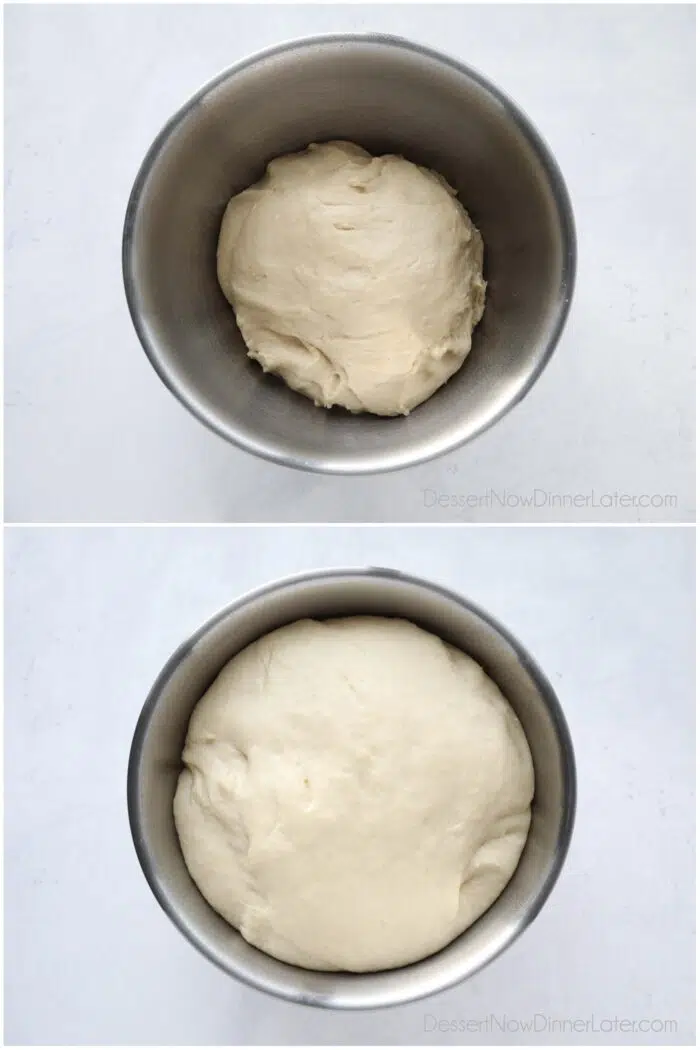
Transfer dough to a greased bowl. Cover the bowl with sprayed plastic wrap. Let rise for 30-45 minutes in a warm place.
PRO TIP: Check out these tips for 6 ways to make dough rise faster. I used the oven method with hot water. A great way to proof bread at home!
How to Shape Homemade Crescent Rolls
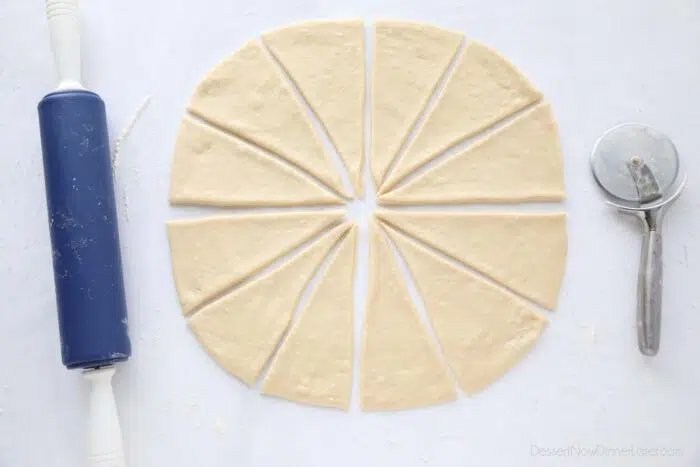
After the bread has doubled in size:
- Punch the dough down. Divide the dough in half, and shape each half into a ball.
- Roll each half into a large circle about 14-inches wide.
- Then cut each circle into twelve wedges, using a pizza cutter.
- Roll each wedge from the wide end to the tip, making about six turns/folds.
TIP: It helps if the dough is rolled fairly thin, about 1/4-inch thick, to get six full turns. I also like to tug on the two corners of the wedge to make them slightly wider before I start rolling.
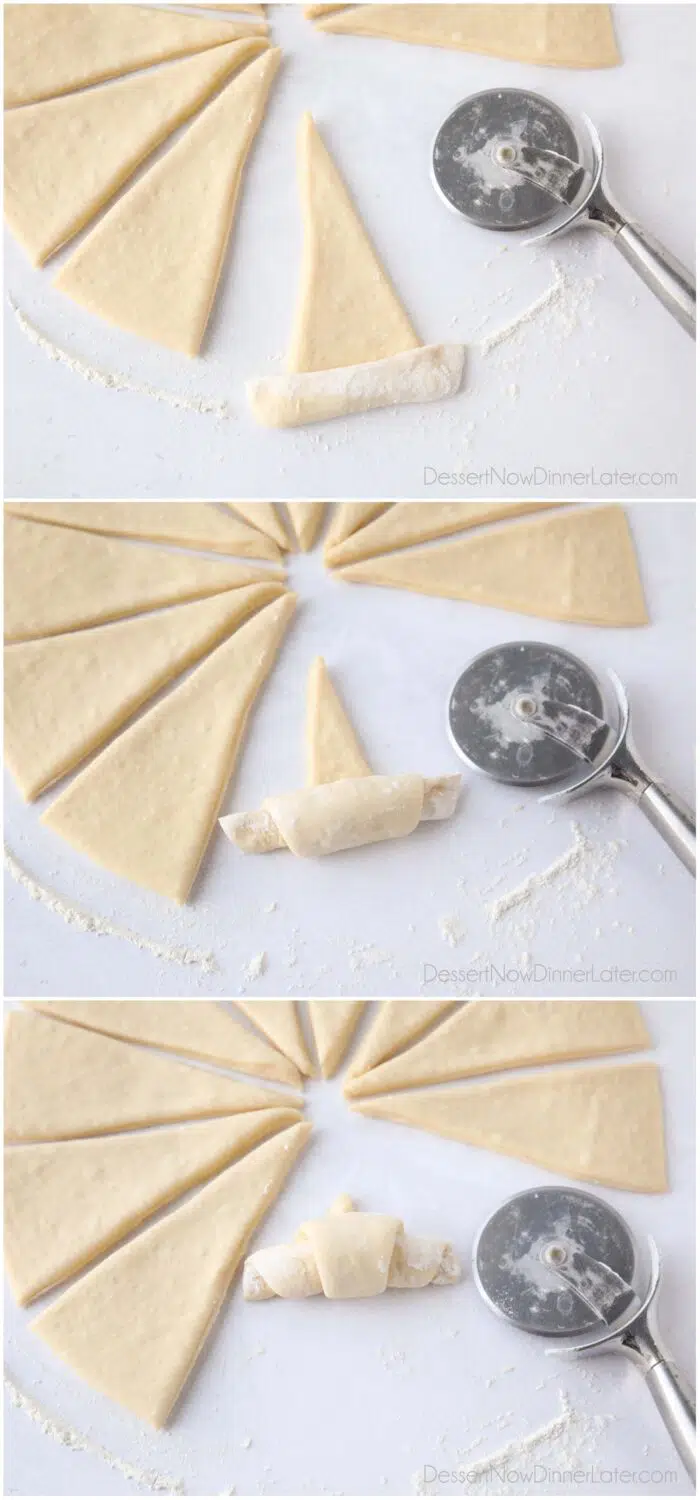
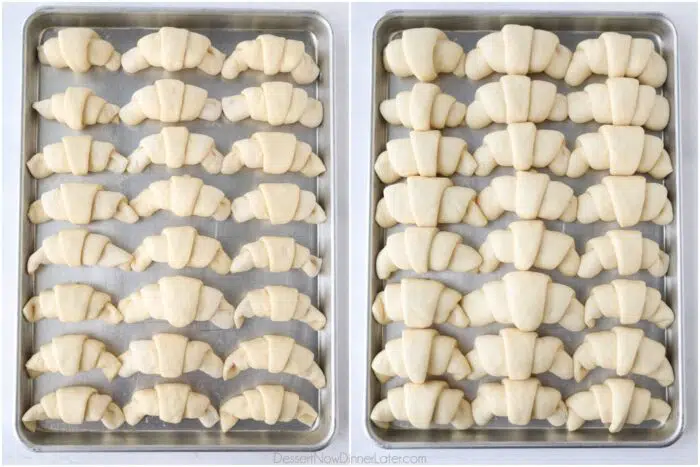
- Curve ends slightly and place the crescent shaped rolls, tip side down, onto a lightly greased half sheet pan.
- Cover rolls with sprayed plastic wrap and let rise until double in size, about 30-45 minutes.
Baking and Serving
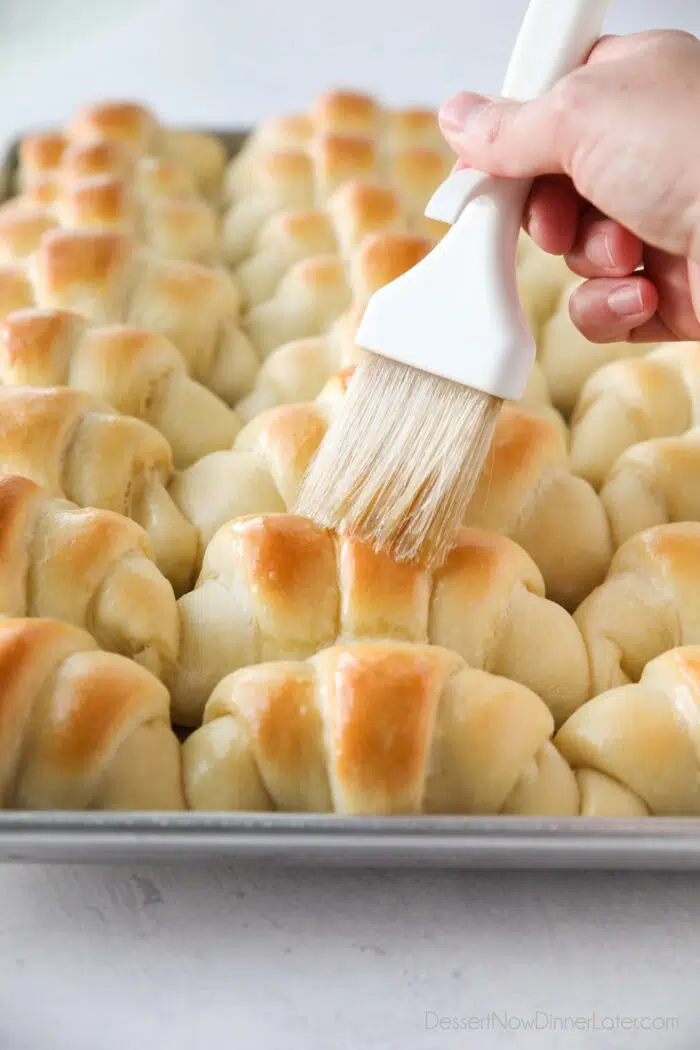
Bake homemade crescent rolls at 350 degrees Fahrenheit for 15-20 minutes or until golden brown on top and bottom. The internal temperature of fully baked rolls should be between 190-200˚F.
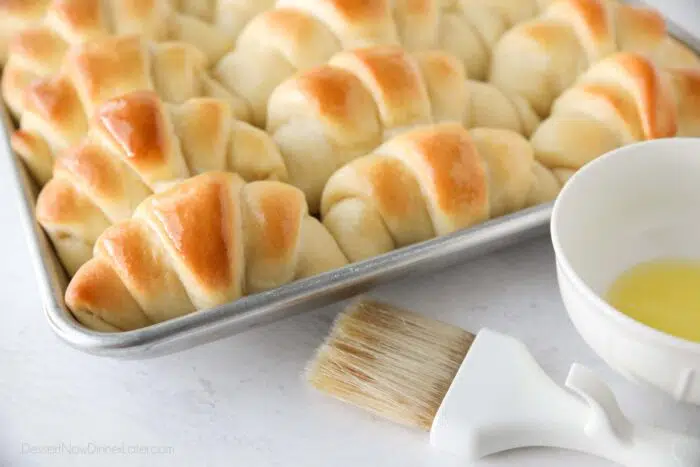
Brush the top of the hot rolls with melted butter and enjoy immediately. These rolls are best served warm.
Storing and Reheating
Store any leftover crescent rolls in zip-top bag at room temperature up to 2-3 days.
To re-heat: Nuke rolls individually in the microwave for 5-10 seconds. Or wrap rolls in foil and place them in a 350ºF oven for 5-7 minutes.
Make Ahead Options
You can make the crescent roll dough ahead of time and store it in the fridge for a couple days or shape it and freeze it to be baked later.
- To refrigerate the dough: Once you have kneaded the dough, placed it in a lightly greased bowl, and cover it with sprayed plastic wrap. Store dough in the fridge up to 2 days. Then when you’re ready — roll, cut and shape the dough, then rise and bake the rolls.
- To freeze the dough: Place unbaked, shaped crescent rolls onto a parchment lined baking sheet and place it in the freezer. Once solid, transfer the rolls into a freezer-safe zip-top bag. Freeze up to 6 months. To bake from frozen: Place frozen crescent rolls 2-3 inches apart on a greased sheet pan. Cover the pan with greased plastic wrap, to prevent sticking. Allow rolls to rise at room temperature for about 4 hours (or in the fridge overnight) until double in size. Then bake.
More Savory and Sweet Roll Recipes
- Garlic Parmesan Rolls
- Olive Garden Breadsticks Recipe
- Empty Tomb Rolls
- Orange Rolls
- Rhodes Caramel Pecan Rolls

Homemade Crescent Rolls
Ingredients
- ½ cup (118 ml) warm water, (110˚F)
- 2 Tbsp yeast, (quick rise or instant dry yeast)
- 6 Tbsp (85 g) unsalted butter, softened
- ⅓ cup (68 g) granulated sugar
- 2 large eggs
- 1 cup (237 g) warm milk, (110˚F)
- 2 tsp salt
- 5 to 5 ½ cups (600 to 660 g) all-purpose flour, (stir, spoon & level)
- 2 Tbsp (29 g) butter, melted (for brushing rolls)
Instructions
- Stir yeast in warm water to dissolve. Set aside.
- Cream butter and sugar in a stand mixer with the paddle attachment. Add eggs and mix well. Scrape bowl. Add the milk, salt, and yeast mixture. Mix to combine.
- Add 5 cups of flour and mix slowly, until just combined. Then switch to a dough hook.
- Knead dough for 5 minutes on medium speed, until a soft dough is formed. Add up to 1/2 cup of extra flour, 1 Tbsp at a time, as needed. Dough will be sticky, but should pull away from the sides of the bowl.
- Transfer dough to a greased bowl. Cover the bowl with sprayed plastic wrap. Let rise for 30-45 minutes in a warm place.
- After the dough has doubled in size, punch the dough down. Divide the dough in half, and shape each half into a ball.
- Roll each half into a large circle about 14-inches wide. Then cut each circle into twelve wedges, using a pizza cutter.
- Roll each wedge from the wide end to the tip, making about six turns/folds.
- Curve ends slightly and place the crescent shaped rolls, tip side down, onto a lightly greased half sheet pan.
- Cover the rolls with sprayed plastic wrap and let rise until double in size, about 30-45 minutes. *Preheat oven to 350 degrees Fahrenheit.
- Bake homemade crescent rolls at 350˚F for 15-20 minutes or until golden brown on top and bottom. The internal temperature of fully baked rolls should be 190-200˚F.
- Brush the top of the hot rolls with melted butter and enjoy immediately. Best served warm.
Video
Notes
- Store any leftover crescent rolls in zip-top bag at room temperature up to 2-3 days.
- To re-heat: Nuke rolls individually in the microwave for 5-10 seconds. Or wrap rolls in foil and place them in a 350ºF oven for 5-7 minutes.
- Note: This recipe makes just under 3 lbs of dough.
Nutrition
Did you make this?
Don’t forget to leave a rating below and make sure to follow on Pinterest and Instagram for more!





Hello, thank you for this recipe. I have been looking for an easy croissant recipe, but I was wondering if there was a way to make them without sugar? Maybe honey or allulose? Any recommendations?
You could probably use honey. I would only use half as much though. I do have a whole wheat bread recipe that uses honey if you prefer that. You could shape it the same as these. Here’s that link: dessertnowdinnerlater.com/whole-wheat-dinner-rolls/
Can the crescent rolls wait to be baked like in two days?
Bread dough can be refrigerated, but if you’re going to wait 2 days I wouldn’t shape them yet. This article from King Arthur Flour explains in depth how to refrigerate the dough for later: https://www.kingarthurbaking.com/blog/2021/09/28/how-to-refrigerate-bread-dough-to-bake-later
Can I put cream cheese into these before baking?
If you want a pocket of cream cheese in the center, it might best to flatten a piece of dough and wrap it around a piece of cream cheese, then roll the dough into a round ball instead of shaping crescents. Otherwise the cream cheese may melt out. You could try and spread it on the round piece of dough, like you would smear butter for cinnamon rolls, then cut the triangles and roll them up. It will be sticky to cut, and the cream cheese may disappear into the bread partially or completely during baking, but letting you know different options so you can decide which way you would like to try.
I have for many years made your BEST buttery dinner rolls recipe. Is this the same recipe with a different name? I did notice brushing with melted butter instead of softened before cutting into triangles and rolling them. I was just wondering if there were any other differences.
Yes, this is the same recipe and a different technique. It’s my favorite dough for breads.