Butterflake Dinner Rolls
When I was in college I interned at a local grocery store bakery. It was the first bakery I had ever been in & I did a lot. I got to try everything from donuts, to rolls, to decorating cakes. It was a fun job!
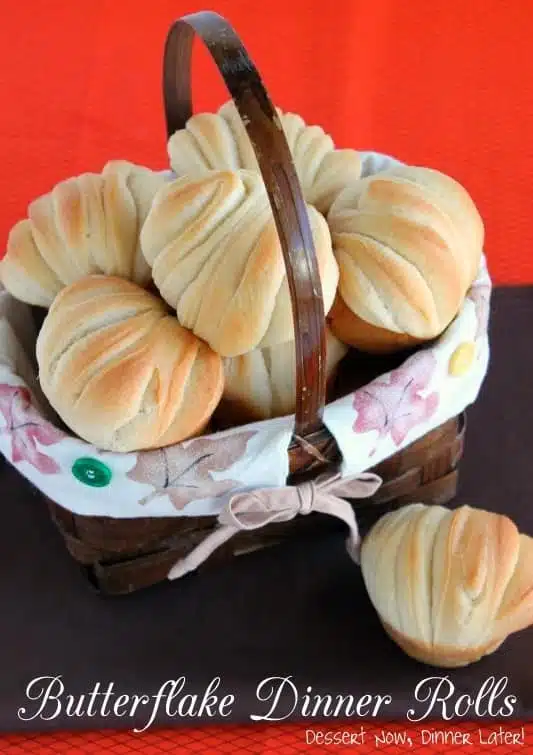
It was also the place that I met the best baker in the world, my friend Jason! And guess what? Today is his birthday! Happy Birthday Jason! To celebrate, I am sharing this beautiful butterflake dinner rolls recipe with you today. It’s layered with butter & peels apart into tender, flakey pieces of roll.
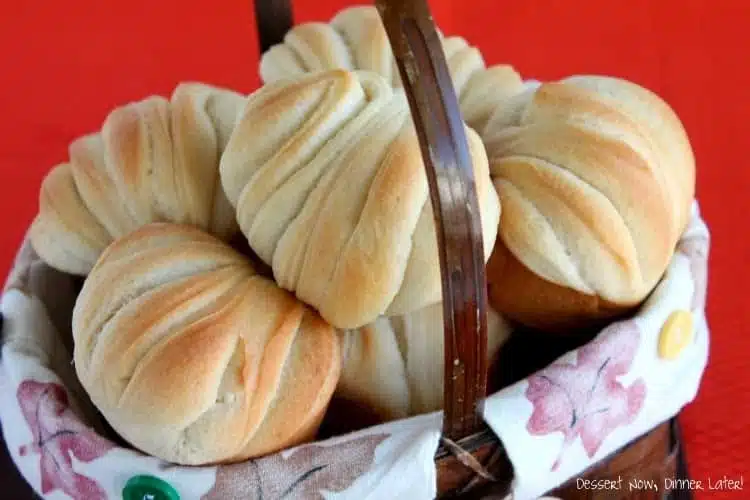
This is the PERFECT Thanksgiving roll to impress your family with this year. You don’t have to be a pro-baker to make these either, because I have the best of the best teaching us step-by-step how to make this beautiful roll.
Save This recipe
Enter your email below to get a link to this recipe emailed straight to you to save later! Plus be signed up for all new recipes.
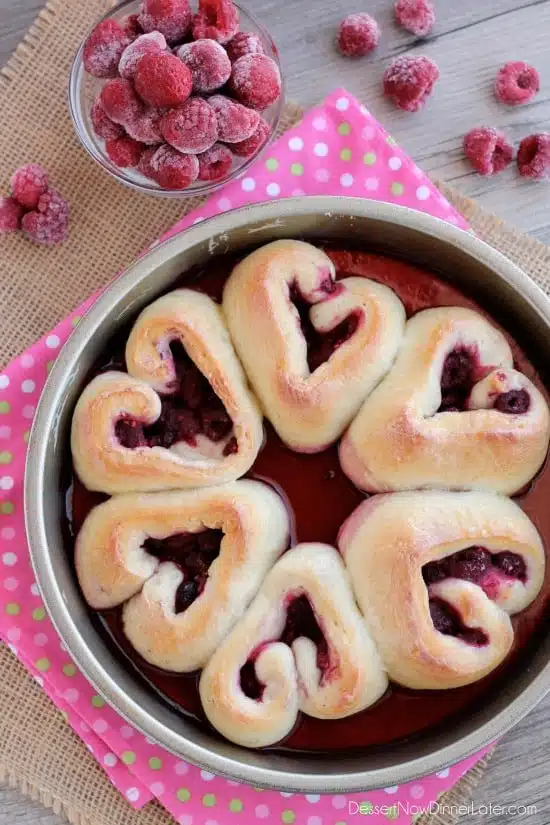
There are also a couple of variations at the bottom for orange or raspberry butterflake rolls, & a savory garlic butterflake roll too. You are going to fall in love with these!
This recipe makes 2 1/2 dozen rolls, so you might have a couple left over for those turkey sandwiches after Thanksgiving day.
Have fun with it! Enjoy! And thanks to Jason, for being my helper on this post! Keep scrolling to the very end for the recipe.
HOW TO MAKE BUTTERFLAKE ROLLS
Once the dough is made, take the dough out of the bowl & place it on a lightly floured surface. Shape the dough into a square, cover with a towel & let it rest for 10 minutes.
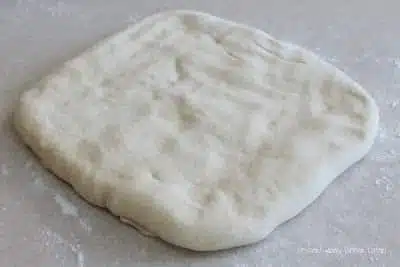
Flatten dough with a rolling pin into about 1/2″ thick square.
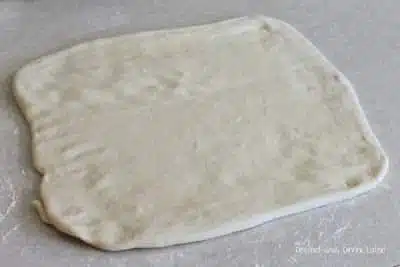
Spread SOFTENED butter on 2/3 of the square. (If making Raspberry or Orange Rolls, spread a thin layer of jam/marmalade over the butter in this step. If making Garlicky Rolls, sprinkle Garlic Salt on top of the butter in this step.)
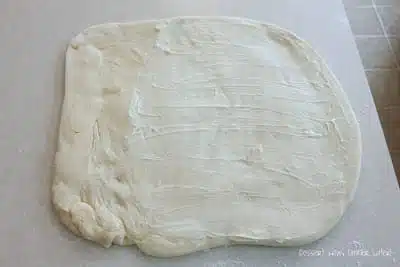
Do a tri-fold, by folding the non-buttered side over first…
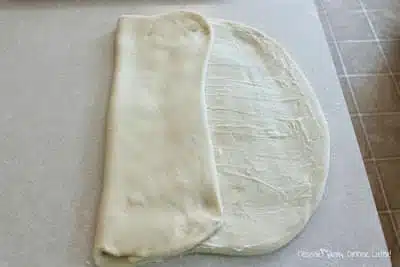
Then the buttered side on top of that. Place dough on a baking sheet in the freezer for 20 minutes.
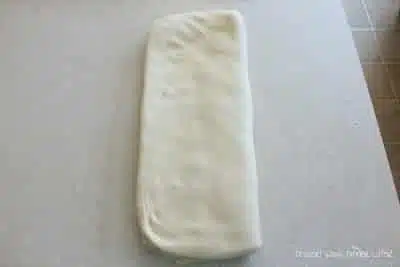
Once the butter has had time to chill inside the dough, flatten again long ways to about 1/4″ thick.
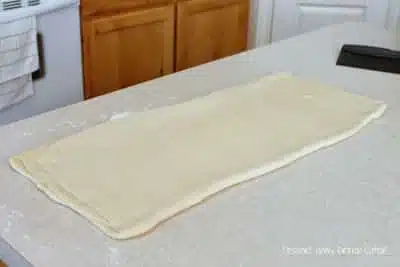
Then brush melted butter on the center half of the dough.
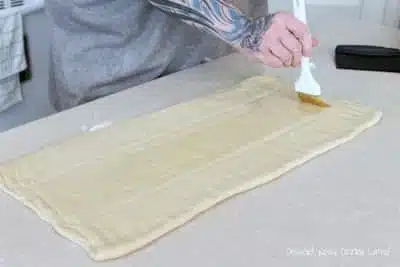
Fold the bottom fourth of the dough up…
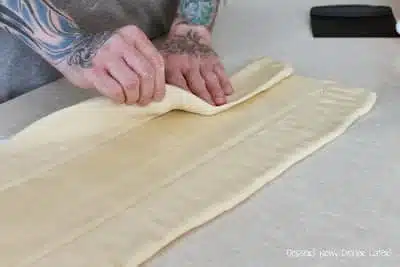
…& the top fourth of the dough down so the two ends meet in the middle (book fold.)
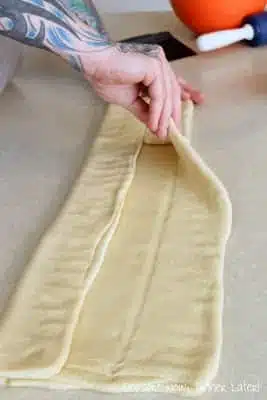
Flatten gently with the rolling pin.
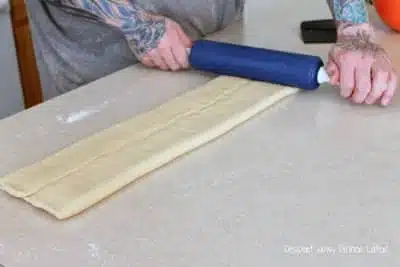
Brush melted butter on the bottom half of the fold…
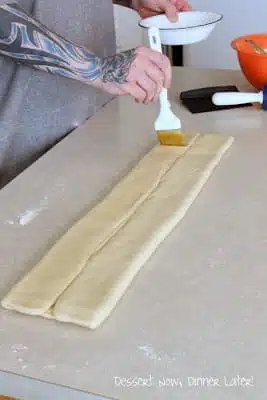
…& then fold the top half over. You won’t use all the butter. Save the rest for brushing the hot rolls when they come out of the oven.
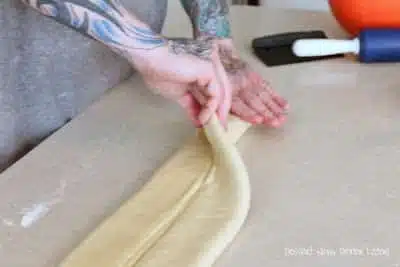
Use a rolling pin & flatten the strip of dough to roughly 1″ thick & about 3 inches wide.
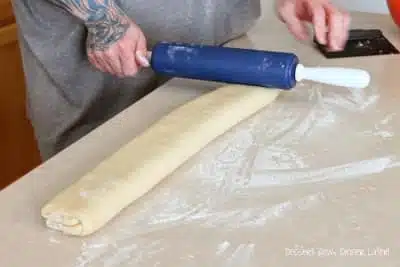
Cut 1/2″ to 3/4″ thick pieces.
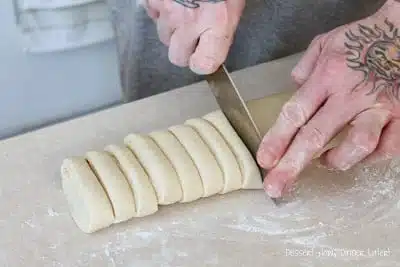
Take each piece & lay flat on the table.
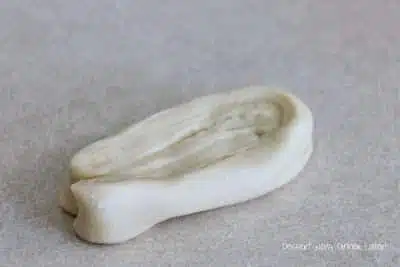
Roll them from the top down.
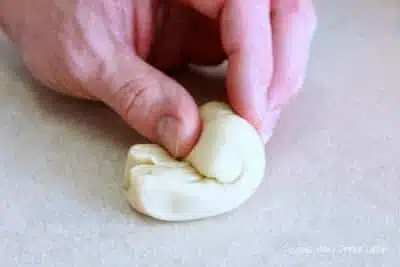
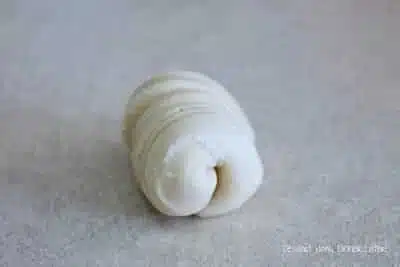
Put rolls into sprayed muffin pans with the seam side down.
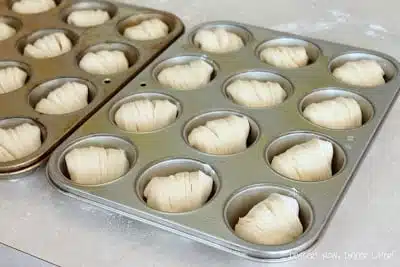
Cover the pans with plastic wrap that has been lightly greased with pan spray. Let rise until the rolls are a good 1/2-inch over the top of the muffin pans, about 1 hour. Bake at 350˚F for 15 minutes. Brush the hot rolls with the remaining melted butter hot from the oven.
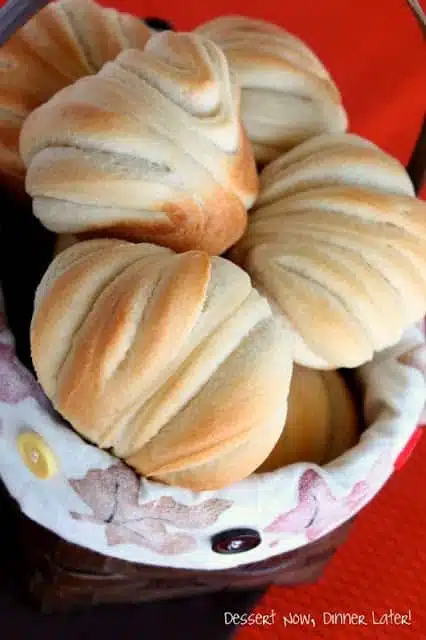
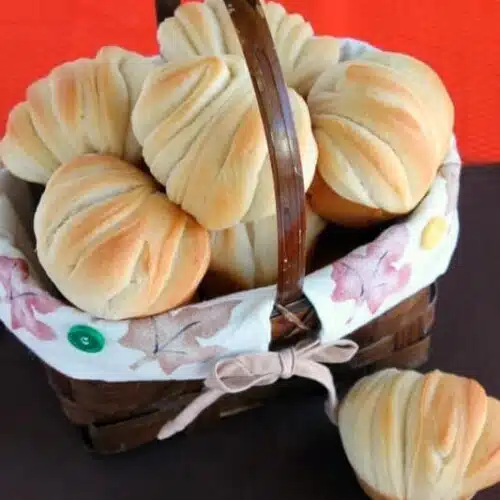
Butterflake Dinner Rolls
Ingredients
- ¼ lb whole eggs, whisked (about 2 large eggs)
- ¾ lb (355 ml) warm water, (approximately 1 ½ cups water)
- 1 ¾ lbs (690 g) all-purpose flour, (approximately 5 ¾ cups flour)
- 7 Tbsp granulated sugar
- 7 Tbsp shortening
- 7 Tbsp non-fat dry milk powder
- 1 Tbsp salt
- 5 tsp dry instant yeast
- ¼ cup (57 g) butter, softened
- ¼ cup (57 g) butter, melted
Instructions
- Place all the ingredients but the butter into a stand mixer with the hook attachment. Mix on medium speed for about 20-25 minutes or until the dough balls up & pulls completely away from the bowl (the bowl comes clean.) It will look sticky for a while, so be patient with it, you don’t want to add a bunch of flour & dry it out.
- Take the dough out of the bowl & place it on a lightly floured surface. Shape the dough into a square, cover with a towel & let it rest for 10 minutes.
- Flatten dough with a rolling pin into about ½” thick square.
- Spread SOFTENED butter on ⅔ of the square. Do a tri-fold by folding the non-buttered side over first, then the buttered side on top of that. Place dough on a baking sheet in the freezer for 20 minutes.
- Once the butter has had time to chill inside the dough, flatten again long ways to about ¼” thick. Then brush melted butter on the center half of the dough. Fold the bottom fourth of the dough up, & the top fourth of the dough down so the two ends meet in the middle (book fold.) Flatten gently with the rolling pin.
- Brush melted butter on the bottom half of the fold & then fold the top half over. You won’t use all the butter. Save the rest for brushing the hot rolls when they come out of the oven.
- Use a rolling pin & just flatten the strip of dough to roughly 1" thick & about 3 inches wide. Cut ½" to ¾" thick pieces. Take each piece, lay it flat on the table, & roll them from the top down. Put rolls into sprayed muffin pans. Cover the pans with plastic wrap that has been lightly greased with pan spray. Let rise until the rolls are a good ½-inch over the top of the muffin pans, about 1½ to 2 hours.
- Bake at 350˚F for 13-15 minutes. Brush the hot rolls with the remaining melted butter hot from the oven. Makes 2½ dozen.
Notes
- Variations: Use orange marmalade or raspberry preserves on top of a THIN layer of softened butter in step #4 for an orange or raspberry roll. Complete other steps as written. Allow rolls to cool. Combine powdered sugar mixed with a tiny bit of water to create an icing. The less water you use the thicker the glaze will be. Flavor the glaze with orange marmalade or raspberry preserves & dip the tops of the rolls in the glaze; allow glaze to dry.
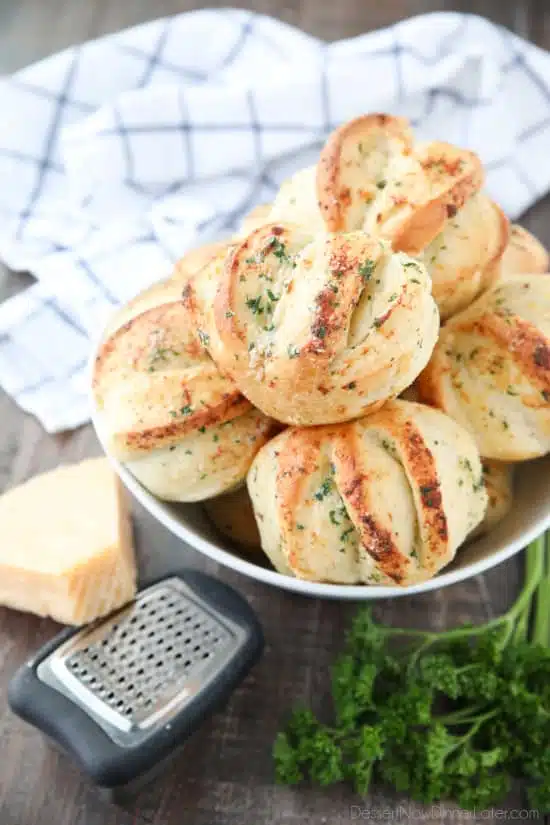
- Make Garlic Butterflake Rolls by sprinkling garlic salt on top of the butter in step #4. Complete other steps as written. Brush hot rolls with butter & an extra sprinkle of garlic salt & even grated parmesan cheese if desired.
Did you make this?
Don’t forget to leave a rating below and make sure to follow on Pinterest and Instagram for more!





Has anyone tried using a bread machine on the dough cycle for the dough?
You should be able to use it. It just needs to work long enough to develop the dough. Possibly add a little bit more flour, so the dough is slightly stiffer.
So do you mix the dry yeast in with all the other ingredients without mixing it with water first? Thank you!
Yep. I know it’s weird, I thought so too, but it totally works. If you are worried about it, go ahead & bloom it in the water first & proceed with the steps as follows. 🙂
I don’t have any milk powder – any chance you can substitute with milk?? I’m really hoping I can make these for thanksgiving dinner tonight!! 🙂
Hi Ghislaine! You can substitute the powder with milk. The powder gives it a little extra sweetness & softness, but regular milk will still add that softness to the dough. Just add a little bit more flour, just be careful not to dry the dough out. It doesn’t pull away from the sides of the mixer until the end of the 20-ish minutes of kneading time. Best wishes!
Thank you Amber – can’t wait to try them! Would you substitute equal amounts for the powder and liquid milk?
Yes, go ahead & do the same amount based on the weight (2oz which is 1/4 cup.) I am not sure how much flour you will need to add though, so just start small (1/4 cup) and go from there. 🙂
Ok – last question I promise!! Step 1 says to put all ingredients in mixer – does this include the softened and melted butter? Or is the 1/4 cup of each listed meant just for the brushing on the dough later?
Everything but the butter. Sorry, I will fix the directions!
Wow, those are amazing looking rolls Jason and Amber! I am willing to give those a try 🙂
These look so pretty, Amber! What a way to WOW your guests! Can’t wait to try this recipe out. Thanks for sharing : )
I tried to make these. I don’t have a stand mixer yet so tried to mix by hand. This may be where my problems started.. Never had a problem with the dough being sticky; mine was very crumbly. I added a tablespoon of water to make it hold together better. My dough never got all smooth like yours, and when I was rolling it, it cracked a lot instead of stretching. I kept at it though. Eventually I got it all folded, buttered, cut and rolled; but it never rose. They came out of the oven looking like they did when they went in. Help?!
Hi Candace, so sorry you are having problems. This dough really needs that time in the mixer to develop the gluten (makes the dough stretchy.) Did you weigh your ingredients or measure them? Whenever you measure flour, it needs to be stirred up first so that you incorporate some air into it, that way your bread won’t be dried out or dense. Did you let the rolls rise before you put them in the oven. It takes a good hour for them to rise since the dough was just in the freezer for that first layer of butter. Also how warm was the water that you used? If it was too cold, it might not have activated the yeast, if it was too hot, it might have killed the yeast. I hope some of this information helps. Let me know if you have any more questions.
Thank you for the reply Amber, next time I will try using a friend’s mixer. That may have been the problem. Also I measured my flour, I may try weighing next time. I gave them over an hour to rise. The water was warm when I added it, but maybe by the time I added all the other ingredients (including the yeast) it may have cooled. Especially since it is one of the first listed, with the eggs (which came from the fridge).
Yeah, go ahead & try a little bit warmer water next time & with the mixer you should be just fine. If you can weigh all the ingredients that is ideal, but do what you can. I measured everything after I weighed it for approximate measurements as stated in the recipe. You are a brave woman to try & tackle all that dough by hand. My arms would be exhausted trying to knead all that dough!
Your rolls look beautiful and delicious. I’ve always wondered how to make those rolls. Thanks for the great tutorial. I’m thinking this is the roll I’ll make for our Thanksgiving feast this year. Thanks for your recipes and tute. Would you be willing to share this post and any of your other great ones at our Making Monday link party? We would love it and think our readers will, too. Thanks. Have a fantastic day. http://www.abrightandbeautifullife.com/making-monday-12/
Lori @ A Bright and Beautiful Life
http://www.abrightandbeautifullife.com
Mmmmm butter and bread, love it all, and I love the way it looks when it’s finished!
I will have to have my daughter make these for me, since yeast hates me. They are beautiful and look fantastic.
There isn’t anything much better than a buttery, flaky roll! These look amazing!