Candy Corn Sugar Cookie Bars
These Candy Corn Sugar Cookie Bars are simple and stunning for your Halloween Party!
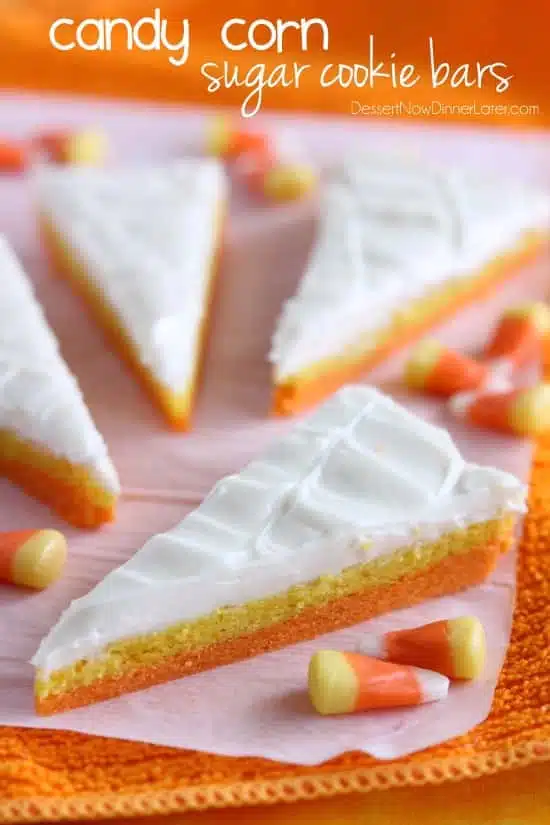
Today I am excited to take part in a Halloween series hosted by my friend Allison from Cupcake Diaries! It’s 30 days of Halloween recipes, party food, and printables! I’m day 23, so you can only imagine all the good stuff already shared this month! There is a full list at the bottom of this post, so be sure to check out what the other bloggers have to share and make your Halloween party a fun one!
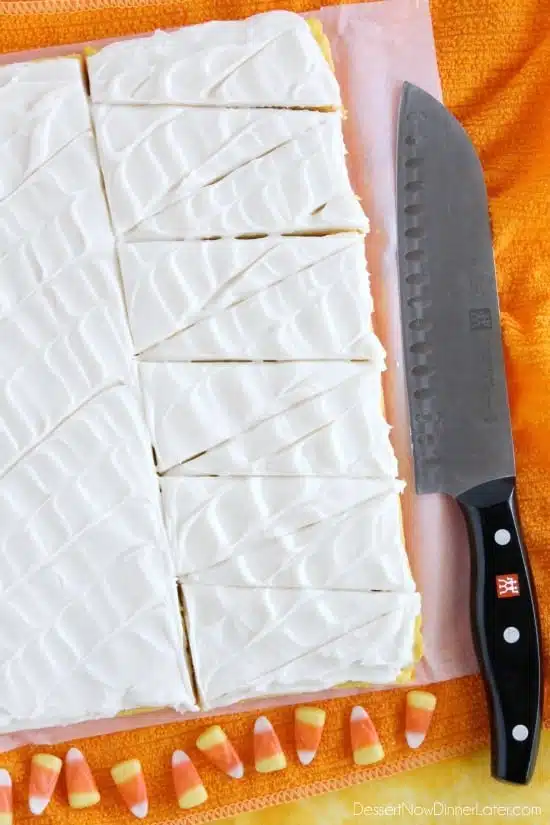
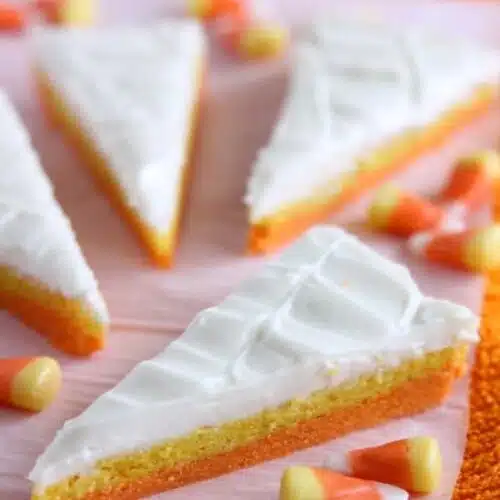
For this series, I thought it would be festive to share this recipe for Candy Corn Sugar Cookie Bars! How fun are these?! Sugar cookie dough, colored and layered in a dish, baked, then covered in my favorite Cream Cheese Frosting recipe! I had to share the picture above to show you how easy it is to cut them into triangles. If you use parchment paper in the pan and leave the ends hanging out, you can pull the whole slab of cookie out of the pan after it’s baked, frost it, cut it in half lengthwise, and then cut your triangles. Easy peasy!
Save This recipe
Enter your email below to get a link to this recipe emailed straight to you to save later! Plus be signed up for all new recipes.
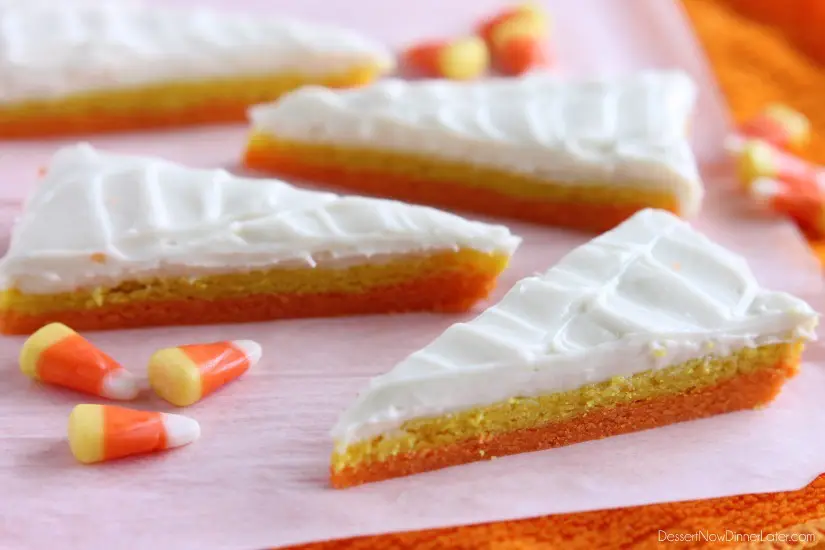
If you have a good eye, you have already realized that I did the colors in the wrong order…haha! I like the ombre progression I guess, but if most of your guests are children, they won’t care if you screw it up like I did! These are fun to eat nonetheless and taste great! For your OCD pleasure, I have written the directions correctly so you can have the proper candy corn color order. (Say that 5x fast!)
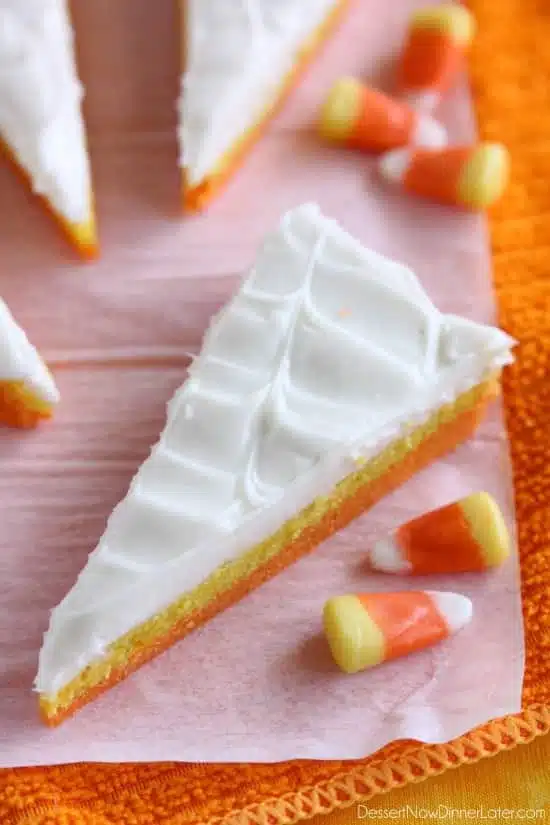
I hope you make these Candy Corn Sugar Cookie Bars for your Halloween party this year! Don’t forget to check out the other Halloween recipes, party food, and printables linked below.
Candy Corn Sugar Cookie Bars
Ingredients
- ½ cup (113 g) butter, room temperature
- 1 cup (200 g) granulated sugar
- 1 large egg
- 1 ½ Tbsp milk
- 1 tsp vanilla extract
- 2 ½ cups (300 g) all-purpose flour, (stir, spoon & level)
- ½ tsp baking powder
- ½ tsp salt
- orange and yellow food coloring, (I used Wilton's food coloring gels)
- 1 recipe The BEST Cream Cheese Frosting
Instructions
- Preheat oven to 375 degrees Fahrenheit. Lay parchment inside a 9×13-inch baking dish with the ends hanging out the 13-inch sides (so you can lift out the cookie after it's baked) and spray the 9-inch edges with pan spray since they aren't covered with parchment.
- In a large bowl, cream together the butter and sugar. Add egg, milk and vanilla. Mix well.
- In a separate bowl, combine the flour, baking powder and salt. Add dry ingredients to wet ingredients until combined.
- Split dough in half and color one half orange and one half yellow.
- Press the yellow cookie dough onto the bottom of the baking dish; I used a mini rolling pin to roll mine evenly across the bottom of the pan.
- Press orange cookie dough onto the yellow cookie dough layer. I found it easiest to roll the orange cookie dough onto a lightly floured counter about the size of the dish, cut the orange dough into large squares and then assemble the squares on top of the yellow layer, smoothing over the cracks.
- Bake for 17 to 20 minutes or until edges are lightly golden. Cool completely.
- Pulling on both sides of the parchment paper, lift the cookie dough out of pan. Trim the crisp edges with a knife, if desired.
- Prepare The BEST Cream Cheese Frosting and spread it evenly over cooled cookie bars. Cut the large slab of cookie in half lengthwise, and then cut into triangles. Enjoy!
Notes
Did you make this?
Don’t forget to leave a rating below and make sure to follow on Pinterest and Instagram for more!





I want all of these for breakfast!! Pinned!
I think that’s totally acceptable! 😉 Thanks for pinning Dorothy!
I LOVE that you cut these gorgeous little ‘thangs into triangles—too cute! Candy corn FOREVER. 😀
I’m all for fun and easy! And I’m candy corn color obsessed during Halloween!
Amber, I love these! I have not been a big candy corn fan until this year and now I can’t stop eating them… I’m sure my boys won’t mind me making these now so I stop hoarding the candy for myself. I didn’t notice the colors were out of order until you mentioned it.. they look cute no matter what order their in!
Haha! I say enjoy all the candy corn while you can 😉 Thanks for stopping by!
These are adorable and so pretty, Amber! I love how perfect the layers look and so festive too 🙂 They’re perfect for Halloween and I can’t wait to see the rest of the 30 days of Halloween!
They layers are my favorite part too! Thanks Kelly!
These are seriously so cute and festive! I bet they were delicious!
Delicious and cute are my favorite treats!
Yay! Once a month I cook dinner for my community’s local homeless shelter. We feed about 30 people nightly (I live in a small community). I am going to make this dessert when it’s my turn in October. Thanks for the great idea.
Oh, that sounds like a great idea! I hope everyone enjoys them!
I’ll let you know. 🙂
I just love this recipe and can’t wait to make it! Thanks again for participating in the series again. So fun to have you!!
Thanks Alli! Glad to be a part of the series!
Could candy corn get any cuter? I think not! These cookie bars are super fun and festive.
The cute factor had me sold on making these 😉 Thanks Jen!
Oh my heck Amber – these are so cute! I couldn’t help but smiling as soon as I saw them. You did a great job and I love how simple they are too! So excited for the 30 days of Halloween 🙂 Pinned!
Thanks Chelsea! They are fun to make and eat, that’s for sure!
I made something similar last year, and they were so cute, and lovely! I made mine in a loaf pan though so the 3 colors were next to one another rather than on top. Love this way of doing it too, and you stepped it up by adding frosting….now why didnt I think of that 🙂
Really? I bet yours were cute too! I just love that these are so easy to cut into bars and have the frosting done in one color! You’ll have to give these a try and tell me what you think!