Chicken Pot Pie with Biscuit Crumble
This comforting Chicken Pot Pie with Biscuit Crumble is a quick and easy way to enjoy a classic dinner with savory biscuit pieces instead of pie crust.
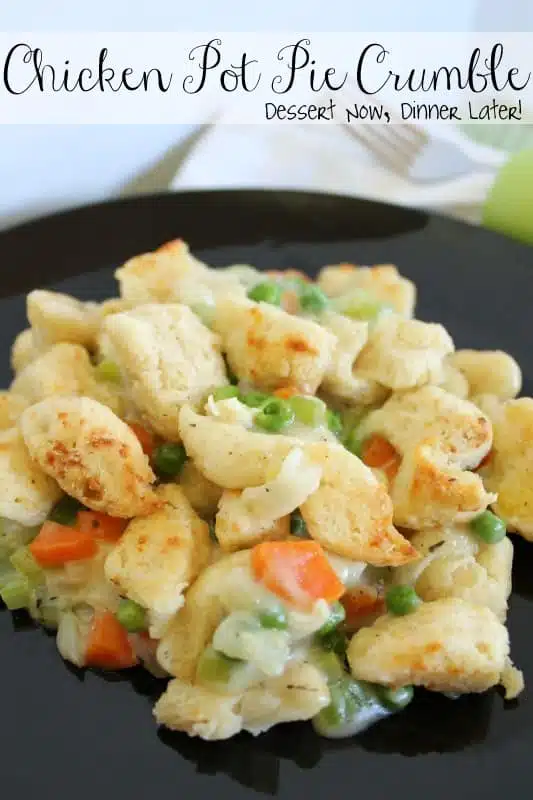
I have decided I want to make sure I have some of the good old home cooking/comfort food type recipes on here. So here is a classic chicken pot pie, made easy!
Easy as in no rolling out pie crust — just make a biscuit crumble for the top. It still has some time consuming parts, but it is worth it! The topping has all the texture and flavor of a crust, but in large crunchy chunks on top. The filling is flavorful and creamy! YUM!
Save This recipe
Enter your email below to get a link to this recipe emailed straight to you to save later! Plus be signed up for all new recipes.
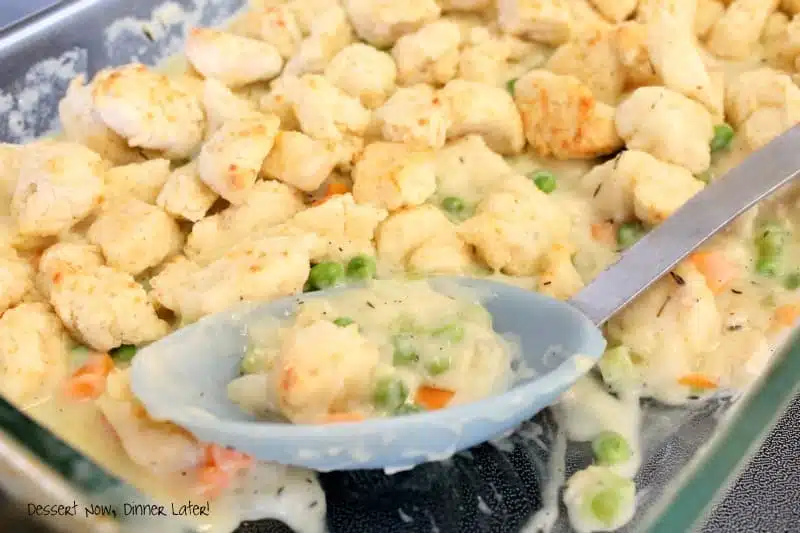
*Update 03/30/13: We make this regularly now and we just absolutely love it! One of our family favorites, so I updated the photos.
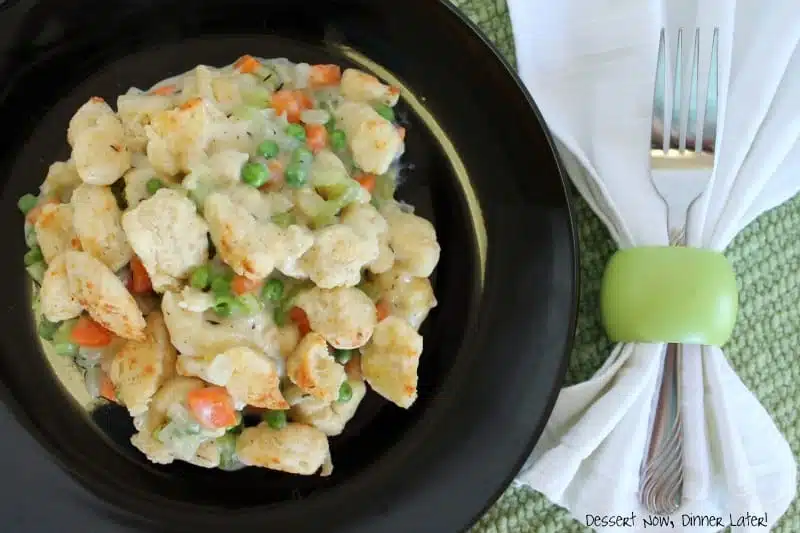
Chicken Pot Pie Crumble
Ingredients
Chicken & Sauce:
- 1 ½ lbs chicken, (approx. 3 chicken breasts….I used 2)
- 2 cups low-sodium chicken broth, (or 1-14.5oz can Swanson's)
- 1 Tbsp olive oil
- 1 onion, chopped (1 cup)
- 3-4 carrots, peeled & sliced (1 cup)
- 2-3 ribs celery, chopped (½ cup, but I used 1 cup)
- 4 Tbsp butter
- ⅓ cup all-purpose flour
- 1 cup milk
- ½ tsp salt
- ½ tsp pepper
- 1 tsp dried thyme
- ¾ cup frozen peas, (I used 1 cup b/c I like vegetables)
Crumble Topping:
- 2 cups all-purpose flour
- 2 tsp baking powder
- ¾ tsp salt
- ½ tsp pepper
- ⅛ tsp cayenne pepper
- 6 Tbsp butter, cut into ½-inch cubes & chilled
- ¾ cup freshly grated parmesan cheese
- 1 cup heavy cream or milk, (I used skim milk)
Instructions
- Simmer chicken in broth in a large pot; cook till just done, about 10-12 minutes. (If you plan in advance you can slow cook in the crockpot on high for 3 hours or low for 5 hours.) Transfer chicken to a medium bowl. Pour broth through fine-mesh strainer into a liquid measuring cup & reserve. Save empty pot for later.
- Preheat oven to 400˚F. In a large bowl, combine the flour, baking powder, salt, pepper, & cayenne. Sprinkle the chilled butter pieces over the top of the flour. Using your fingers or a pastry cutter, rub the butter into the flour mixture until it resembles coarse crumbs. (I used my Ninja Kitchen System on the dough setting, but you can use a food processor too & pulse until desired texture.)
- Stir in Parmesan cheese. Add the cream (or milk) & stir until just combined. Crumble the mixture into irregularly shaped pieces onto a baking sheet lined with parchment/wax paper (I actually find it easiest to use scissors & cut off chunks.) Bake the crumble topping until fragrant & starting to brown, about 15 minutes, tossing halfway through. Set aside.
- For the filling, heat the olive oil in the now-empty pot over medium heat. Add onion, carrots, celery, a little salt & pepper. Cover & cook, stirring occasionally, until just tender, about 5 minutes. While the vegetables are cooking, shred/cube the chicken into small bite-size pieces. Transfer the cooked vegetables to the bowl with the chicken; set aside.
- Over medium heat melt butter in the empty pot. Stir in the flour & cook for one minute, stirring constantly. Slowly whisk in the reserved chicken broth & milk. Bring to a simmer & stir occasionally until the sauce thickens, about 5 minutes, taking care not to burn the bottom. Add ½ tsp salt & ½ tsp pepper. Remove from the heat & stir in the chicken, vegetables, & peas into the sauce.
- Pour the mixture into a greased 9×13 pan. Scatter the crumble topping evenly over the filling. Bake at 400˚F until the topping is well browned, & filling is bubbling, about 15-20 minutes. Let the casserole stand for 10 minutes before serving.
Notes
Did you make this?
Don’t forget to leave a rating below and make sure to follow on Pinterest and Instagram for more!





I made this last night and loved it!!! Perfect comfort food on a cold, rainy day. This will definitely be a keeper in our house. 🙂
This is SERIOUSLY one of our favorites! It is total cold weather comfort food! We make it frequently at our house! Glad you enjoyed it also Jennifer!
2nd time making this tonight. I always have to double it. The first time it was SO GOOD. I can’t wait until it comes out this time. One of our favorites. It takes me forever to make it though because I am not very organized. Thanks for a great recipe!!
Thanks for sharing your review! I am glad you love it! We definitely make this frequently too, and it can be time consuming, just keep practicing on getting all your ingredients out and ready and you will breeze through it 🙂
Just made this for dinner and I had to test the filling and the topping before I baked it. SO yummy! Thank you for sharing
This is definitely one of our favorite meals! So glad you liked it!
Yes i agree-That’s why I deided to only reheated what we were going to eat tonight. So it’s been cooked once and will be reheated once. Thank you. Btw husband loved it.
Oh good, I must have misunderstood your last comment 🙂 Glad your hubby liked it! 🙂
I decided to Reheat it in individual portions in the oven. (Only needed two) Took between 30 and 40 min. Warmed it to almost 165 and then added the topping back on for the last 10 min. It was good but thinned out a bit more than I would have liked. I plan to eat it one more time and than freeze the left overs.
Just a quick note of caution when it comes to food safety. You really should only re-heat something once & make sure it is all consumed. Every time something is cooked, cooled, & re-heated it goes through various points in the danger-zone which causes bacterial growth. I personally wouldn’t freeze the leftovers. If you can’t consume it all, I would only re-heat small portions that you will be eating immediately. I would hate for you to get sick. Just be careful 🙂
If I made it ahead and will reheat any idea how long it will need to be reheated. I didn’t put the topping on yet. Thank you.
Are you heating it in the oven or the stovetop? The stovetop might be faster because you can stir it up while it’s heating through, but if you have it in a casserole dish in the oven I would think it might take about 30-45 minutes at 350*F to heat thoroughly. Just make sure it reaches 165*F in the center of the dish. That’s the temp you want anytime you re-heat anything. Let me know how you like it 🙂
LOOKS AWESOME !!! Can’t WAIT to try !!!
Thanks! It is one of our favorites for sure!!! 🙂