Chocolate Lava Cake Recipe + Video
This molten Chocolate Lava Cake Recipe is quick and easy using semi-sweet chocolate chips and no added sugar. A great make-ahead dessert with a thick and gooey, pudding-like center.
These mini cakes are fun and simple, but if you want a family size lava cake made with cocoa powder, try this Hot Fudge Pudding Cake in one large pan.
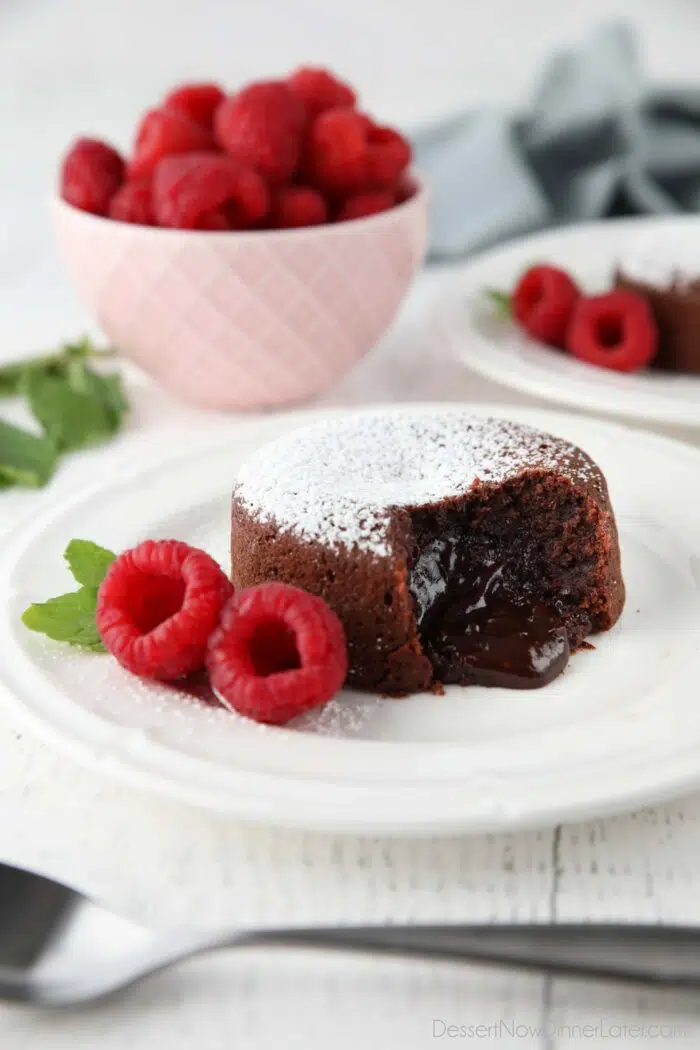
Best Molten Lava Cake Recipe
Dare I say it? This is the BEST molten lava cake recipe. Why?
Save This recipe
Enter your email below to get a link to this recipe emailed straight to you to save later! Plus be signed up for all new recipes.
- Because there’s no chopping chocolate, thanks to using chocolate chips.
- There’s no added sugar, because there’s enough sugar in the semi-sweet chocolate chips to sweeten the cake sufficiently.
- There’s only 7 ingredients in this recipe that you probably already have on hand.
- It’s easy to make ahead of time, and bake when you’re ready. Perfect for entertaining!
What is Molten Chocolate Cake?
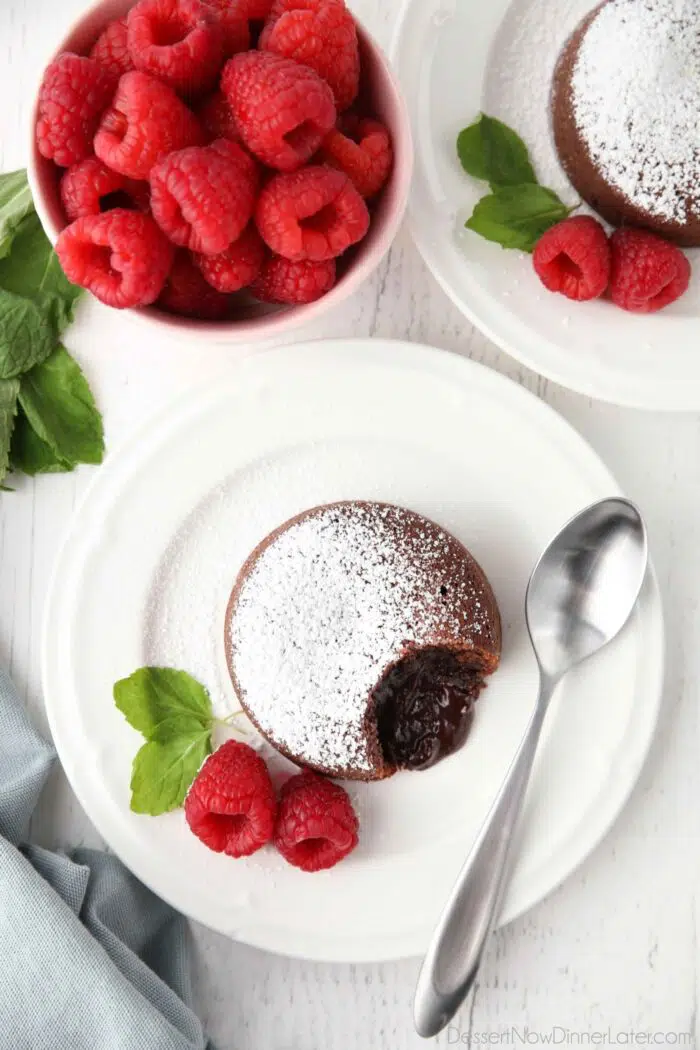
Molten chocolate cake combines the elements of a regular chocolate cake and a soufflé. It gets its namesake after its liquid chocolate center and is a very popular dessert. I mean, who wouldn’t love a warm gooey cake? Delicious!
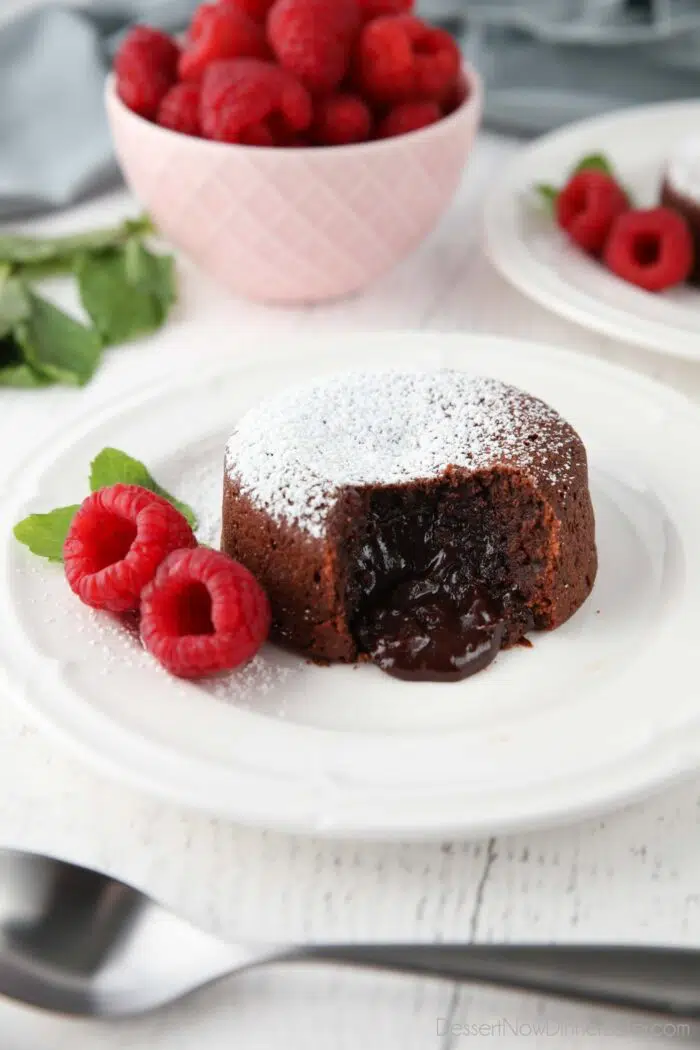
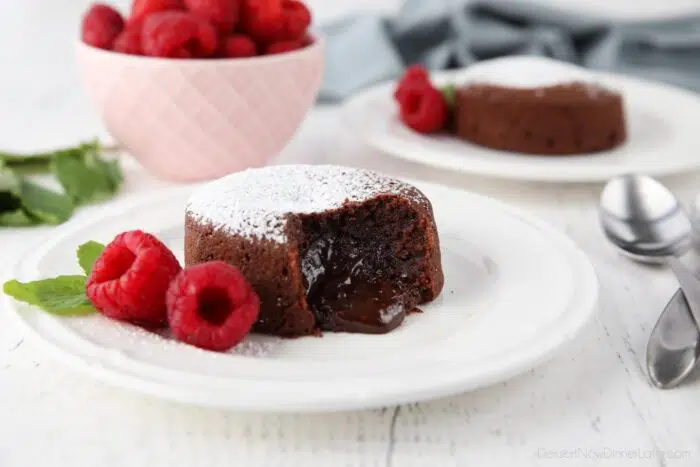
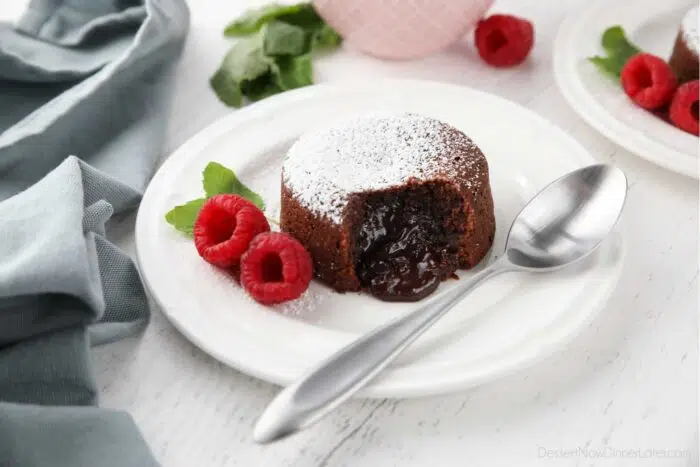
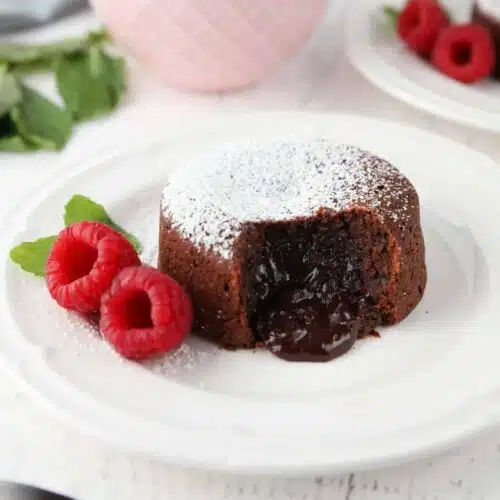
This chocolate lava cake recipe has chewy, brownie-like edges, and a thick and fudgy, pudding-like center.
This type of cake is best served warm with a scoop of vanilla ice cream on top. Pairing it with a tart fruit like raspberries is a great option as well, to cut through the richness of the chocolate.
Ingredients
This chocolate lava cake recipe makes 4 individual cakes. You can easily cut the recipe in half to make chocolate lava cakes for 2. So romantic for Valentine’s Day!
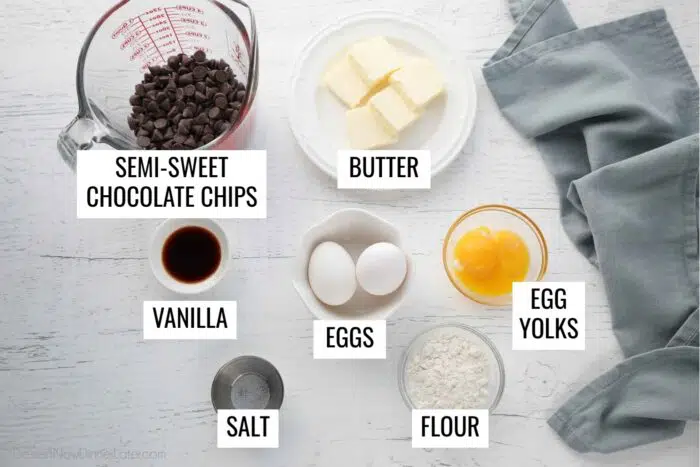
For this recipe you will need:
- Semi-Sweet Chocolate Chips – I’ve only tested this recipe with semi-sweet chocolate chips. They have a great balance of sweetness and rich chocolate flavor without needing additional sugar. And you don’t have to chop it up like you would a baking bar of chocolate. Use a quality brand of chocolate chips, made with cocoa butter (not just palm oil).
- Butter – Use unsalted butter, to control the amount of saltiness.
- Vanilla Extract – To enhance the flavors.
- Salt – To cut some of the sweetness and enhance flavors.
- Eggs + Yolks – The whole eggs provide structure, while the egg yolks bring added richness, especially for the pudding-like center.
- All-Purpose Flour – Just a little bit to help with the structure of the cake.
How to Make Chocolate Lava Cake
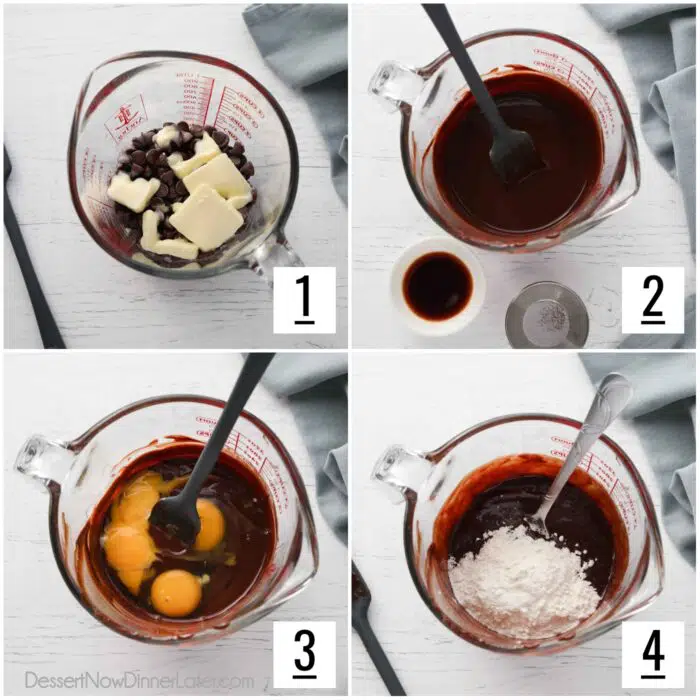
- Melt chocolate chips and butter inside of a large glass measuring cup with a spout for 30-second increments until melted and smooth.
- Add vanilla and salt. Stir.
- Mix in eggs and egg yolks.
- Stir in the flour.
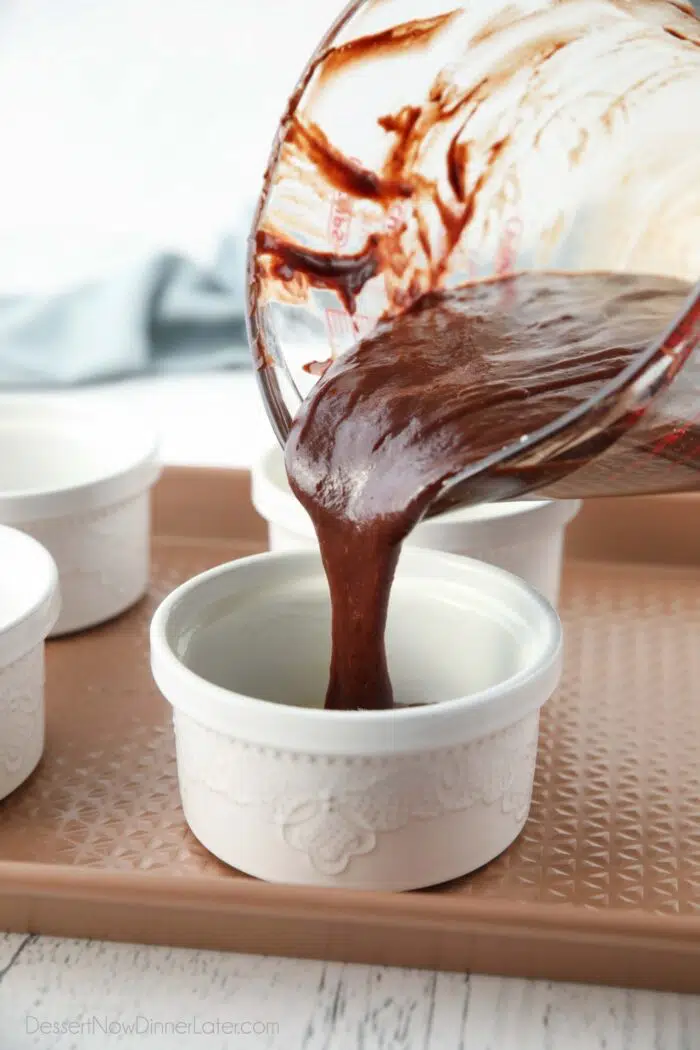
- Pour the batter into prepared ramekins and bake.
How to Prepare Ramekins for Lava Cakes
Baking cakes that you want to invert and remove from the pan in one piece can be tricky. Most often you will need to grease and flour the pan that you will be baking in.
For chocolate cakes you should grease the dish with butter or shortening and then a dusting of cocoa powder so there isn’t a chalky flour residue on the outside of the cake. The cocoa powder blends in.
Cooking Spray vs. Baking Spray
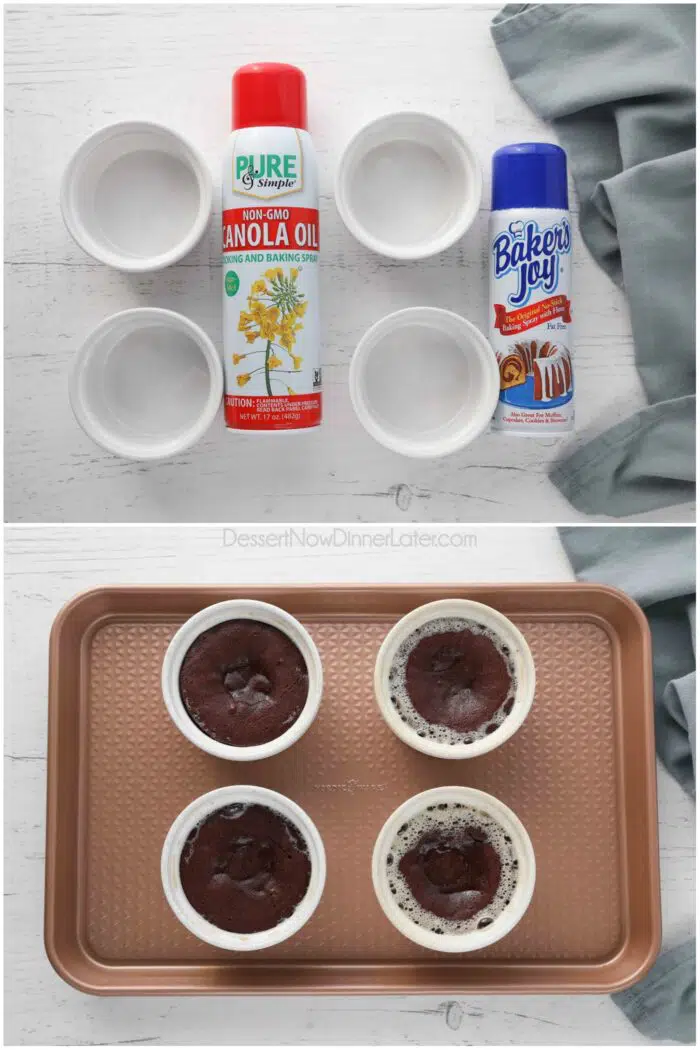
For these easy chocolate lava cakes, I wanted to keep it simple. I tested regular cooking spray vs baking spray (with flour).
They both came out of the pan equally well, but the baking spray bubbled and left a slight film on the outside of the cakes.
My recommendation: Use regular cooking spray. No need for cocoa powder or flour.
How to Tell When Lava Cakes are Done
The defining characteristic of a molten lava cake is its liquid center. Although the cake seems under-baked, and to a certain extent it is, the internal temperature still reaches 160ºF, so it is completely safe to eat.
Lava cakes are easy to over-bake, so you’ll want to do a test batch before you plan on making these for guests.
You’ll know when the lava cakes are done baking when the edges are set, but the middle is still sunken.
This chocolate lava cake recipe bakes in 8-10 minutes. The exact time will depend on how your oven cooks, as well as how warm the batter is going into the oven. (i.e. If you refrigerated it for later, or bake it immediately.)
Inverting the Chocolate Lava Cakes
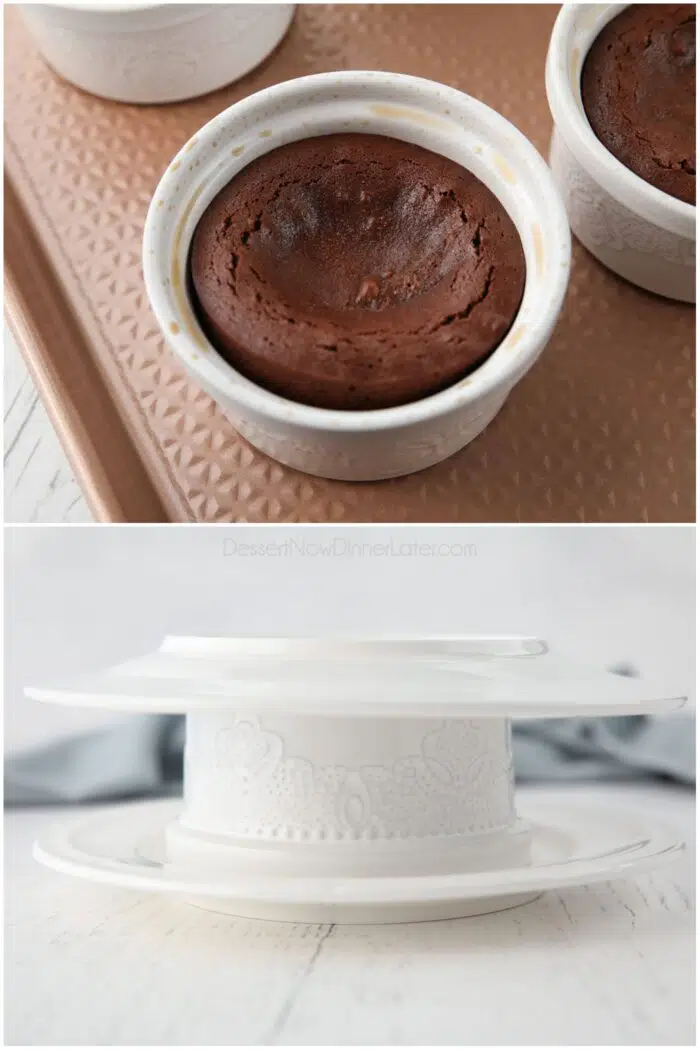
For the perfect melted center, you want to invert the chocolate lava cakes almost immediately after coming out of the oven, to take into consideration the carry-over cooking that happens. If left in the hot ramekin to cool, the cake will continue to bake and you may lose that soft-set center.
The easiest way to invert the ramekins is to:
- Place a ramekin on a heat-safe plate.
- Place another heat-safe plate on top and flip it over while squeezing the two plates together, so the ramekin doesn’t slide.
- Remove the plate on top and carefully lift the ramekin off of the cake.
This eliminates the need for hot pads besides setting the ramekin on the plate and lifting it off of the cake.
Tips and FAQ’s
Can you make molten lava cakes ahead of time? Yes! Simply cover the filled ramekins with plastic wrap or foil and refrigerate until ready to bake. The batter can be made one day ahead of time.
How long to bake chocolate lava cakes – Because all ovens are different, you will want to test this chocolate lava cake recipe before making it for guests. You can make a test batch and start taking one ramekin out of the oven every minute, starting at 7 minutes. (Then 8 minutes, then 9 minutes, and then 10 minutes.) This will help you determine which bake time is best for your oven and desired level of under-baked cake in the center. The edges should be set, but the centers should still be sunken. Be sure to invert the cakes immediately, so they don’t continue to cook inside of the hot ramekin.
What can I use instead of ramekins for lava cake? If you don’t have ramekins, you can use a muffin pan. Be sure to grease the muffin pan cups to prevent the cakes from sticking. Since your lava cakes will be slightly smaller, you’ll get 6 lava cakes instead of 4 and the bake time will be slightly less due to the smaller size. Start checking doneness at 6 minutes. Use a spoon to release the cakes from the pan and place each upside down on plates for serving.
How do you heat up molten lava cakes? It’s ideal to serve these cakes immediately from the oven, but you can put the cake in the microwave or 20-30 seconds (depending on the power of your microwave) to have a deliciously reheated dessert. It just won’t be as gooey in the center.
More Individual Desserts
- Magic Lemon Pudding Cake
- Microwave Cookie
- Mini Red Velvet Cheesecake
- Apple Crisp For One
- Skillet Brownies from box
- Red Velvet Pizookie
Chocolate Lava Cake Recipe
Ingredients
- 1 cup (170 g) semi-sweet chocolate chips
- 5 Tbsp (71 g) unsalted butter, cut into Tablespoons
- 1 tsp vanilla extract
- ⅛ tsp salt
- 2 large eggs
- 2 egg yolks
- ¼ cup (30 g) all-purpose flour, (stir, spoon & level)
Instructions
- Preheat oven to 450 degrees Fahrenheit. Spray four 6-oz ramekins with cooking spray. Set aside.
- Melt chocolate chips and butter inside of a large glass measuring cup with a spout for 30-second increments until melted and smooth.
- Add vanilla and salt. Stir. Mix in eggs and egg yolks with a fork. Then mix in the flour.
- Pour the batter into prepared ramekins, about 2/3 full.
- Place ramekins on a sheet tray and bake at 450˚F for 8-10 minutes. (NO LONGER!) The lava cakes are done when the edges are set, but the middle is still sunken.
- Carefully invert cakes onto serving plates immediately. Dust with powdered sugar and serve with fresh raspberries or a scoop of vanilla ice cream.
Video
Notes
- To make ahead: Cover the filled ramekins with plastic wrap or foil and refrigerate until ready to bake. The batter can be made one day ahead of time.
- If you don’t have ramekins, you can use a muffin pan. Be sure to grease the muffin pan cups to prevent the cakes from sticking. Since your lava cakes will be slightly smaller, you’ll get 6 lava cakes instead of 4 and the bake time will be less due to the smaller size. Start checking doneness at 4 minutes. Use a spoon to release the cakes from the pan and place each upside down on plates for serving.
- How to Invert the Cakes: Place a ramekin on a heat-safe plate. Place another heat-safe plate on top and flip it over while squeezing the two plates together, so the ramekin doesn’t slide. Remove the plate on top and carefully lift the ramekin off of the cake with a hot pad.
- To re-heat: Put the cake in the microwave or 20-30 seconds (depending on the power of your microwave) to have a deliciously reheated dessert. It just won’t be as gooey in the center.
Nutrition
Did you make this?
Don’t forget to leave a rating below and make sure to follow on Pinterest and Instagram for more!




It says to use 6 ounce ramekins. When I click the link for the ramekins, it says they are 4 ounces on Amazon. Is that okay?
Sorry that link has changed since I added it. I’ll have to update it. You can use either size of ramekin. As long as you’re still splitting the batter into fourths, it should be close to the same bake time. It’s about 1.5 cups of batter total. I actually made these tonight and divided the batter into a 6 count muffin pan, about 1/4 cup each and baked them for less time.
Delicious! Turned out perfect-and very easy to make!
This recipe is amazing. I am allergic to dairy so I used Enjoy Life Mega Chunks and Imperial Margarine. Delicious.
Glad it worked out well with your substitutions! Thanks for sharing your experience with the recipe.
If I make the batter ahead of time, do I need to pull the ramekins out to set on the counter before putting in the oven? I’ve made these one other time and they turned out delicious!!
It depends on the quality of the ramekins that you use. I would let them sit on the counter for 15-30 minutes before baking, just to be safe.
Rated 10/10 by everyone in my house! We used a muffin pan and 6 minutes was just a bit too long, but paired with coffee ice cream this was the best dessert we’ve had in a looooooong time. ❤️
I’m so glad you enjoyed it. I’ll adjust my notes to less time if it was still too long for you in the muffin tin.
These came out absolutely delicious. I made them for our New Year’s Day dessert. I doubled the recipe, used white wheat flour, and baked in muffin tins. It made 11 smaller servings. Most recipes for lava cakes require powdered sugar which I think just adds unnecessary sugar. This recipe always comes out perfect.
Wonderful! Thanks for sharing your experience with my recipe Heather!
I was wondering what I would have to change to use milk chocolate?
I haven’t tested this recipe with milk chocolate, so I can’t say for sure. Sorry!
I’ve made this recipe a few times now and it’s turned out great each time. I had a total brain fart on the first try and added two eggs and two egg whites instead of yolks and it still turned out great!
Oops! Haha. I’m so glad it still worked out! Thanks for taking the time to share about your experience with the recipe Adam.
I made this ahead as I ran out of time to make it right away. I wanted to say this made an excellent fudge! I love that I don’t need to add more sugar than just the chocolate chips. Thanks for the recipe.
So glad you enjoyed it!
Soo delicious my grandson and I made this for the first time and it turned out great we love it 😀
I’m so glad you all enjoyed it!