Foolproof Flaky Biscuits + Video
The secret to Foolproof Flaky Biscuits is revealed! Find out how to get flaky, layered, buttery, tender biscuits you will swoon over!
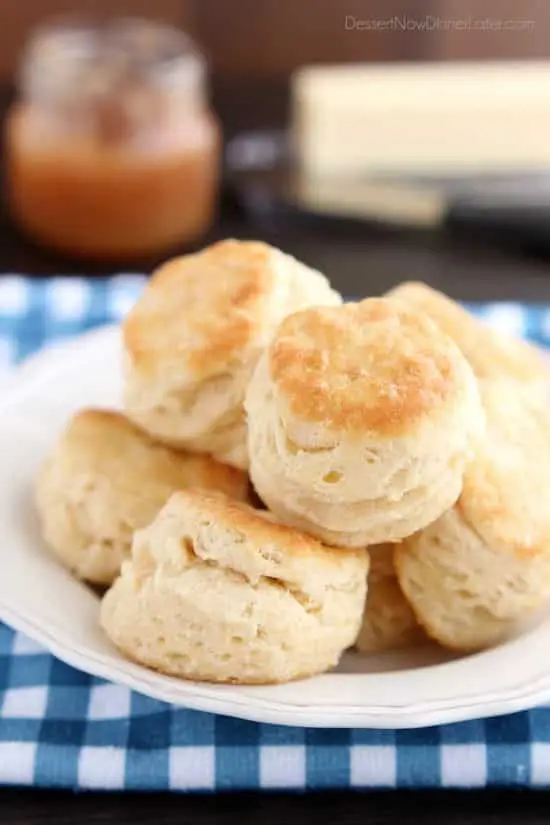
One of my husband’s favorite breakfasts is biscuits and gravy. I don’t make it very often because I haven’t had the best luck and getting a tall, flaky biscuit worth making again and again. I have since learned the secret to flaky biscuits doesn’t necessarily lie in the recipe alone, but that the technique also helps get you those amazing, buttery layers! It really is foolproof!
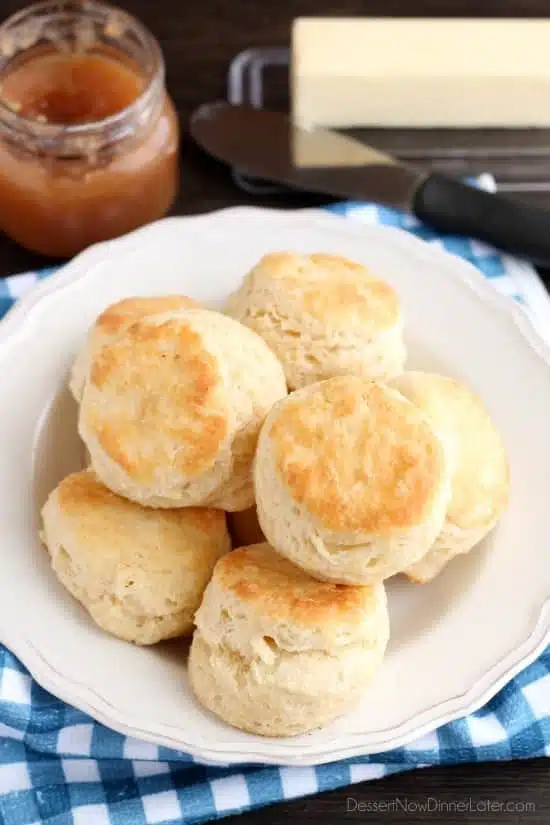
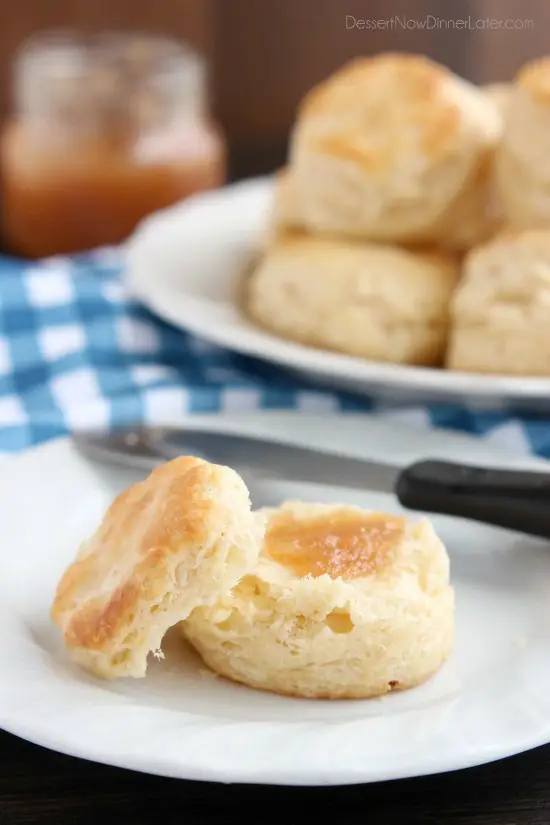
I’m talking crisp exterior, peel apart layers, and a tender center! Did I mention these are oh so buttery?! Swoon! Slather on some apple butter, jelly or jam, butter and honey, whatever your pleasure, and enjoy these biscuits ASAP!
Save This recipe
Enter your email below to get a link to this recipe emailed straight to you to save later! Plus be signed up for all new recipes.
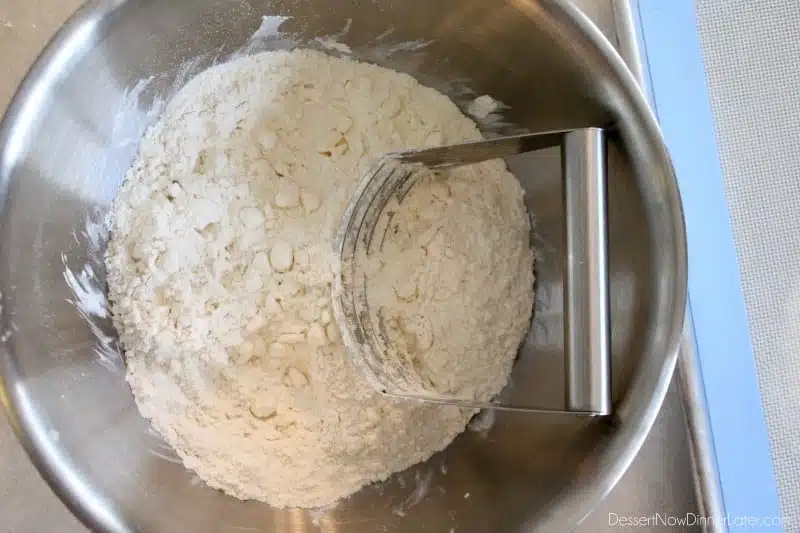
Let me show you how to get the foolproof flaky layers… First off, it’s really important to have COLD butter when you make biscuits (or pie crust) because when the butter melts, it creates pockets of air to help make those flaky layers. Also, don’t crumble them all away. Pea size butter pieces are ideal.
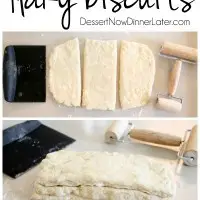
After you add the buttermilk and the dough comes together, roll it out into roughly a 6×9-inch rectangle on a lightly floured surface. Then cut that rectangle into thirds.
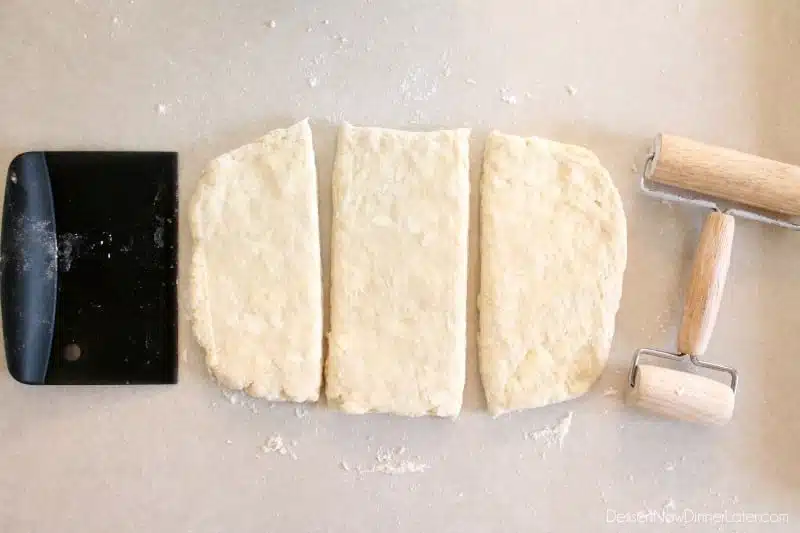
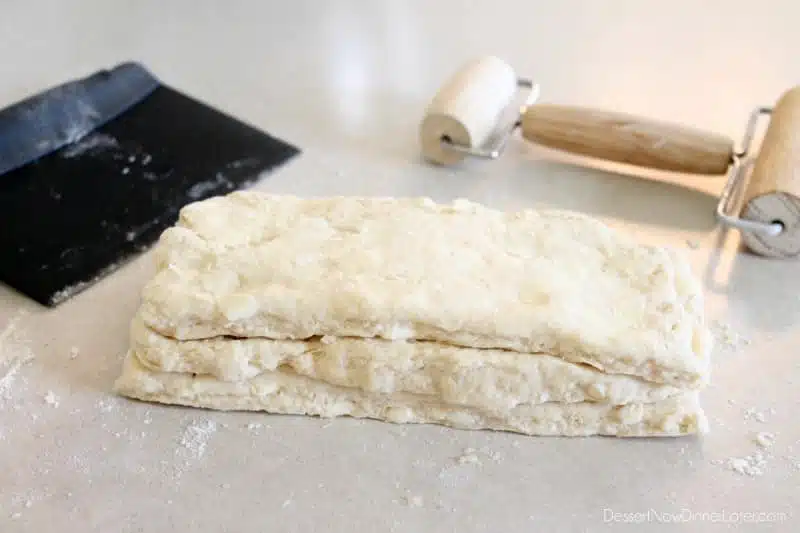
Here’s the trick! Stack each third on top of one another and roll the dough into a 6×9-inch rectangle again. This helps ensure you get those tall, flaky layers!
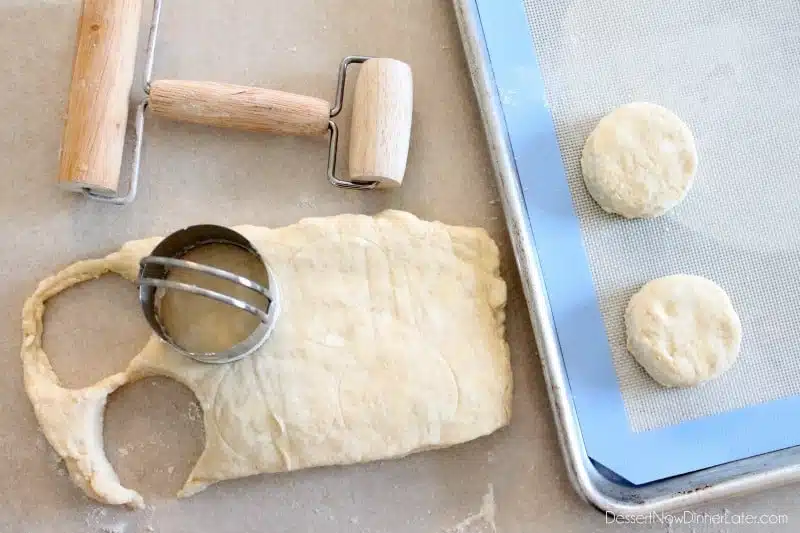
Using a 2 1/4 or 2 1/2-inch biscuit cutter, cut 9 (maybe 10) biscuits and place them on a silicone lined baking sheet. Do your best to piece together the scraps and use up all the dough with the layering technique, without overworking the dough or melting the butter with your warm hands.
If any of the edges kind of stick down, I stretch them before baking to help make sure they will grow tall and flaky. You can see in the picture below that they are pretty thick to start with, about 1 1/4 to 1 1/2-inches tall, and you can see some chunks of butter and layering before they even go in the oven.
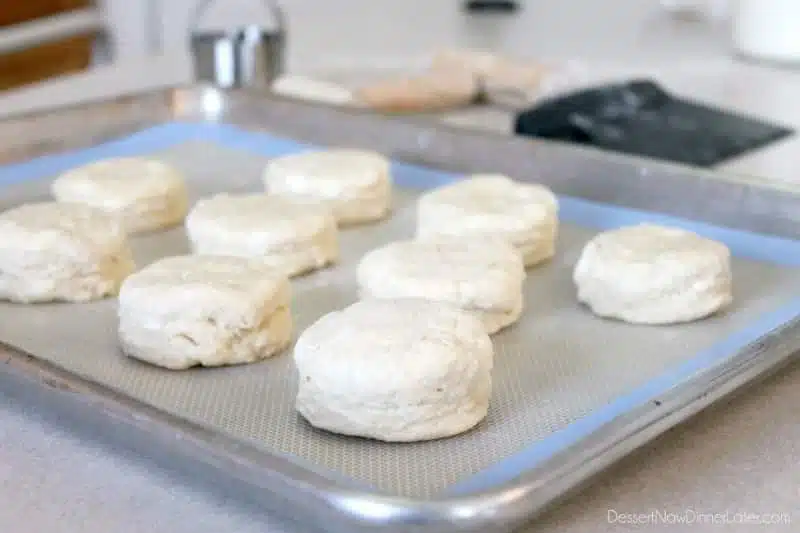
Bake at 450 degrees Fahrenheit for 10 to 12 minutes or until golden brown on top and bottom. These are best enjoyed warm and crisp from the oven, but you can store leftovers in a zip-top bag for 3 or 4 days. I like to re-heat my leftover biscuits, one at a time, in the microwave for 10 to 12 seconds.
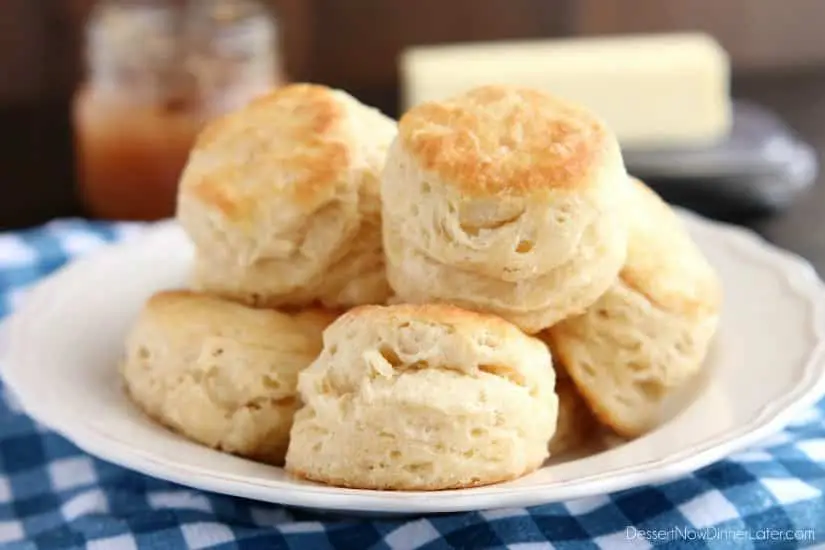

Foolproof Flaky Biscuits
Ingredients
- 2 cups (240 g) all-purpose flour, (stir, spoon & level)
- 1 Tbsp granulated sugar
- 1 Tbsp baking powder
- 1 tsp salt
- ½ cup (113 g) unsalted butter, cold, cut into Tablespoons
- ¾ cup (177 ml) buttermilk, cold (or milk plus 1 tsp of lemon juice/white vinegar; allow to sit for 5 minutes before using)
Instructions
- In a large bowl, mix the flour, sugar, baking powder, and salt.
- Cut in the butter with a pastry blender until pea size pieces.
- Add the cold buttermilk all at once and form into a ball.
- Roll dough onto a lightly floured surface, into a 6×9-inch rectangle. Cut the rectangle into thirds.
- Stack each third on top of one another and roll the dough into a 6×9-inch rectangle again.
- Using a 2¼ or 2½-inch biscuit cutter dipped in flour, cut 9 (maybe 10) biscuits and place them on a silicone lined baking sheet. Do your best to piece together the scraps and use up all the dough with the layering technique, without overworking the dough or melting the butter with your warm hands. (If any of the edges kind of stick down, I stretch them before baking to help make sure they will grow tall and flaky.)
- Bake at 450 degrees Fahrenheit for 10 to 12 minutes or until golden brown on top and bottom.
Video
Notes
- Store any leftovers in a zip-top bag for 3 or 4 days. I like to re-heat my leftover biscuits, one at a time, in the microwave for 10 to 12 seconds.
Did you make this?
Don’t forget to leave a rating below and make sure to follow on Pinterest and Instagram for more!





These biscuits are AMAZING. I teach a Foods 1 class in high school and I decided to use your recipe for rolled biscuits in our quick breads lab. The recipe I have used before was alright, but nothing special. Your biscuit recipe was “on point” as my high school students would say. They were so proud of themselves and took pictures and sent snapchats and made crazy sounds as they ate them. 60 students all gave your recipe 2 thumbs up! Thank you so much for posting this – I will be back to your site for more recipes. They will be visiting your site tomorrow for their Lab Write up!
Jill,
Your comment has totally made my day! I’m SO thrilled that your students enjoyed the biscuits so much! Thanks for your support! I hope you find more recipes that would work well in your classroom!
Best wishes, Amber
Great recipe! Thanks for sharing. In case you wanna try them wholewheat: I changed 1 cup of the regular flour for 1.5 cups of whole-wheat flour and instead of regular buttermilk I used almond milk+1tbsp of lemon. They were still really good.
Hi Laura!
Thanks for sharing how you made the recipe your own! So glad it turned out wonderfully!
I have tried MANY BISCUIT RECIPES, techniques, adding a touch of my own something to them to try to come up with THIS VERY RECIPE! PERFECTO!! Italians say, ” Mama mia”! 😉
The taste, texture, ingredients and instructions are PERFECT! Thank you for sharing! I WILL DO THE SAME!
Glad you enjoyed this recipe Charlotte! Thanks for taking the time to rate and share your experience.
Eager to try this! I can bake ANYTHING – except a decent biscuit. :)) Thanks.
Well, this should work every time! I hope you like it!
Another method Iv used instead of cutting the dough and stacking is to roll out then fold into thirds, then roll again and fold into thirds. This technique made very flaky biscuits.!!!
Yes, that’s the method I was mimicking, but it looked like the edges didn’t get as many layers in the photos, so I cut mine to ensure the layers were in every corner of the dough. 🙂
I do it that way. Makes a difference. Also I rub the butter into the flour between my fingers making flat pieces of butter instead of the more rounded pieces that you get with a pastry blender.
I am such a sucker for biscuits and yours look so flaky and perfect! Loved all your tips and step-by-step photos 🙂
Biscuits (or carbs rather) are my downfall! Butter and bread = LOVE! Thanks Kelly!
I love the stacking tip in this post! I love homemade biscuits and definitely need to give that a try. These look so delicious, Amber!
Thanks Danielle! It’s a fun trick to get the layers. 🙂
Great idea about grating the frozen butter! I just made this recipe and can’t wait to try them after bthey bake!
Fantastic! Thanks for the stacking tip! Can’t wait to try it. I found a really great way to get the perfect texture for the butter is to freeze the butter and then use a a large box grater to shred the frozen butter.
You’re welcome! I hope you get the chance to try it! Thanks for sharing your tips!
i am going to try this recipethis week. Do you have a recipe for a good gravy to go with these? Thank you.
Sounds great Linda! I don’t currently have a recipe for gravy on my blog, but this one from Ree Drummond looks delicious, maybe start with less pepper and add more to your taste. Some people like a peppery country sausage gravy, and some don’t: http://www.foodnetwork.com/recipes/sausage-gravy.html
I just love all your biscuit tips, Amber! These really do look like the perfect flaky, buttery biscuit and I’m drooling over all that golden flaky goodness! Can’t wait to try these!
Thanks Sarah! Your whole wheat biscuits looked mighty fine! I need to convert to whole wheat, I’m just so comfortable with my white flour. 😉
I’ve never heard of stacking the layers – but it sounds like the perfect solution! Definitely giving this a try!
Yeah, it’s kind of a cheater method, but totally works!
Amber, these look great, can you freeze them and bake them the next day(for Thanksgiving)?
If you freeze them before you bake them, I’m sure they would be just fine. They may take 5 minutes longer to bake when you put them in the oven straight from the freezer. Just keep an eye on them. Let me know how they turn out!
Ok so I’m trying this now and the stacking great I didn’t use lemon juice because I don’t have any so oven warming up I let you know how they turn out.
Well they are a step up from drop biscuits that I haven’t made in 10 to 15 years. So first time Baker starting over they are great I prayed and thanked God they would come out good and they did. Thank you so much for ur knowledge.
I’m so glad it worked out for you Juliet! You can substitute white distilled vinegar for the lemon juice if you want to in the future. It just adds a bit of tanginess that you would get with buttermilk.
These are the best flaky biscuits I have ever made. Every one should try it!