Foolproof Flaky Biscuits + Video
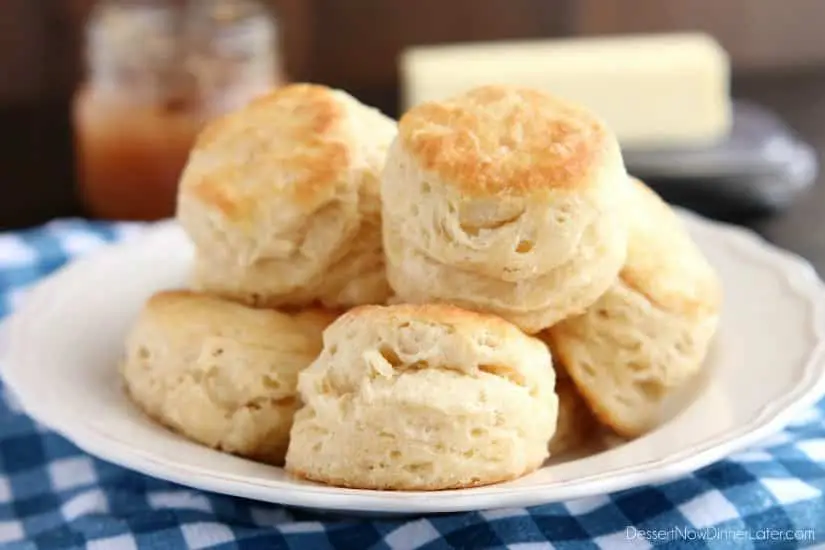
The secret to Foolproof Flaky Biscuits is revealed! Find out how to get flaky, layered, buttery, tender biscuits you will swoon over!
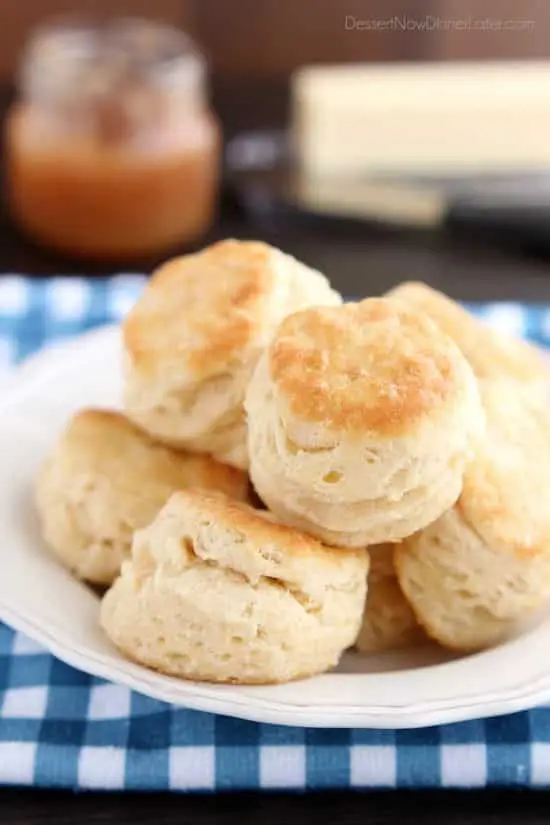
One of my husband’s favorite breakfasts is biscuits and gravy. I don’t make it very often because I haven’t had the best luck and getting a tall, flaky biscuit worth making again and again. I have since learned the secret to flaky biscuits doesn’t necessarily lie in the recipe alone, but that the technique also helps get you those amazing, buttery layers! It really is foolproof!
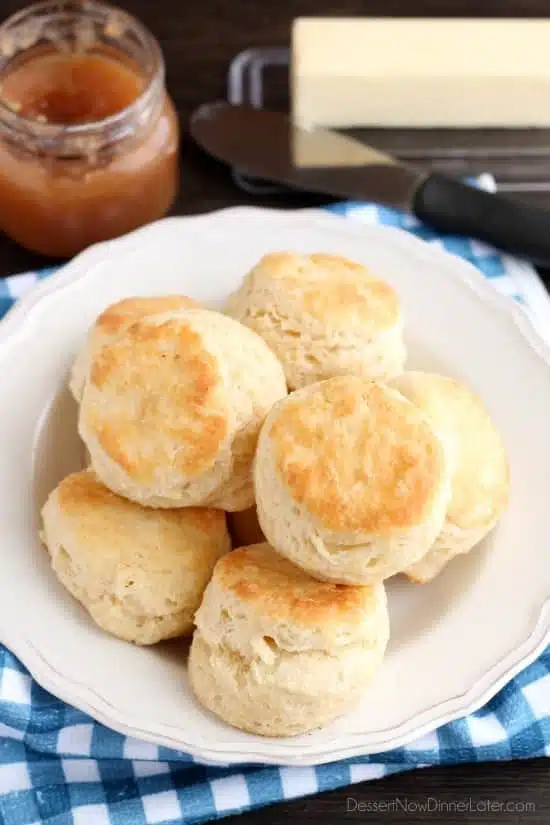
I’m talking crisp exterior, peel apart layers, and a tender center! Did I mention these are oh so buttery?! Swoon! Slather on some apple butter, jelly or jam, butter and honey, whatever your pleasure, and enjoy these biscuits ASAP!
Save This recipe
Enter your email below to get a link to this recipe emailed straight to you to save later! Plus be signed up for all new recipes.
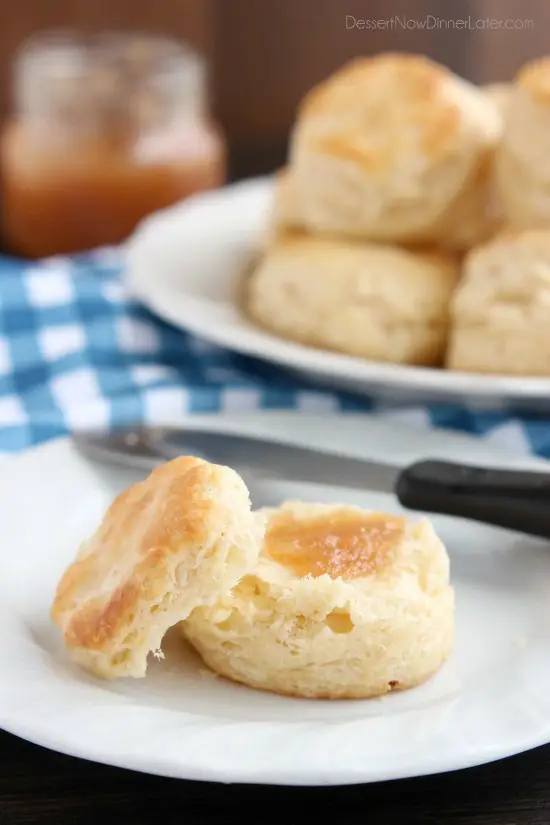
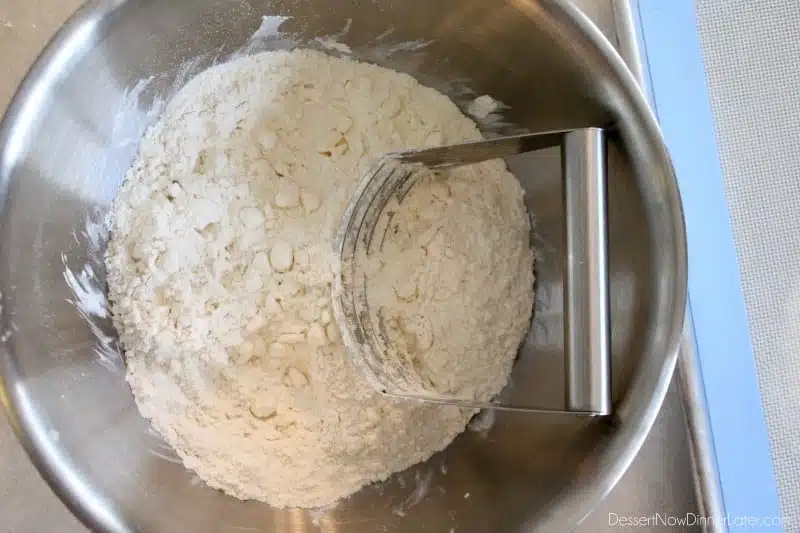
Let me show you how to get the foolproof flaky layers… First off, it’s really important to have COLD butter when you make biscuits (or pie crust) because when the butter melts, it creates pockets of air to help make those flaky layers. Also, don’t crumble them all away. Pea size butter pieces are ideal.
After you add the buttermilk and the dough comes together, roll it out into roughly a 6×9-inch rectangle on a lightly floured surface. Then cut that rectangle into thirds.
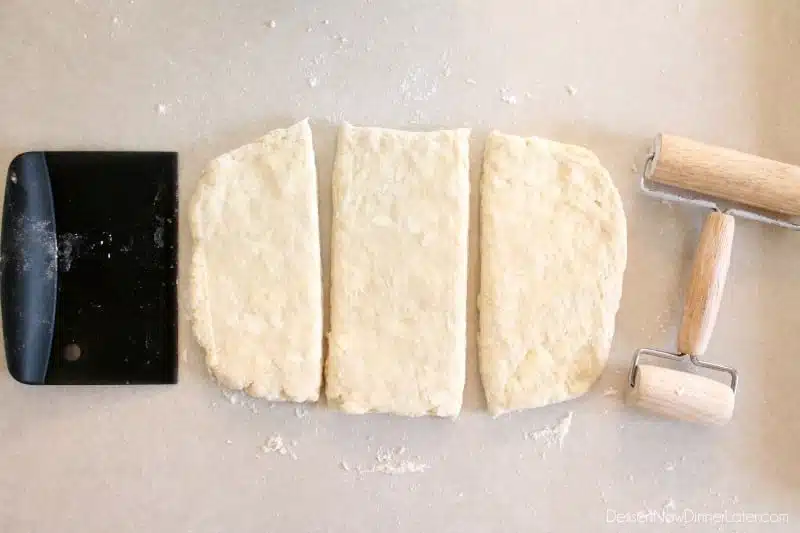
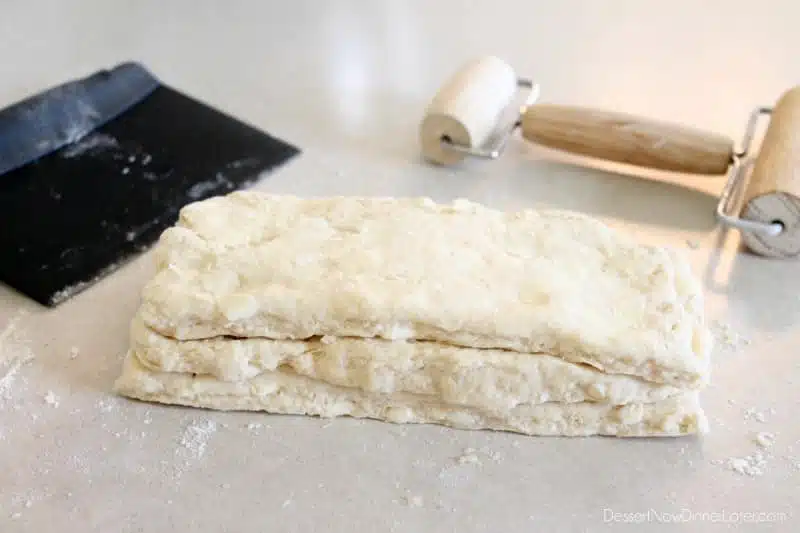
Here’s the trick! Stack each third on top of one another and roll the dough into a 6×9-inch rectangle again. This helps ensure you get those tall, flaky layers!
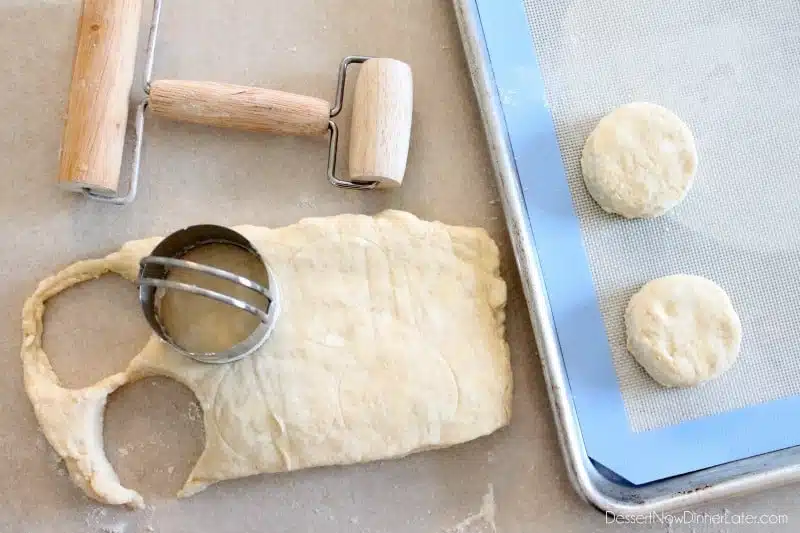
Using a 2 1/4 or 2 1/2-inch biscuit cutter, cut 9 (maybe 10) biscuits and place them on a silicone lined baking sheet. Do your best to piece together the scraps and use up all the dough with the layering technique, without overworking the dough or melting the butter with your warm hands.
If any of the edges kind of stick down, I stretch them before baking to help make sure they will grow tall and flaky. You can see in the picture below that they are pretty thick to start with, about 1 1/4 to 1 1/2-inches tall, and you can see some chunks of butter and layering before they even go in the oven.
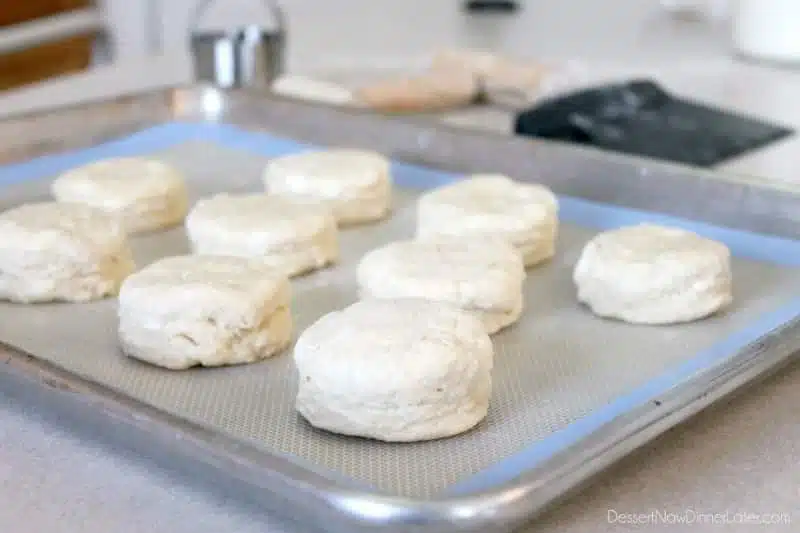
Bake at 450 degrees Fahrenheit for 10 to 12 minutes or until golden brown on top and bottom. These are best enjoyed warm and crisp from the oven, but you can store leftovers in a zip-top bag for 3 or 4 days. I like to re-heat my leftover biscuits, one at a time, in the microwave for 10 to 12 seconds.
Foolproof Flaky Biscuits
Ingredients
- 2 cups (240 g) all-purpose flour, (stir, spoon & level)
- 1 Tbsp granulated sugar
- 1 Tbsp baking powder
- 1 tsp salt
- ½ cup (113 g) unsalted butter, cold, cut into Tablespoons
- ¾ cup (177 ml) buttermilk, cold (or milk plus 1 tsp of lemon juice/white vinegar; allow to sit for 5 minutes before using)
Instructions
- In a large bowl, mix the flour, sugar, baking powder, and salt.
- Cut in the butter with a pastry blender until pea size pieces.
- Add the cold buttermilk all at once and form into a ball.
- Roll dough onto a lightly floured surface, into a 6×9-inch rectangle. Cut the rectangle into thirds.
- Stack each third on top of one another and roll the dough into a 6×9-inch rectangle again.
- Using a 2¼ or 2½-inch biscuit cutter dipped in flour, cut 9 (maybe 10) biscuits and place them on a silicone lined baking sheet. Do your best to piece together the scraps and use up all the dough with the layering technique, without overworking the dough or melting the butter with your warm hands. (If any of the edges kind of stick down, I stretch them before baking to help make sure they will grow tall and flaky.)
- Bake at 450 degrees Fahrenheit for 10 to 12 minutes or until golden brown on top and bottom.
Video
Notes
- Store any leftovers in a zip-top bag for 3 or 4 days. I like to re-heat my leftover biscuits, one at a time, in the microwave for 10 to 12 seconds.
Did you make this?
Don’t forget to leave a rating below and make sure to follow on Pinterest and Instagram for more!





Really flaky and good! This made eight biscuits for me. I cut the butter into small cubes the night before and kept them in the fridge all night so they would be cold and ready when I needed them.
So glad you enjoyed the biscuits Kelsey! Thanks for sharing your experience with the recipe.
This is very similar to a recipe that I have used for years. One variation that I like to use is that I fold in freeze dried chives and cheddar cheese. It makes for a great dinner biscuit.
I’ve been using this recipe for a couple of years, and it’s never failed me — always come out gorgeous, always get compliments on it!
I’m so glad you are enjoying my recipe! Thanks for sharing your review!
This is the most success I’ve had making biscuits after trying a ton of recipes! Doing a happy dance in my kitchen!
I’m so glad to hear that Amy! Yay!
Can these be made and frozen? If so how long?
Yes, I would wait until they are completely cooled. Then wrap them individually and put them in a freezer bag. They should last about 2-3 months this way. You can unwrap and re-heat them on a tray in the oven at 350˚F for 15-20 minutes. Make sure to cover the biscuits with foil the whole time they are in the oven so they don’t over-brown.
Can the biscuits be made a night ahead, kept in refrigerator unbaked and baked off in the morning?
You can, but they won’t rise quite as high as if you baked them right away. Make sure to use double acting baking powder. It reacts once the wet ingredients are added, and then again when the heat hits it in the oven.
Easy and delicious! I did not have a pastry blender so just used a knife to cut the butter into small pieces. I also did not have a biscuit cutter so just used a glass with a biscuit-sized rim.
I’m glad you enjoyed this recipe Greg! Thanks for sharing your experience.
Amber,
My entire family has tried to replicate my grandma’s biscuits for quite some time now. All along it was the technique that we failed to understand! Thank you so much for this recipe and instructions. I FINALLY made gorgeous flaky biscuits with your recipe and technique!!
I’m glad you found my information helpful Sherilyn. Those family recipes are the best!
Love the recipes
I know someone asked why people would comment in adv of trying the recipe but I’m doing the same…this will be my next recipe to use