Gingersnap Pumpkin Cheesecake (and the secret to no cracks in your cheesecake!)
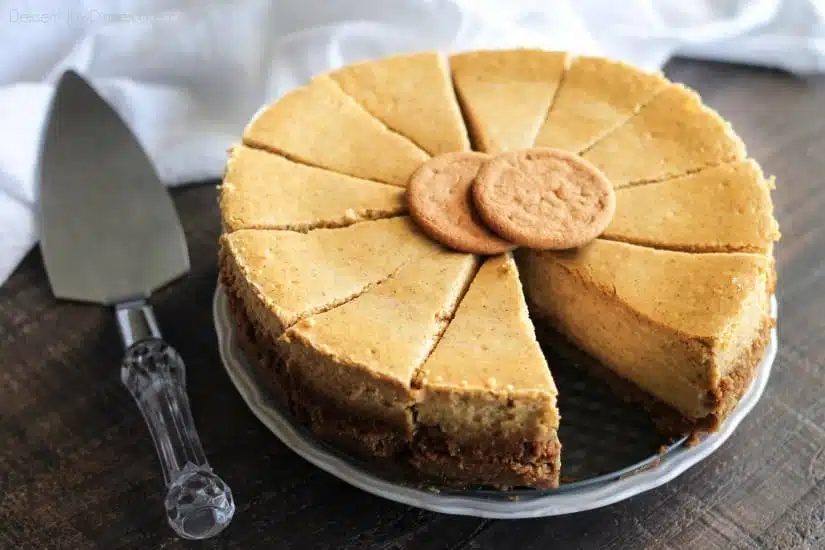
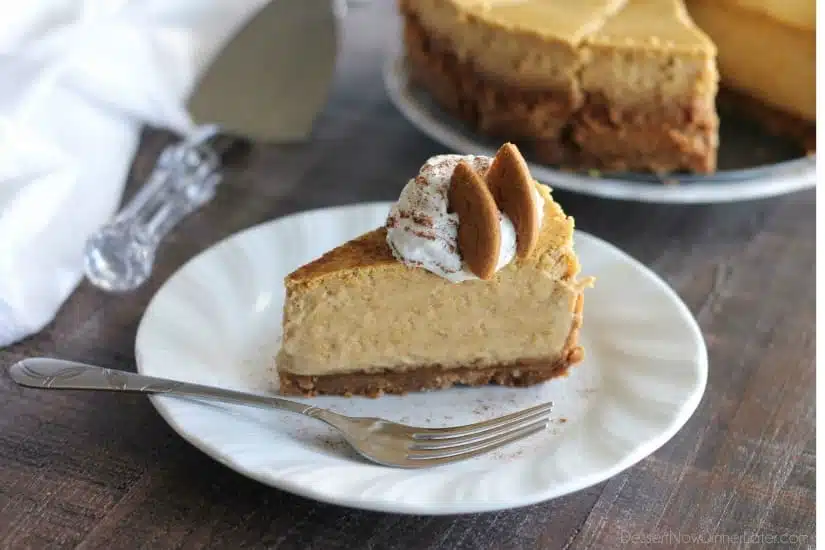
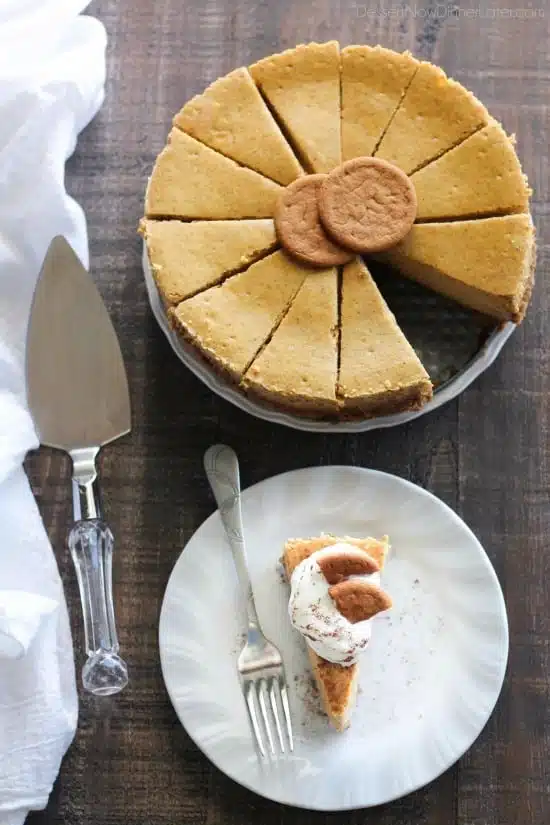
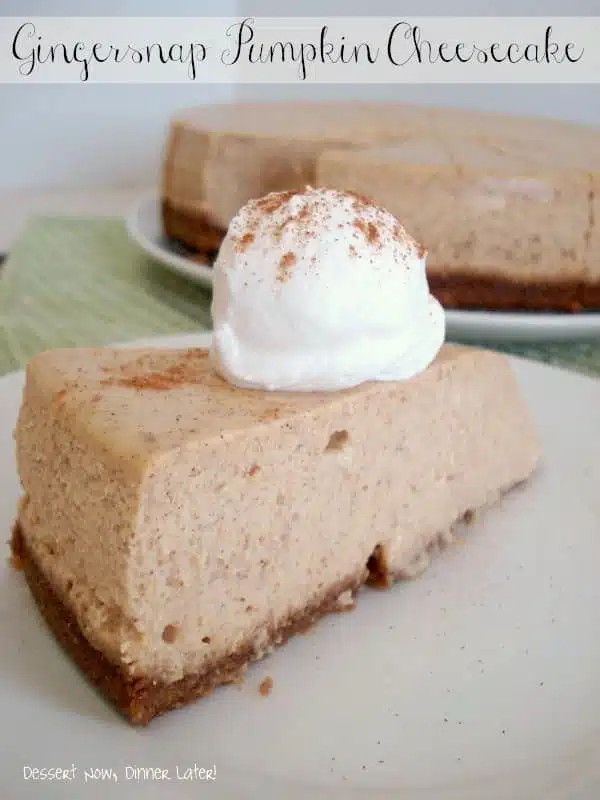
This Gingersnap Pumpkin Cheesecake is full of fall flavors, from the gingersnap cookie crust, to the spiced pumpkin cheesecake. It’s the perfect pumpkin dessert! *PLUS! Tips on how to prevent cracks in your cheesecake!*
My mouth waters just looking at these pictures because this pumpkin cheesecake is absolutely amazing with the gingersnap crust and all. I almost cried when it was gone. Not only do I have this fantastic pumpkin cheesecake recipe to share with you, I also have the tricks to the perfectly smooth cheesecake top that has NO CRACKS! Many people shy away from cheesecakes because they are worried about the presentation when it comes out of the oven split down the center. So are you ready to hear the secrets to the perfect cheesecake? Okay I will tell you.
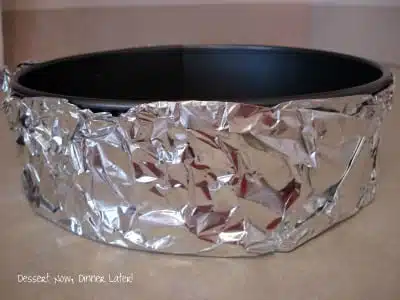
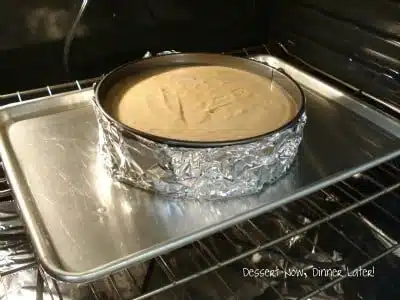
First, you want to double wrap the outside of your springform pan with foil. This keeps water out of the cheesecake when it’s baking in the oven, but more about that later. Pre-bake your curst and then put your springform pan in the center of a large rimmed baking sheet.
Save This recipe
Enter your email below to get a link to this recipe emailed straight to you to save later! Plus be signed up for all new recipes.
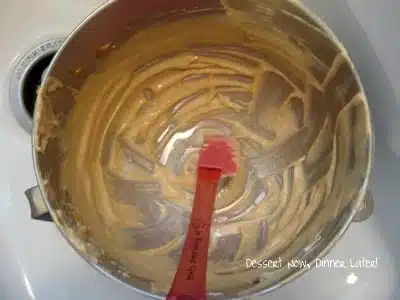
Make sure all of your cheesecake ingredients are at room temperature. Since cheesecakes are temperamental, you want to kind of baby it by gradually warming it up. It’s like a frog in a boiling pot of hot water. It will jump right out — aka: your cheesecake will split. Gradually warming up the cheesecake allows it to relax and gel together. Whip the cream cheese and sugar until smooth and light, scraping the bowl well before adding additional ingredients. If you beat the mixture after you add the other ingredients, it can over-work the batter, leaving you with air bubbles that rise to the surface and look bad — or potentially create a crack in your cheesecake.
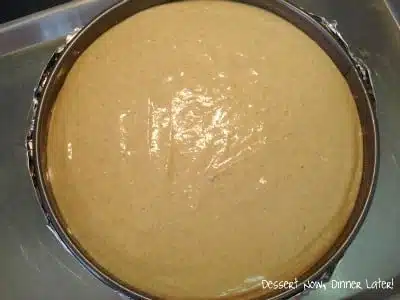
Pour your cheesecake filling on top of the cooked crust. Do NOT scrape the bowl like crazy because some of the filling won’t be completely mixed, and this is a bad time to scrape and re-mix the batter. Remember, too much mixing will create air bubbles. Place the rimmed baking sheet that’s holding the cheesecake into the center of the oven.
Ok, here’s the special trick: Pour water into the rimmed baking sheet around the cheesecake, about 1-inch high. Close the oven and bake. The foil acts to keep the water out of the cheesecake and the water forms a bain-marie, or water bath, which helps the cheesecake cook slowly and evenly without browning the top. The water bath also prevents the edges from cooking faster than the center. Low and slow is the way to go for cheesecakes.
Now, DO NOT OPEN THE OVEN, EVER! That is a huge mistake. I know it’s tempting to look at that beautiful dessert you are baking, but just watch it from the oven window. A 9-inch cheesecake will take 50 to 60 minutes to bake. This particular cheesecake will take about 80 minutes to bake because of the moisture from the pumpkin. The trick to telling if it’s done is that it will no longer look shiny on the top, but will be dull/matte and puffed up in the center when fully baked. Do not jiggle or stick a knife or toothpick into the cheesecake. Be patient! It will be done, or get done with the last steps, I promise.
Turn the oven off and leave the cheesecake INSIDE the oven, for at least 2 to 3 hours. While working in a bakery, we would even leave our cheesecakes in the oven overnight until we came in the next morning. By gradually cooling off in the closed oven, and with the help of carry-over cooking, the cheesecake will be fully-cooked. This process will help prevent cracks from forming and keep the top of the cheesecake from sinking in the center.
Lastly, remove the cheesecake from the oven and let it refrigerate for 4+hours. Chilling the cheesecake will also solidify any remaining jiggles.
Hooray! Now that you know the secrets to the perfect cheesecake, here is the recipe to impress your families with this Thanksgiving. Some say it’s so good, it trumps pumpkin pie!
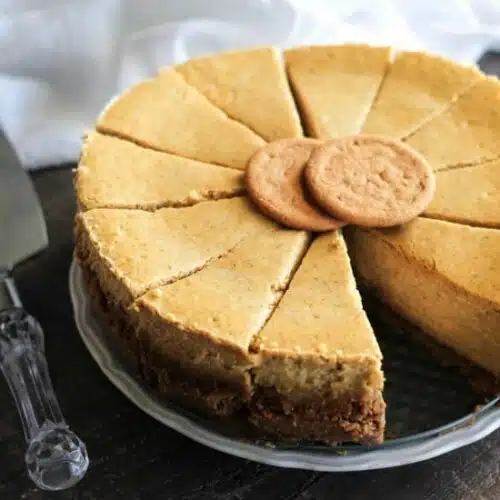
Gingersnap Pumpkin Cheesecake
Ingredients
For the Crust
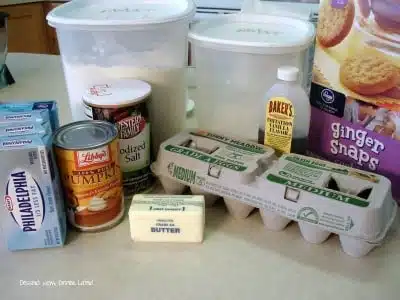
- 2 cups (290 g) gingersnap crumbs, (about 40 store-bought cookies, finely crushed with a food processor)
- 5 Tbsp granulated sugar
- 6 Tbsp (85 g) unsalted butter, melted
For the Filling (all ingredients at ROOM TEMPERATURE)
- 32 oz (904 g) block-style cream cheese, (four 8oz blocks) room temperature
- 1 ¼ cups (250 g) granulated sugar
- 3 Tbsp all-purpose flour
- 1 cup (244 g) canned pumpkin puree, room temperature
- 2 Tbsp *Homemade Pumpkin Pie Spice or store-bought
- 1 Tbsp vanilla extract
- ½ tsp salt
- 4 large eggs, cracked open into a bowl, room temperature
Instructions
- Preheat oven to 350 degrees Fahrenheit. Assemble a 9-inch nonstick springform pan, with the raised side of the bottom piece facing down. Double wrap the outside of the springform pan with foil.
- MAKE CRUST: In a medium bowl, mix the cookie crumbs, sugar, and butter until moistened; press firmly into bottom of pan. BAKE 10 to 12 minutes until golden around edges. Set aside.
- MAKE FILLING: With a stand mixer, beat the cream cheese and sugar on low speed until smooth, scraping the bowl well, occasionally. Add flour until just incorporated.
- Add pumpkin puree, pumpkin pie spice, vanilla and salt; mix just until smooth. Scrape the bowl one last time.
- Add eggs, one at a time, mixing until each is incorporated before adding the next. (DO NOT SCRAPE THE BOWL ANYMORE, or over-mix the filling.)
- Pour the filling into the springform pan over the cooked crust, and gently smooth the top. Place the cheesecake on a rimmed baking sheet. Transfer to the oven. Pour warm water into the rimmed baking sheet surrounding the cheesecake, about 1-inch high.
- REDUCE HEAT to 300 degrees Fahrenheit. Bake for 70 to 80 minutes; the top will be dull/matte and puffed up in the center. DO NOT OPEN THE OVEN, EVER! After the cheesecake is baked, turn the oven off; let the cheesecake stay in the closed oven for 2 to 3 hours more without opening the door.
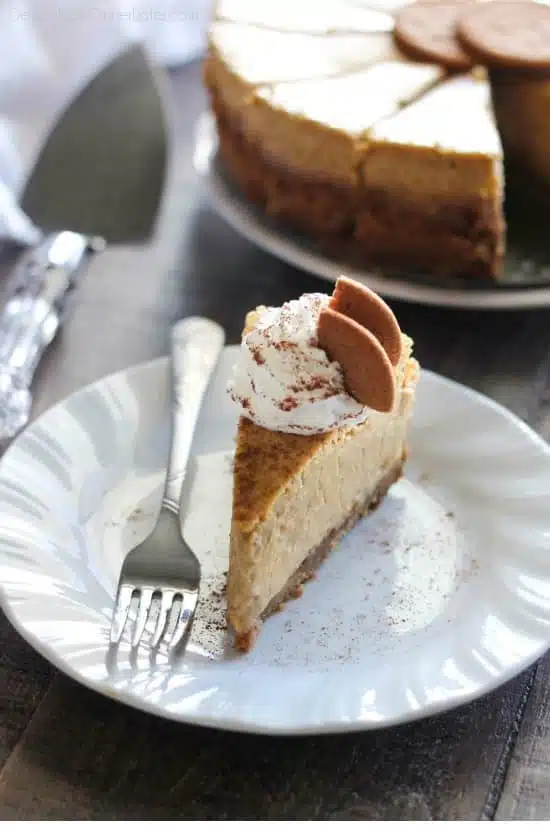
- Remove the cheesecake from the oven; cool completely at room temperature. Cover the cheesecake pan with plastic wrap; refrigerate until firm, at least 4 hours. Un-mold before serving. Use a HOT knife to slice pieces, rinsing and drying the knife between each pass. Top with a dollop of whipped cream and a dash of cinnamon. Enjoy!
Notes
Did you make this?
Don’t forget to leave a rating below and make sure to follow on Pinterest and Instagram for more!
Recipe adapted from Martha Stewart
Pictures updated & post re-published 9/22/16. Post originally published to my blog October 7, 2012.



Tasted great and I followed the directions to the letter but mine still had a big crack in the center.
Thank you!
Hi. What kind of mixer do you use? I bake a lot, and I use a hand mixer. Cream cheese is a little more challenging. Lol
I have both a Bosch Universal Mixer and a KitchenAid. I use both. A stand mixer is an investment, but definitely worth it!
I cant wait to try this!
Thanks so much!
Hi. I tried this last year. It was my first time ever making a cheesecake. It came out absolutely PERFECT!!! How do I alter the ingredients and/or directions to make a classic cheesecake?
Hi Fiona! I’m so glad you liked this cheesecake recipe. I don’t have a plain vanilla cheesecake recipe on my blog yet, although I might soon (thanks to your question). I have found a recipe from another blogger that I trust, so I’m recommending this one to you. Good luck! https://www.plainchicken.com/2015/01/the-best-homemade-cheesecake.html
Hi Fiona! So I adapted this recipe into a classic cheesecake and the recipe is available now. Thanks for the suggestion! https://www.dessertnowdinnerlater.com/classic-cheesecake-recipe/
Hello, looks lovely and am going to try this year (2017). Your tips on a crack-less cheesecake and not scraping the bowl are right on.
?? Please specify what size can of pumpkin. ??
Thank you!
It’s 1 CUP of pumpkin puree, not one whole can. I would just buy the smaller can so you don’t have as much left over.