Icebox Cake Recipe
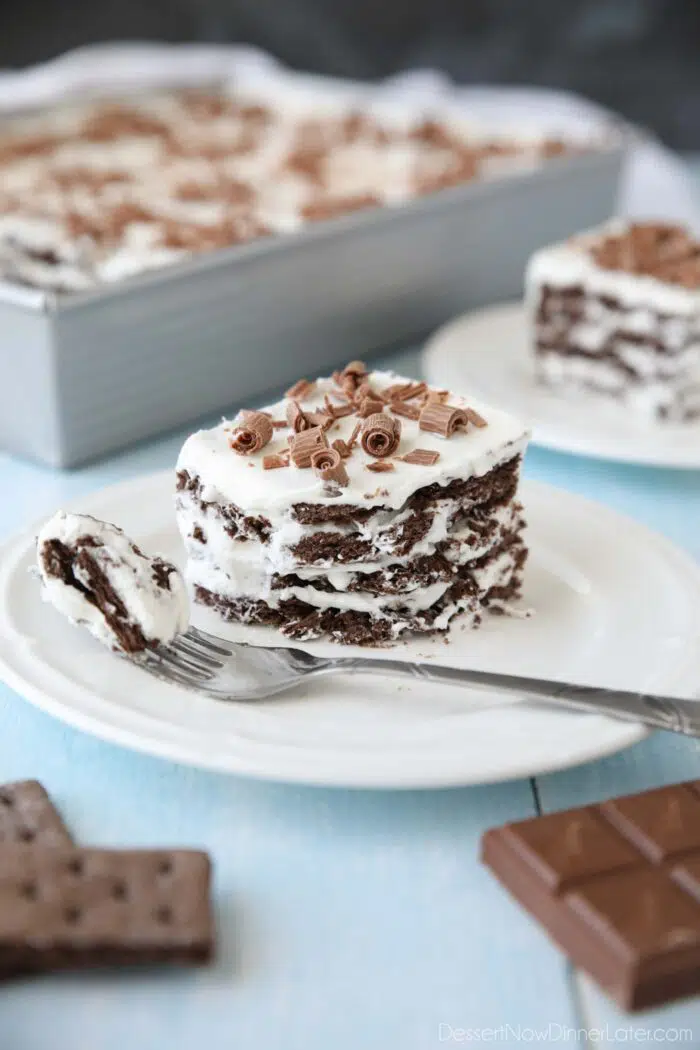
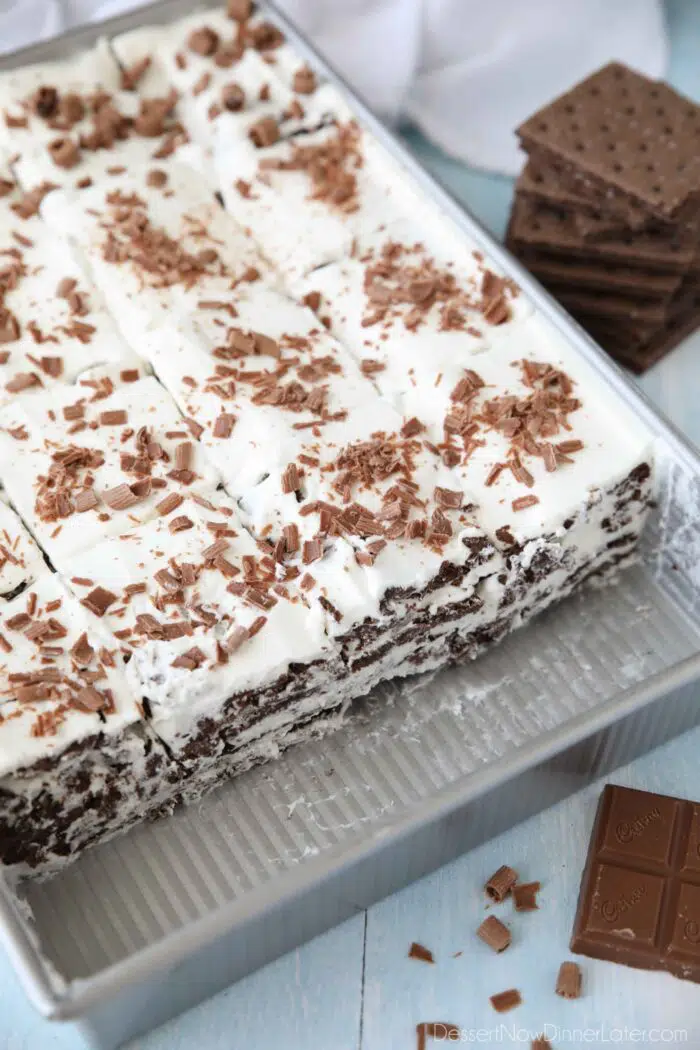
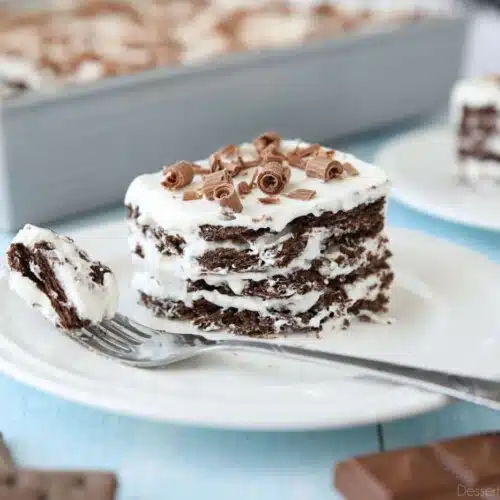
This icebox cake recipe is made from chocolate graham crackers and sweetened whipped cream. So easy! This old-fashioned no-bake dessert is perfect for summer.
Traditional Icebox Cake
The most famous icebox cake recipe was made popular by Nabisco, although they weren’t the original creators. The iconic recipe was made simply with chocolate wafers and freshly whipped cream sweetened with sugar.
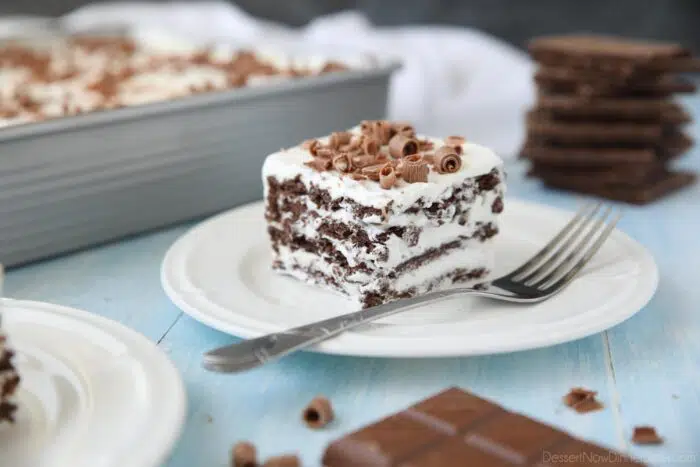
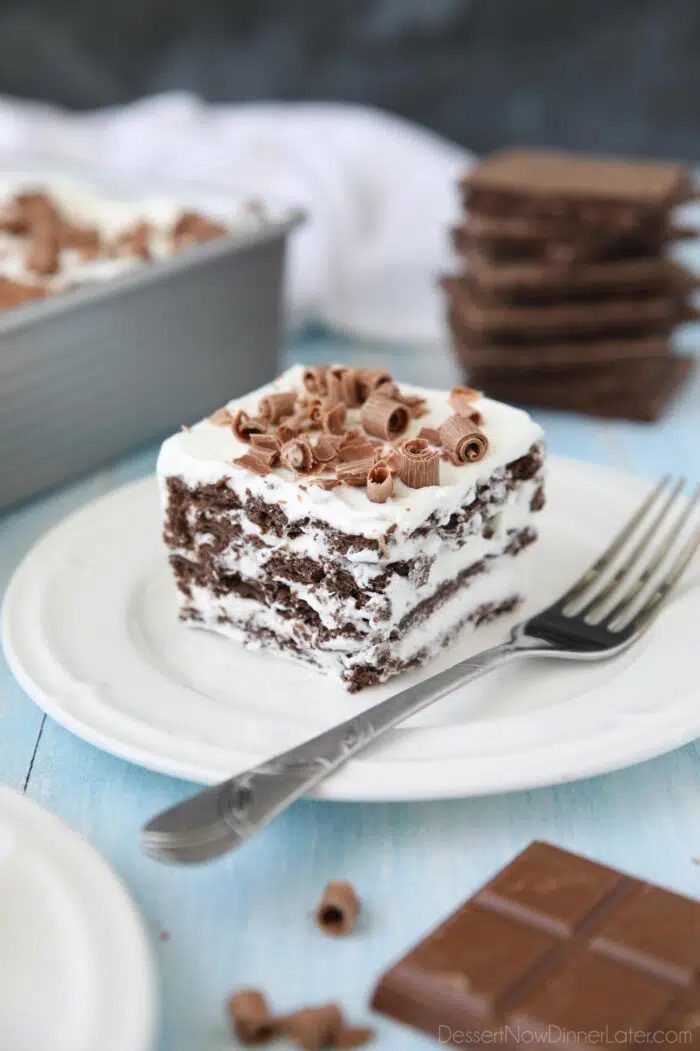
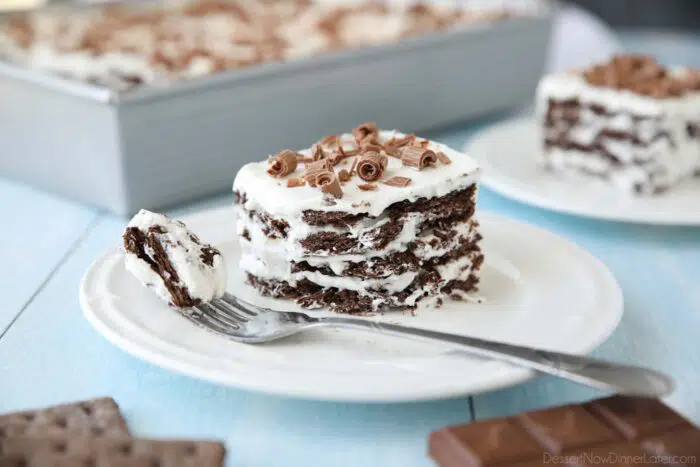
How does icebox cake work? The icebox cake is layered and chilled so that the cookies soak up the fat and moisture from the cream making the crisp cookies, soft and cake-like.
Save This recipe
Enter your email below to get a link to this recipe emailed straight to you to save later! Plus be signed up for all new recipes.
The icebox cake was marketed to housewives as a homemade-tasting chocolate cake without having to heat up the kitchen.
Why is it called an icebox cake?
The traditional icebox cake got its name from the icebox, a non-mechanical form of refrigeration that was popular during the early 1920’s. Basically a box with ice to keep things cold.
To capitalize on the growing popularity of iceboxes, food manufacturers printed icebox recipes onto cookie and wafer boxes.
Icebox Cake Variations
Icebox cakes are so good! What makes icebox cakes great is their simplicity. They can be made with as few ingredients as cookies and cream. But add fruit, nuts, pudding, or cream cheese and you’ve got a whole other variation.
Even the most stunning icebox cakes typically have just a handful of ingredients and require little preparation (and no oven). Yet, they are so well-loved and often shared at get-togethers and celebrations.
Chocolate Icebox Cake Recipe
For this chocolate icebox cake I opted to use chocolate graham crackers instead of chocolate wafers because I wanted them to fit perfectly in a 9×13-inch pan like my eclair icebox cake.
Ingredients for Icebox Cake
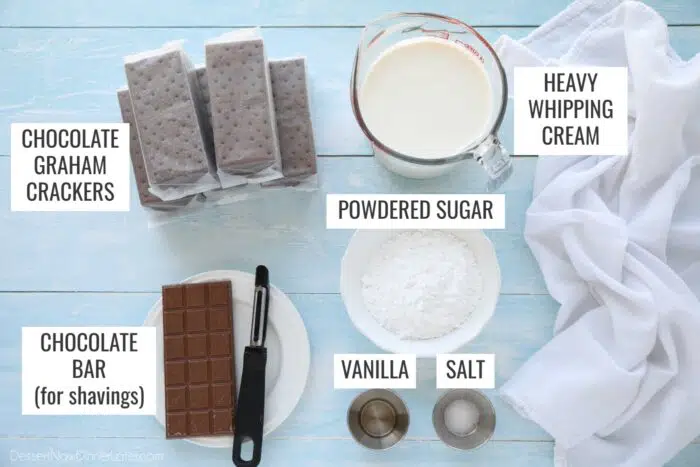
To make this icebox cake recipe you will need:
- Heavy Whipping Cream – To whip up for the filling.
- Powdered Sugar – To sweeten the cream.
- Vanilla – For flavoring.
- Salt – Balances the sweetness, without being salty tasting.
- Chocolate Graham Crackers – Creates the layers in this “cake.”
- Chocolate Bar – For peeling into shavings as decoration on top. (Optional.)
How To Make Icebox Cake
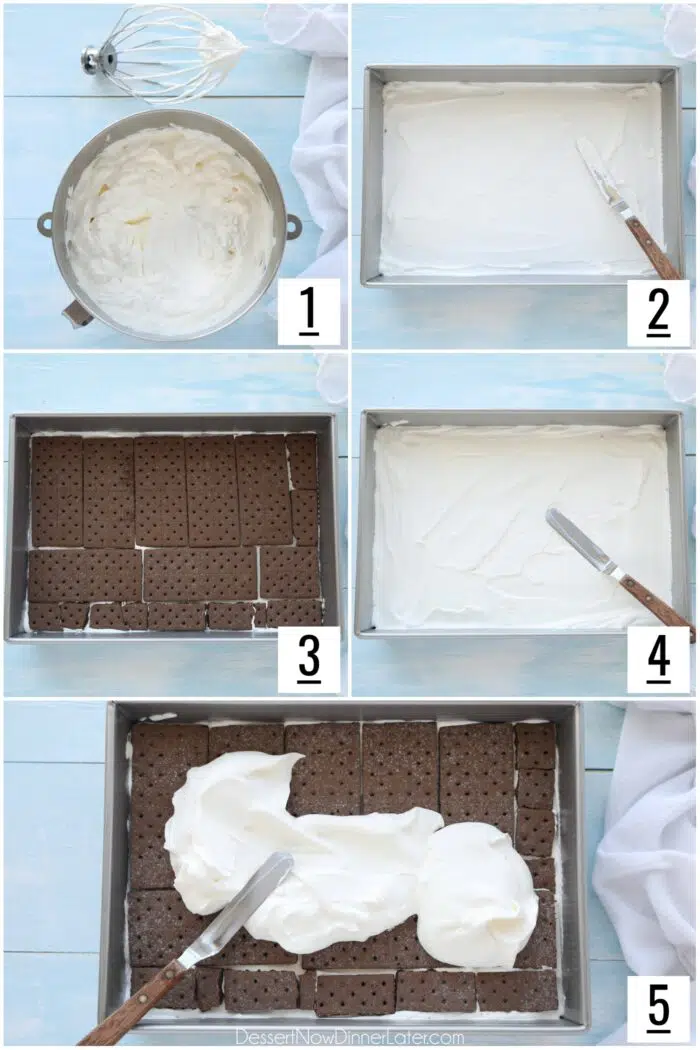
- Make whipped cream. In the bowl of a stand mixer with the whisk attachment, beat the heavy cream, powdered sugar, vanilla and salt until stiff peaks form.
- Spread a thin layer of whipped cream onto the bottom of a 9×13-inch pan.
- Place a layer of chocolate graham crackers in the bottom of the dish, breaking them as needed to fit the pan.
- Dollop 1/4 of the whipped cream on top of the crackers. Spread evenly.
- Repeat layers of graham crackers and cream, creating four layers of crackers, and ending with the final layer of whipped cream on top.
Chill and Serve
The key to an icebox cake is refrigeration. The cake needs time to soak up the moisture from the cream and turn into a soft “cake.” This happens while it is chilled.
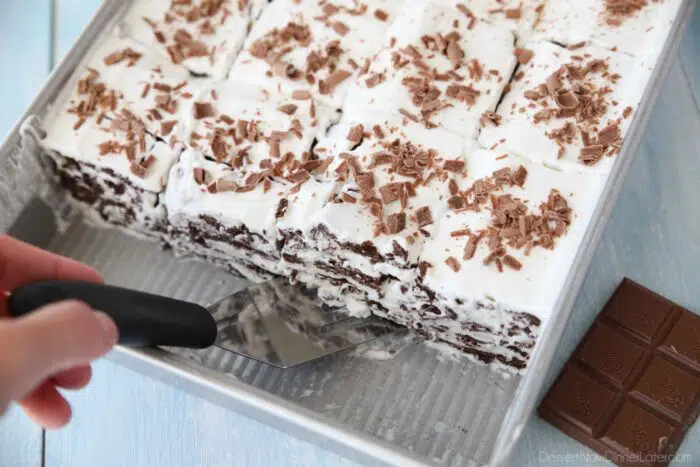
Cover the pan loosely and refrigerate the icebox cake for 4 hours to overnight. To serve, cut slices with a knife and top each piece with chocolate shavings, or other garnish as desired.
Store this chocolate icebox cake covered in the fridge up to 4 days.
Tips and Information
- Use cold equipment for the whipped cream. Chill the bowl and whisk for 15-20 minutes in the fridge before you whip the cream. This will help the cream achieve stiff peaks more efficiently. Of course, make sure the cream stays in the fridge so it’s super cold going into the bowl.
- Cool Whip instead of Whipped Cream – You can use Cool Whip to make this recipe even easier, but you can’t beat the taste of freshly whipped cream sweetened with sugar. You will need about two 8-oz tubs or one 16-oz tub of thawed Cool Whip for this recipe.
- Smaller Cake – You can cut this recipe in half and make it in an 8×8-inch dish.
- Allow cake to chill completely. It is tempting to want to eat this icebox cake right away, but the longer it chills the softer the cake gets. Refrigerate for 4 hours minimum, or overnight.
More No Bake Desserts
If you liked this icebox cake recipe you might also like these no bake desserts:
- Chocolate Cream Cheese Pie
- No Bake Peanut Butter Bars
- Layered No Bake Cheesecake
- No Bake Peanut Butter Pie
- Nutella Cheesecake
- Strawberry Graham Cracker Icebox Cake
Icebox Cake Recipe
Ingredients
- 3 ½ cups (828 ml) heavy whipping cream, cold
- 1 cup (120 g) powdered sugar
- 1 tsp vanilla extract
- ¼ tsp salt
- 37 chocolate graham crackers (more or less, to fit your dish)
- chocolate shavings, optional (for garnish)
Instructions
- Make whipped cream. In the bowl of a stand mixer with the whisk attachment, beat the heavy cream, powdered sugar, vanilla and salt until stiff peaks form.
- Spread a thin layer of whipped cream onto the bottom of a 9×13-inch pan.
- Place a layer of chocolate graham crackers in the bottom of the dish, breaking them as needed to fit the pan.
- Dollop 1/4 of the whipped cream on top of the crackers. Spread evenly.
- Repeat layers of graham crackers and cream, creating four layers of crackers, and ending with the final layer of whipped cream on top.
- Cover the pan loosely and refrigerate the icebox cake for 4 hours to overnight. To serve, cut slices with a knife and top each piece with chocolate shavings, or other garnish as desired.
Notes
- TIP: Use cold equipment for the whipped cream. Chill the bowl and whisk for 15-20 minutes in the fridge before you whip the cream. This will help the cream achieve stiff peaks more efficiently.
- Cool Whip instead of Whipped Cream – You can use Cool Whip to make this recipe even easier, but you can’t beat the taste of freshly whipped cream sweetened with sugar. You will need about two 8-oz tubs or one 16-oz tub of thawed Cool Whip for this recipe.
- Smaller Cake – You can cut this recipe in half and make it in an 8×8-inch dish.
- Store this chocolate icebox cake covered in the fridge up to 4 days.
Nutrition
Did you make this?
Don’t forget to leave a rating below and make sure to follow on Pinterest and Instagram for more!
