Lattice Pie Crust Tutorial
Homemade pie crust can be lots of fun to play with! This Lattice Pie Crust Tutorial shows you how to weave your crust with a bonus braided edge for a stunning holiday pie!
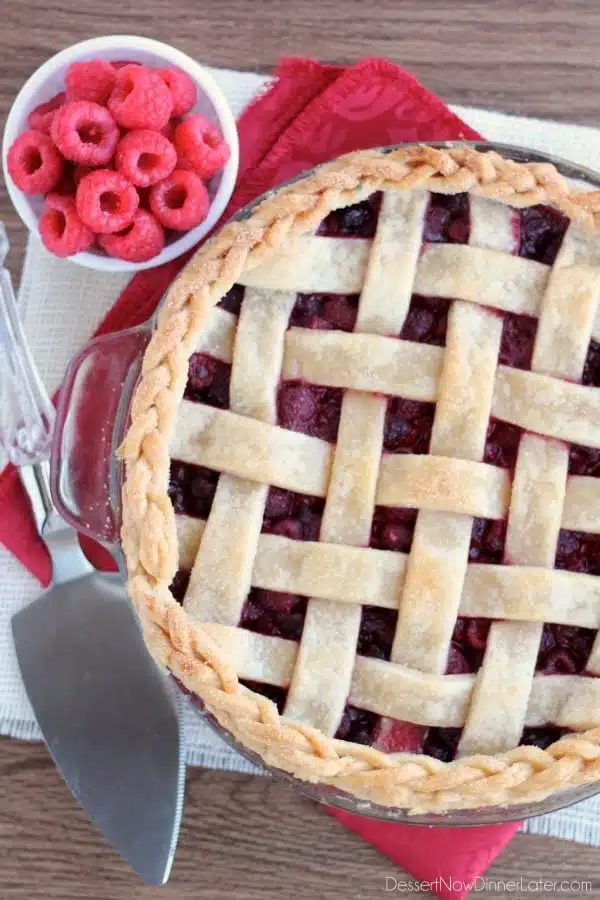
Start with your favorite pie crust recipe. Here’s my perfect pie crust recipe and tutorial.
Make sure that it makes enough for a top and bottom crust.
Save This recipe
Enter your email below to get a link to this recipe emailed straight to you to save later! Plus be signed up for all new recipes.
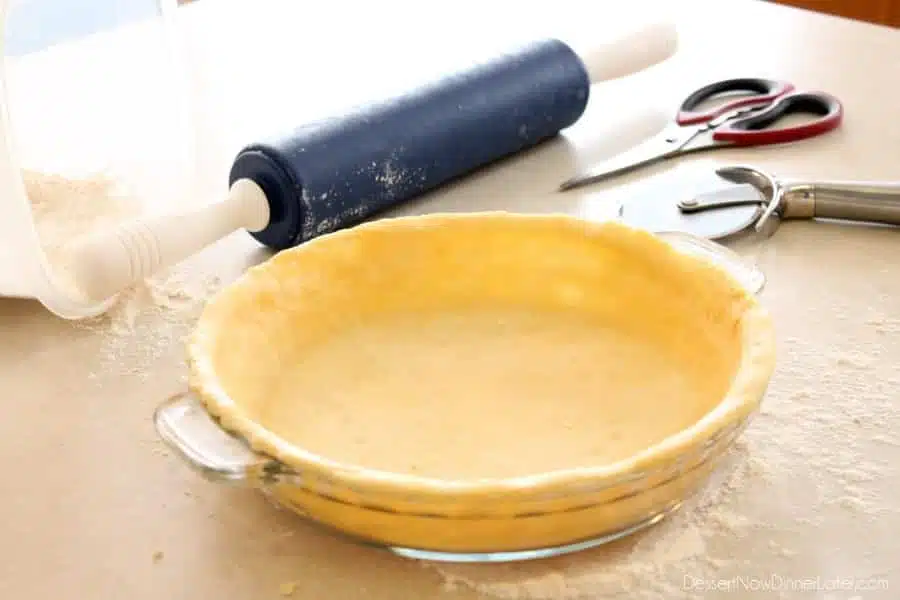
Divide the pie dough in half, roll one half out, fit it in your pie dish, and cut off the excess crust around the edges.
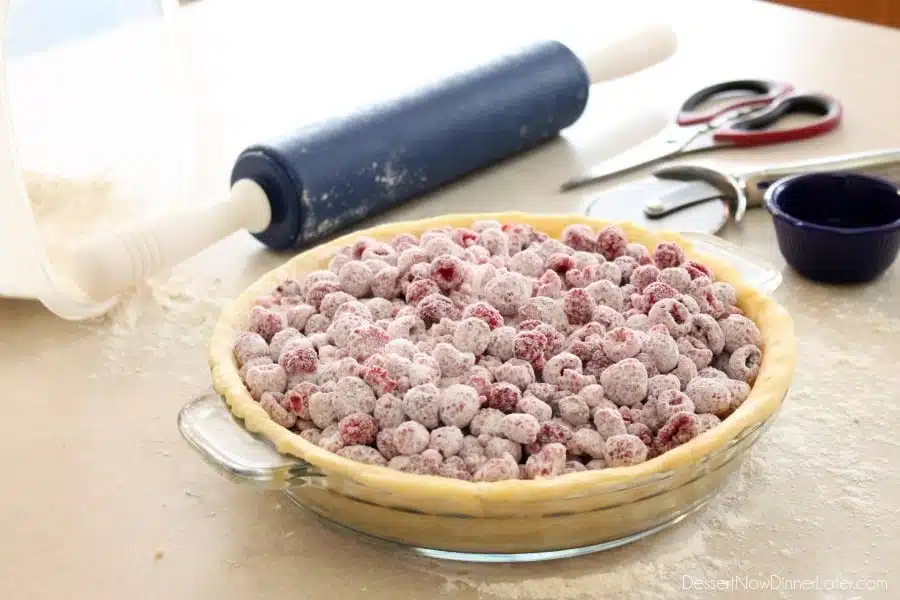
Fill your crust with the filling of your choice. (Grab the recipe for the Raspberry Filling pictured here.)
Roll out the other half of the pie crust into a circle about 1/4-inch thick.
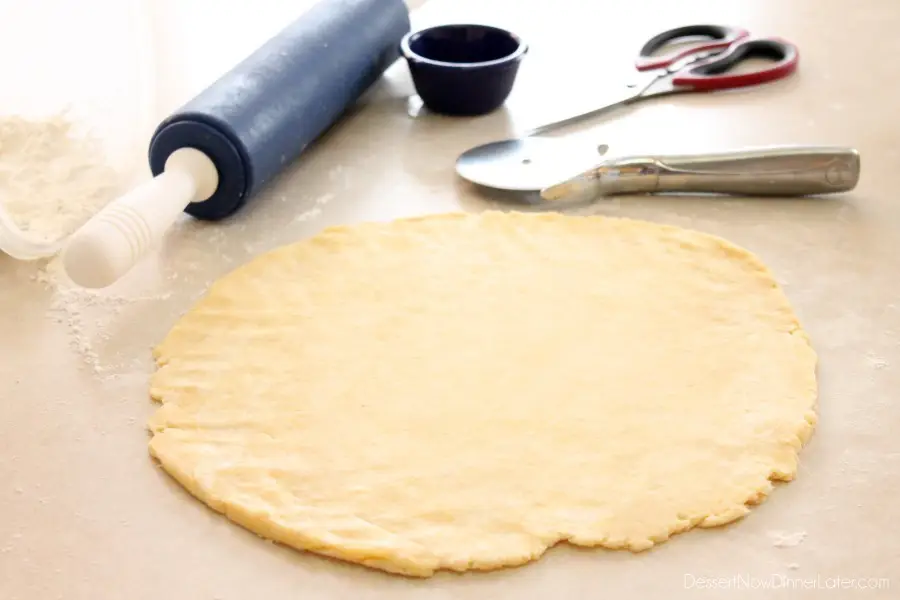
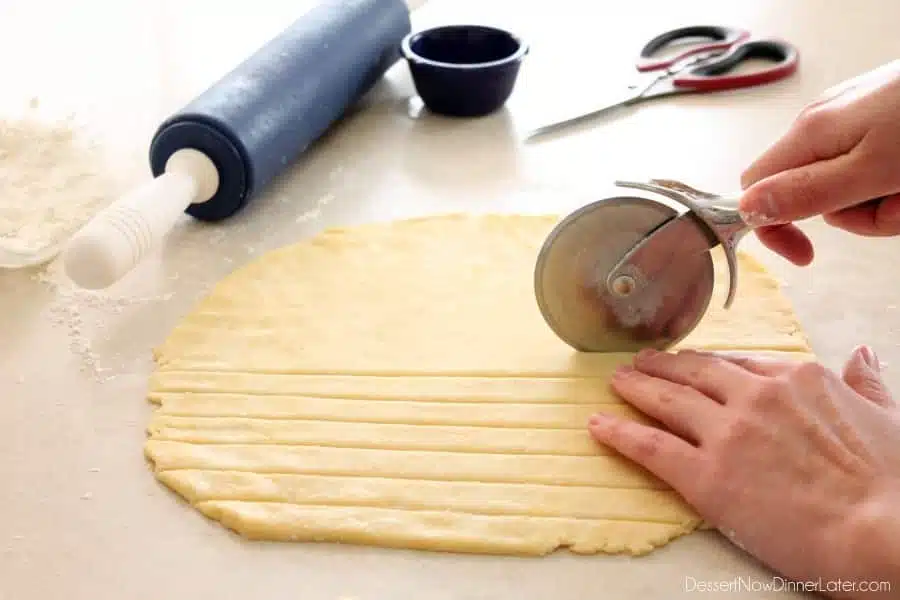
With a pizza cutter, cut 1-inch wide strips – you will need at least 10, but save any extra crust for a braided edge.
Criss-cross two of the pie crust strips over the center of the pie. Place the first strip vertically (up and down), the second strip horizontally (left to right). Use the center pie crust strips because they are the longest.
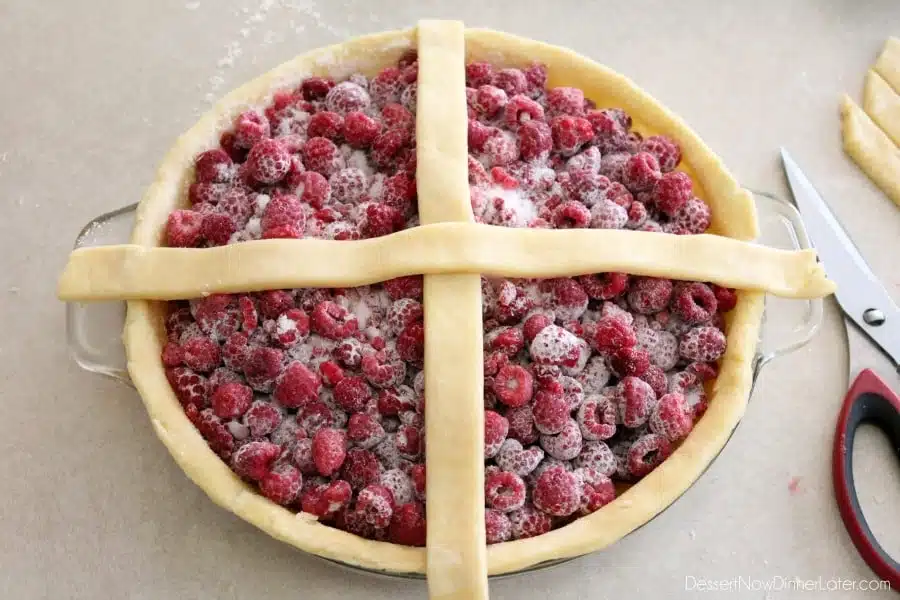
Place two more strips vertically on top of the horizontal strip.
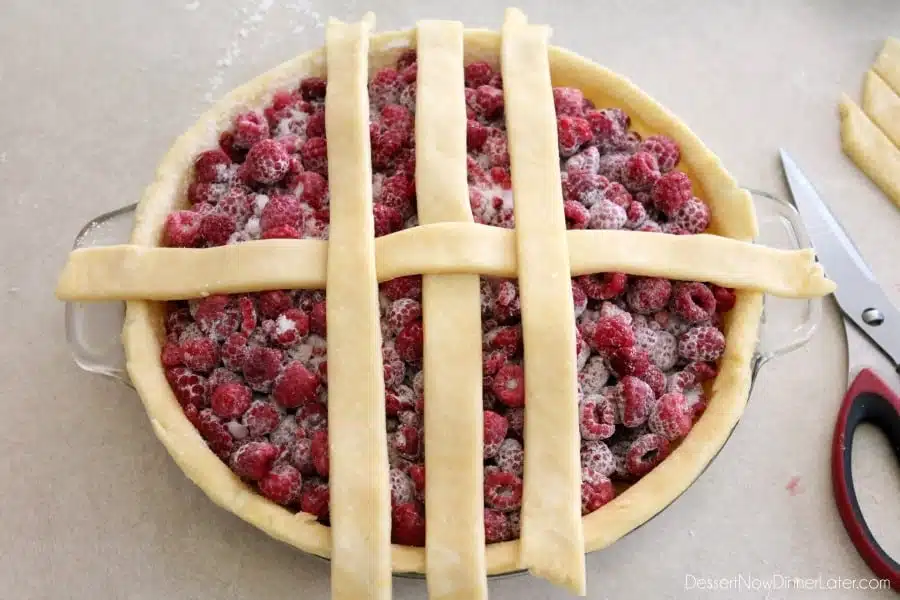
Take two more strips and horizontally weave them over, under, and over the vertical pie crust strips.
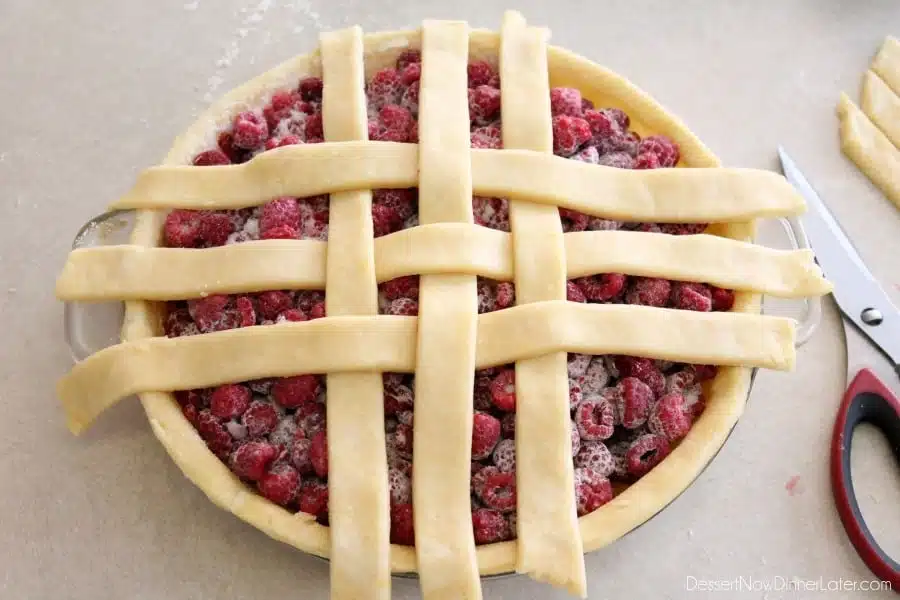
Grab two more strips and weave them vertically over, under, and over the horizontal pieces.
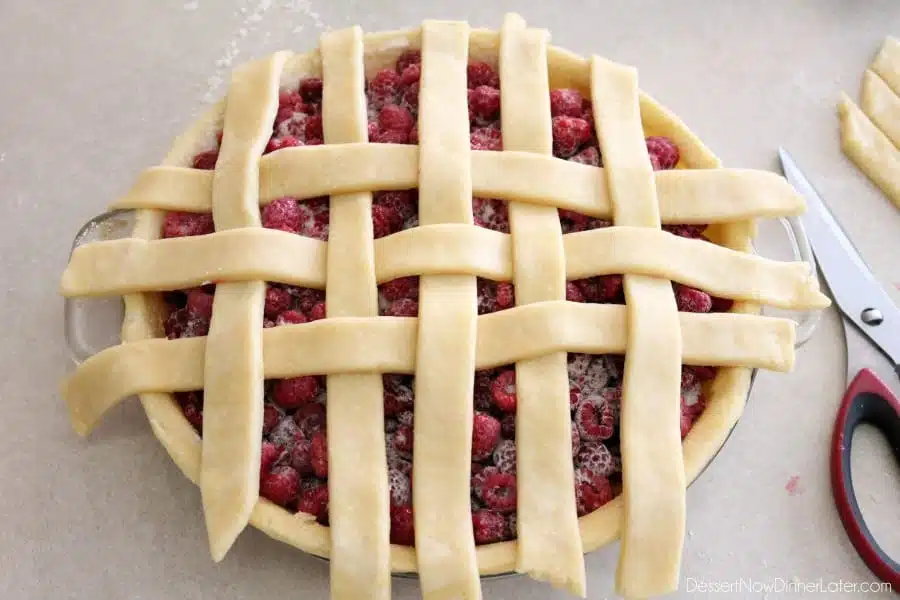
Grab two more strips and weave them horizontally over, under, over, under, and over the vertical pieces.
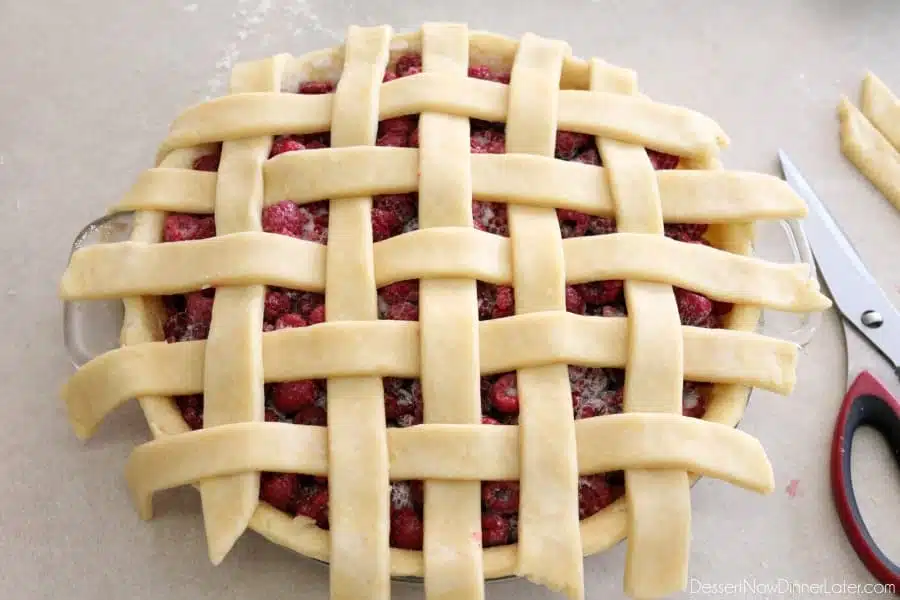
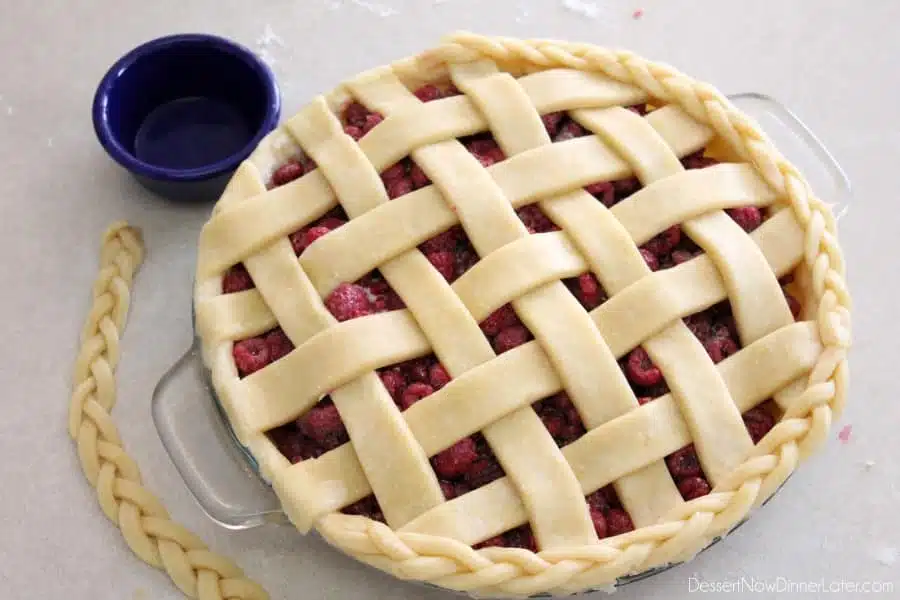
Fill a small cup with water. Wet your fingers, and dab the edge of the bottom pie crust all the way around.
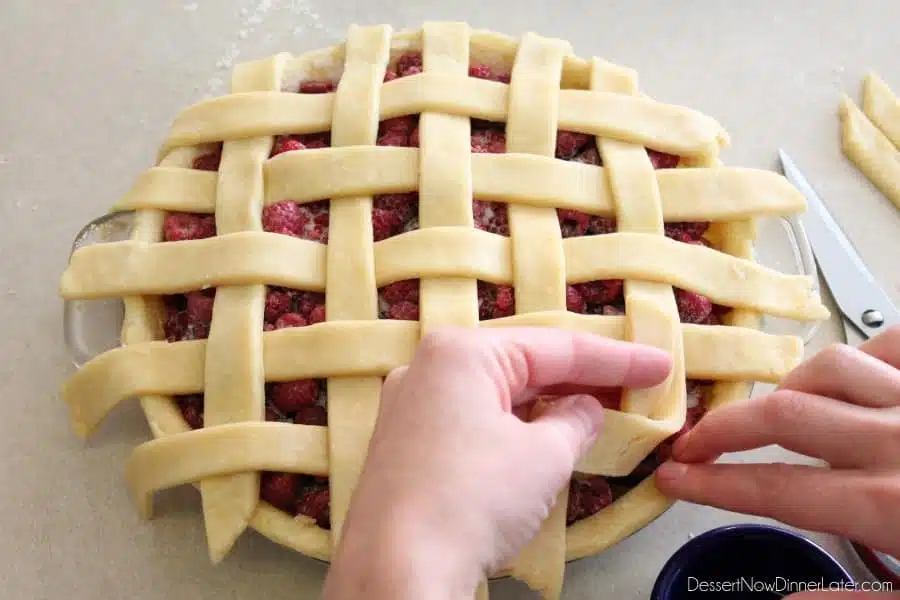
Press the lattice pieces into watered edge of the bottom crust and cut off the ends of the strips.
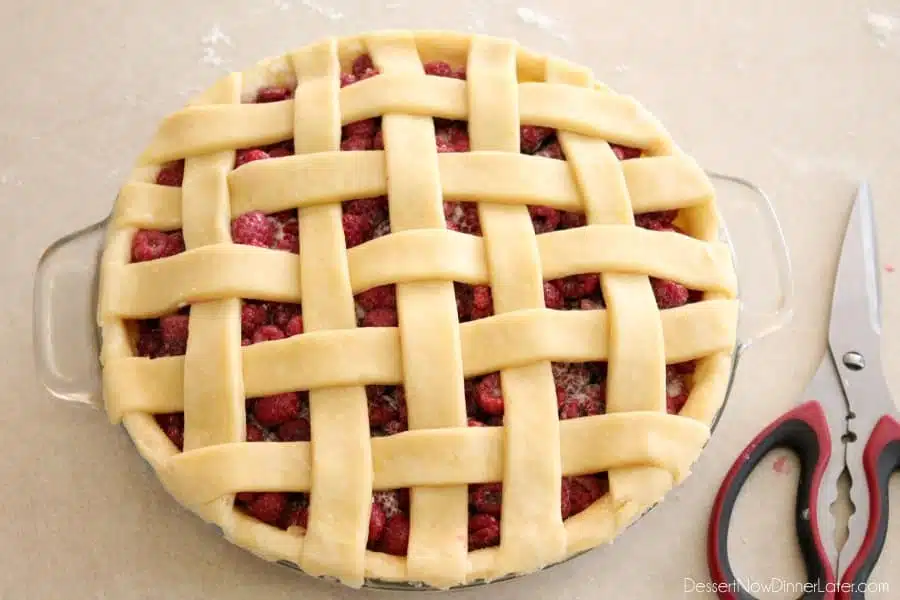
If you have extra pie crust, you can make a braided edge. Cut 1/4-inch strips and braid the pie crust on the counter.
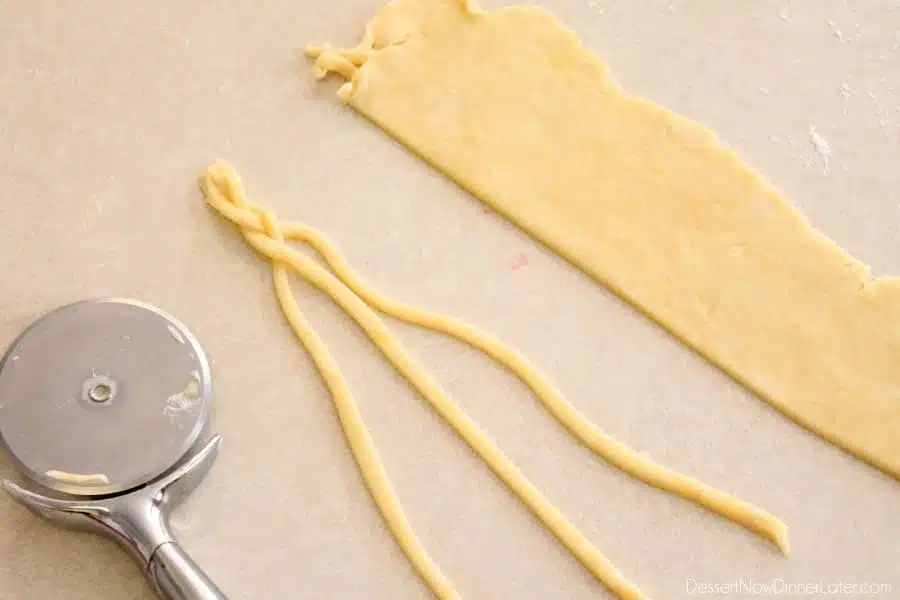
You basically alternate bringing the outer strips in towards the center.
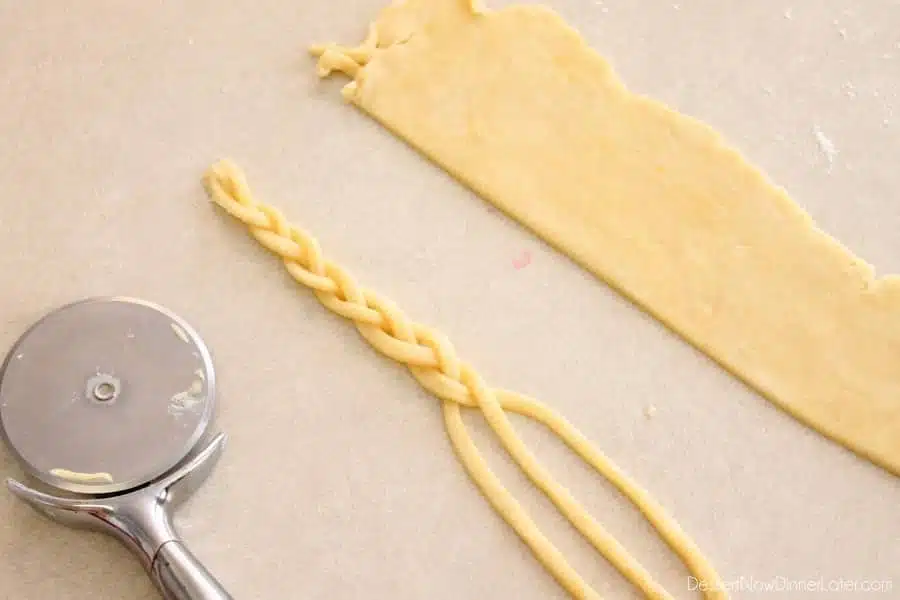
It took 3 braids to cover the whole edge of the pie crust pictured here. Dab water along the edges and gently press the braids in place so they will cook together and stay in place.
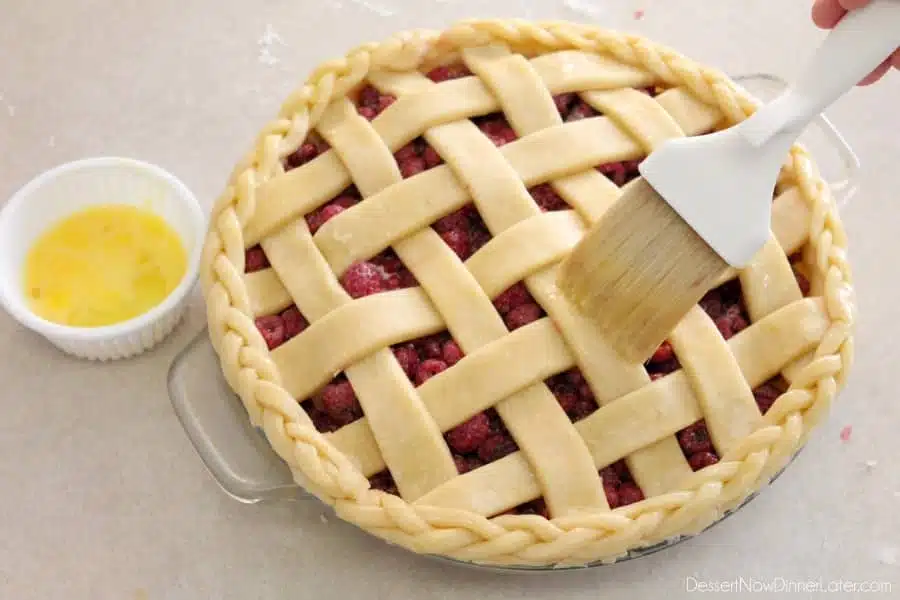
Whisk an egg and brush the crust gently. This helps it brown up as it bakes.
Depending on the flavor of pie, you can sprinkle sugar or cinnamon-sugar on top for added sweetness and sparkle.
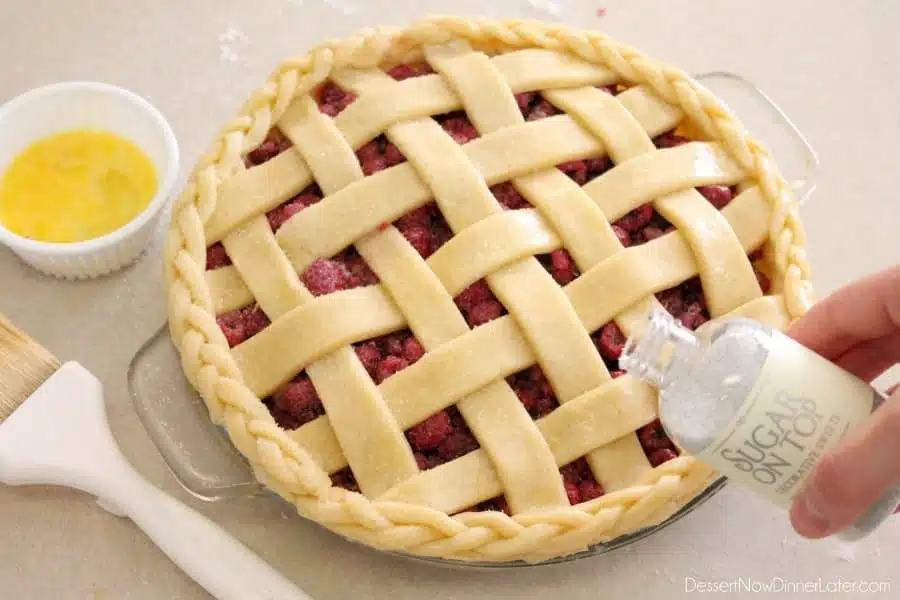
Bake at 350 degrees Fahrenheit for 60 to 75 minutes or until crust is golden and the filling is bubbling in the center of the pie!
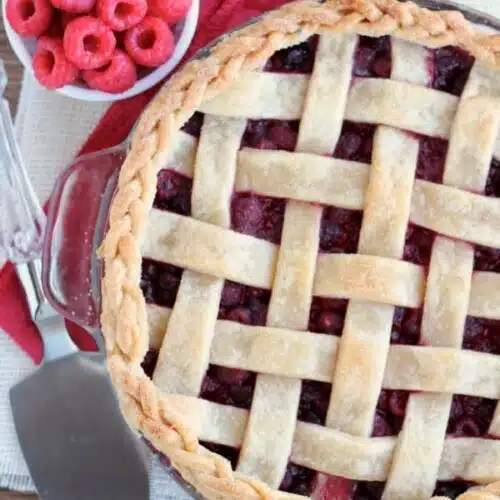
Lattice Pie Crust Tutorial
Ingredients
- 1 recipe Perfect Pie Crust, (enough for a top and bottom)
- pie filling of choice
- 1 egg, whisked
- granulated sugar or cinnamon-sugar
Instructions
- Start with your favorite pie crust recipe. I used my perfect pie crust recipe. Make sure that it makes enough for a top and bottom crust.
- Divide the pie dough in half, roll one half out, fit it in your pie dish, and cut off the excess crust around the edges.
- Fill your crust with the filling of your choice.
- Roll out the other half of the pie crust into a circle about ¼-inch thick.
- With a pizza cutter, cut 1-inch wide strips – you will need at least 10, but save any extra crust for a braided edge.
- Criss-cross two of the pie crust strips over the center of the pie. Place the first strip vertically (up and down), the second strip horizontally (left to right). Use the center pie crust strips because they are the longest.
- Place two more strips vertically on top of the horizontal strip.
- Take two more strips and horizontally weave them over, under, and over the vertical pie crust strips.
- Grab two more strips and weave them vertically over, under, and over the horizontal pieces.
- Grab two more strips and weave them horizontally over, under, over, under, and over the vertical pieces.
- Fill a small cup with water. Wet your fingers, and dab the edge of the bottom pie crust all the way around.
- Press the lattice pieces into watered edge of the bottom crust and cut off the ends of the strips.
- If you have extra pie crust, you can make a braided edge. Cut ¼-inch strips and braid the pie crust on the counter. You basically alternate bringing the outer strips in towards the center.
- It took 3 braids to cover the whole edge of my pie crust. Dab water along the edges and gently press the braids in place so they will cook together and stay in place.
- Whisk an egg and brush the crust gently. This helps it brown up as it bakes.
- Depending on the flavor of pie, you can sprinkle sugar or cinnamon-sugar on top for added sweetness and sparkle.
- Bake at 350 degrees Fahrenheit for 60 to 75 minutes or until crust is golden and the filling is bubbling in the center of the pie!
Notes
Did you make this?
Don’t forget to leave a rating below and make sure to follow on Pinterest and Instagram for more!









This is amazing!! Thank you for taking the time to teach this to us…I’m making my first mixed berry pie today. The berries are frozen so I am using your recipe.
I will let you know how it turns out.
God bless you and your family,
Paulia….
I’m glad you found this tutorial useful and I hope you enjoyed the mixed berry pie Paulia!
Oh my gosh, Amber! This has got to be the most gorgeous lattice crust I’ve ever seen! You make it look SO easy too! Absolutely gorgeous step-by-step photos and I’m definitely gonna refer back to this when I make my pies for Thanksgiving!
Thanks Sarah! I seriously love playing with pie crust! I hope the tutorial helps!
Ahhh!!!! Look at your sugar for the top!!! Yay – love that you’re using it 🙂
I was wondering if you would notice! Haha. It was fun to use!
Gorgeous gorgeous pie! The lattice crust looks perfect! Every time I try to make a lattice crust, I always fail miserably so I am super excited to try this again with your amazing tutorial 🙂 Can’t wait to see the raspberry filling recipe tomorrow too!
Thanks! It’s really not much different than playing with play dough 🙂
This pie is absolutely gorgeous! And raspberry is my favorite. Can’t wait till tomorrow!
Thanks Mallory! I too love raspberries!
Thanks for the easy tutorial, Amber. I’ve never made a lattice top pie but looking forward to trying it.
Thanks Jen! They’re not as difficult as people think. It’s like playing with play dough 😉
Love this! I have actually always wondered how to make it actually look good, and not all sunken in and dry! This looks great, thanks for the tutorial…..now which pie to make with it? 😉
Thanks Tina….seriously, any pie! I’m a sucker for berries or apples! Just have fun with it!