Lucky Charms Treats
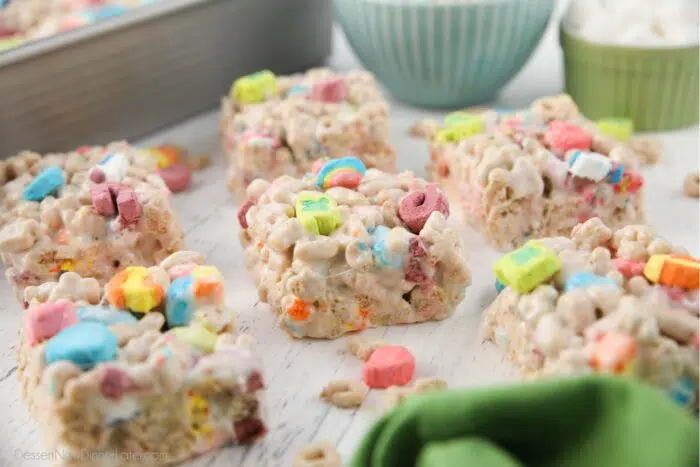
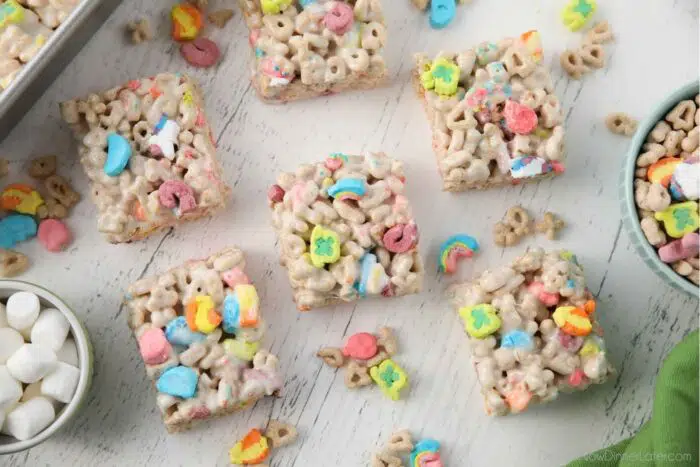
Lucky Charms Treats are easy to make with only 3 ingredients. These no-bake cereal bars are ready to eat in 15 minutes or less. You’ll love these gooey marshmallow treats with the fun marshmallow shapes from Lucky Charms cereal.
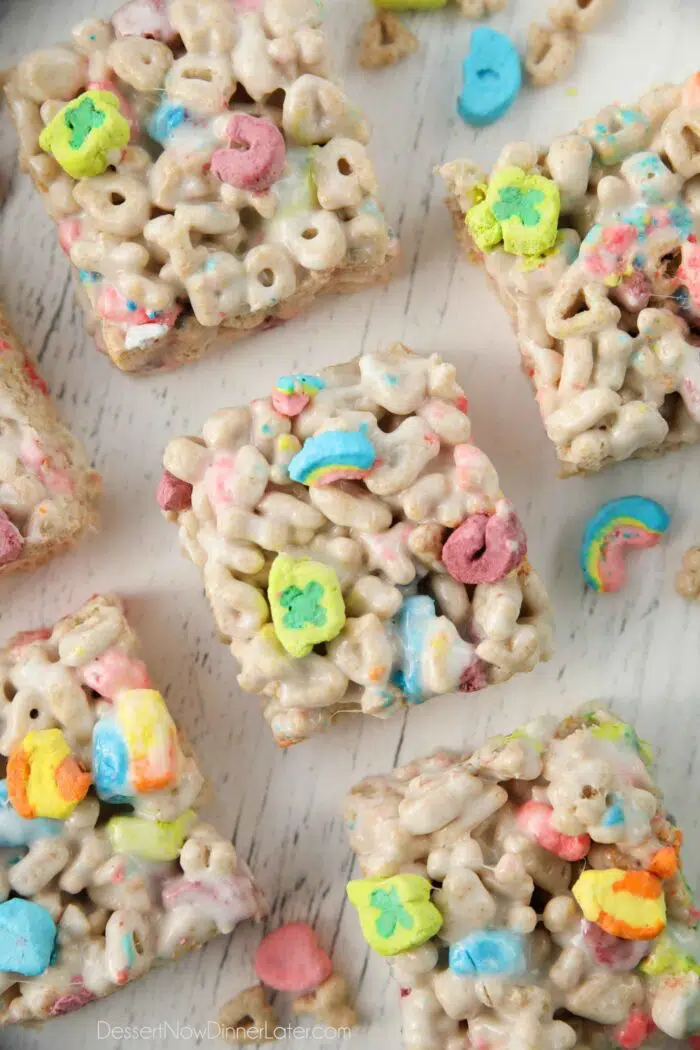
Rice Crispy Treats with Lucky Charms Cereal
You favorite rice krispie treats got a makeover by using Lucky Charms cereal.
These lucky charms treats are ooey gooey, crunchy and crispy, with TWO kinds of marshmallows. What’s not to love?!
Save This recipe
Enter your email below to get a link to this recipe emailed straight to you to save later! Plus be signed up for all new recipes.
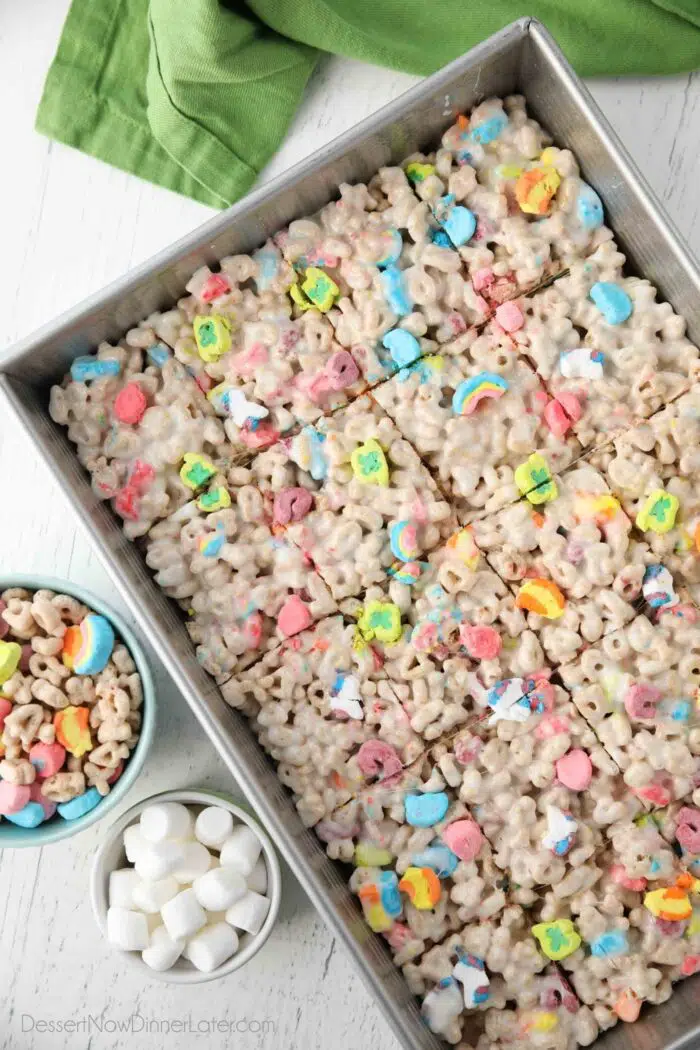
Marshmallow Treats
If you didn’t know by now, marshmallow treats aren’t just for Rice Krispies, they can be made with ANY cereal. Think of all the possibilities!
I have actually made fruity pebble rice crispy treats before and turned them into Christmas tree treats. So fun to experiment!
With St. Patrick’s Day coming up, I wanted to use Lucky Charms cereal. They tasted great and the colorful marshmallows made them extra cute and added a unique crunch.
These lucky charms marshmallow treats are great for packing in lunches or for an on-the-go snack. Of course they make a quick and easy no-bake dessert too.
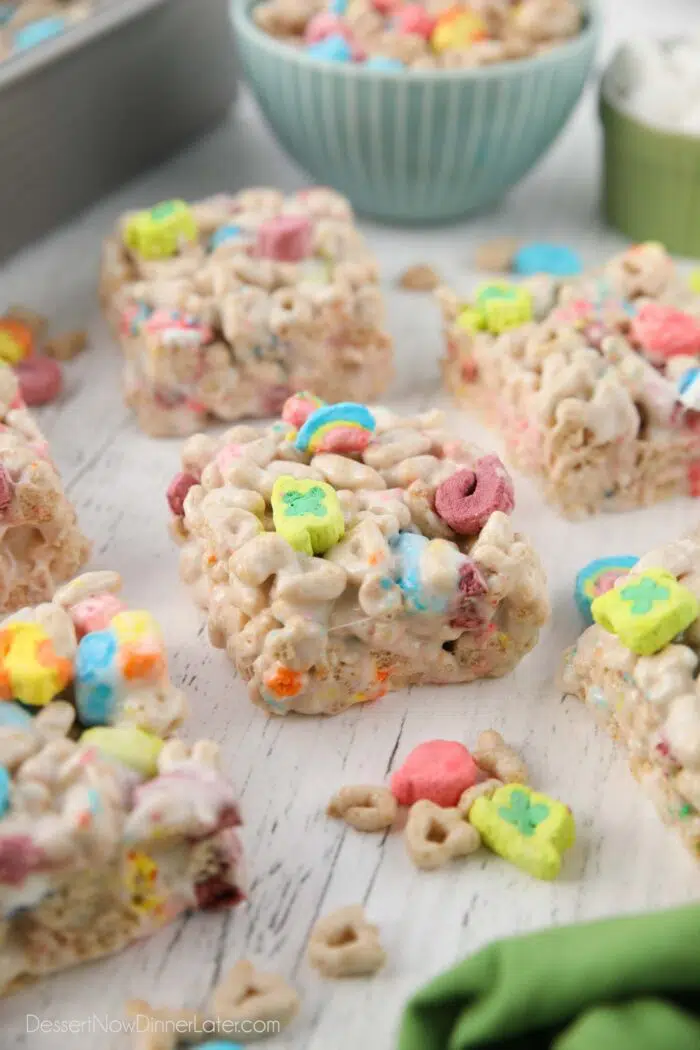
Lucky Charms Treats Recipe
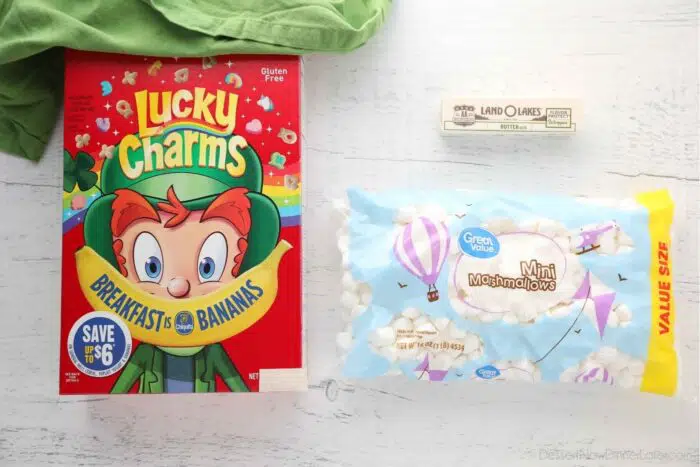
You only need 3 ingredients to make these homemade lucky charms treats.
- Lucky Charms Cereal
- Butter
- Mini Marshmallows
How to Make Marshmallow Treat Bars
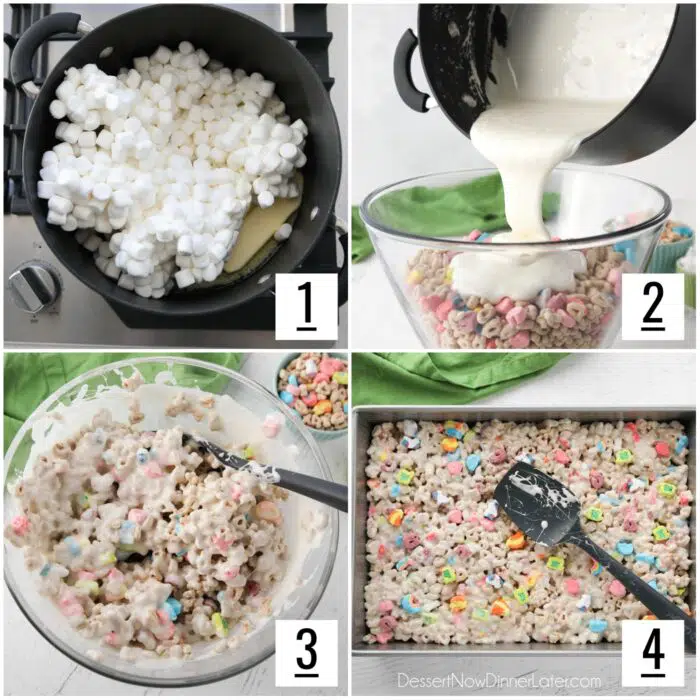
After you’ve gathered your ingredients it’s time to make the lucky charms treats.
- Melt the butter and marshmallows together in a large pan over medium-low heat, stirring constantly until just melted.
- Pour the marshmallow mixture over the cereal.
- Fold the cereal and marshmallow mixture together.
- Empty the mixture into a greased pan and press evenly.
Allow the cereal bars to cool completely before cutting, for best results. This can take up to 2 hours at room temperature or 15-30 minutes in the fridge/freezer.
Warm marshmallow treats are just as delicious to eat, but slightly messy.
Store any leftovers inside the pan, covered tightly with foil or plastic wrap, for up to 5-7 days.
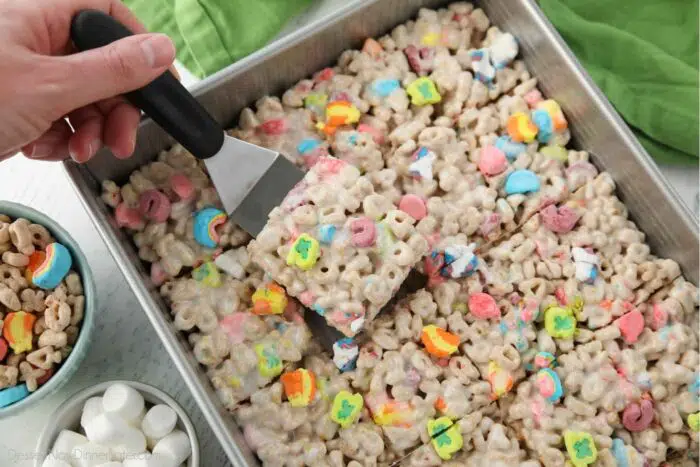
Recipe Tips
Making cereal treats seems like a no-brainer, but I’ve got some tips for optimal success.
- Use Salted Butter. For cereal treats I like to use salted butter to balance out the sweetness of the cereal and marshmallows. If you only have unsalted butter, you can always add 1/2 teaspoon of salt as you melt the butter and marshmallows together.
- Don’t over-melt the marshmallows. When the marshmallows are almost melted, I like to pull the pan off the heat and keep stirring until they finish melting. If they get too hot they can caramelize/burn. Plus it will take longer for them to cool before you can cut them and eat them.
- Save some colorful marshmallows to press into the top of these lucky charms bars after you press the mixture into the pan. This makes them pretty, but isn’t “necessary.”
- You can use one 13×9-inch pan or TWO 8×8-inch pans for these lucky charms treats.
- If you use a big enough stock pot (6+ quart), you can add the cereal straight into the pot with the melted marshmallow mixture. One less bowl to wash.
More St. Patrick’s Day Recipes
- Rainbow Cupcakes
- Shamrock Shake Recipe
- Pistachio Pudding Cookies
- Gold Popcorn
- Mint Chocolate Chip Cookies
- Rainbow Frosted Cupcakes
- Green Slush
- Mint Oreo Cheesecake
Lucky Charms Treats
Ingredients
- ½ cup (113 g) salted butter, (1 stick)
- 16 oz (453 g) bag mini marshmallows
- 10.5 oz (297 g) box Lucky Charms cereal, (8 cups)
Equipment
Instructions
- Grease a 9×13-inch pan with cooking spray. Set aside.
- Melt the butter and marshmallows together in a large pan over medium-low heat, stirring constantly until just melted.
- Pour the marshmallow mixture over the cereal.
- Fold the cereal and marshmallow mixture together.
- Empty the mixture into the greased pan and press evenly. (Be gentle. Don't pack the cereal in hard.)
- Cool completely and cut into bars. Store any leftovers inside the pan, covered tightly with foil or plastic wrap, for up to 5-7 days.
Notes
Nutrition
Did you make this?
Don’t forget to leave a rating below and make sure to follow on Pinterest and Instagram for more!
