Pull Apart Garlic Parmesan Rolls
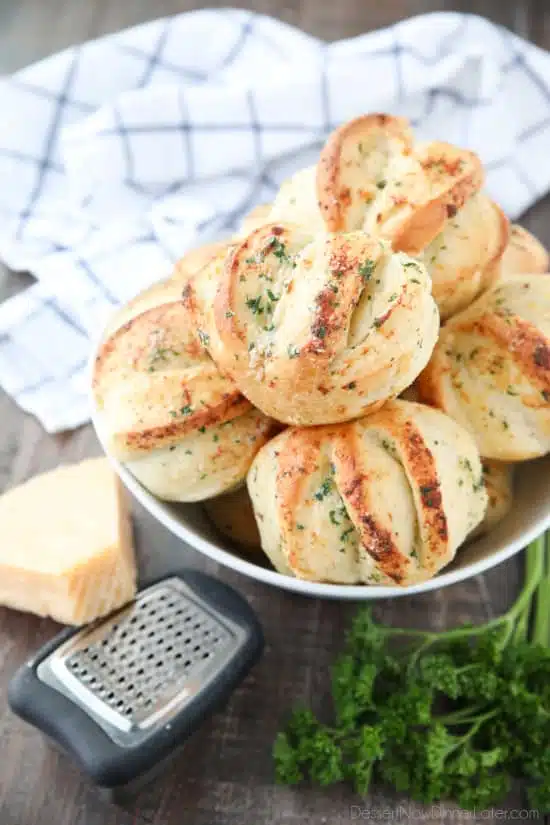
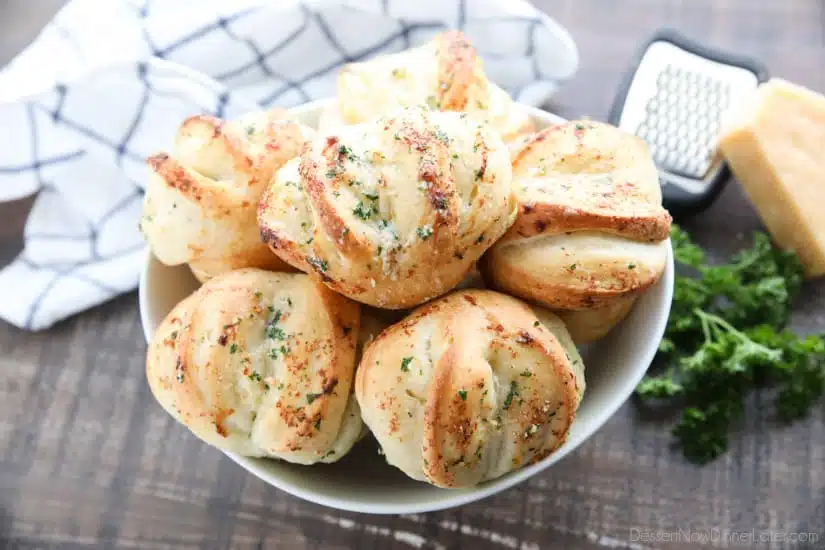
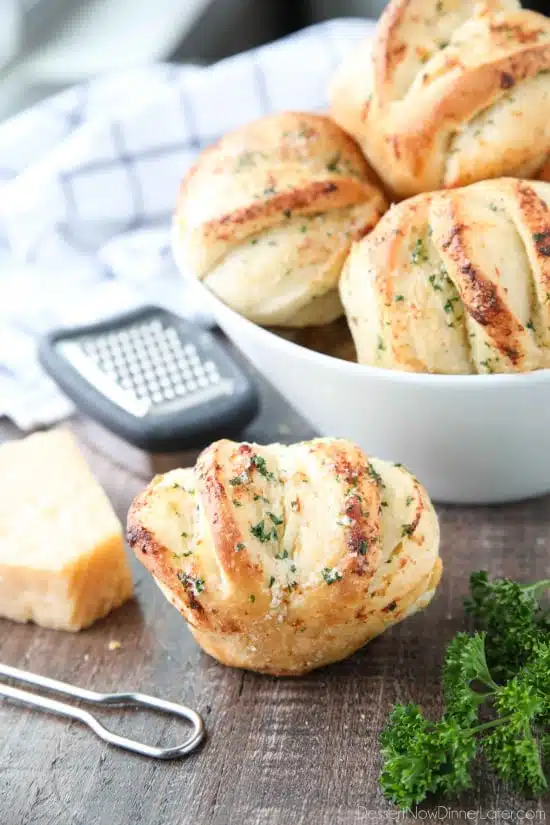
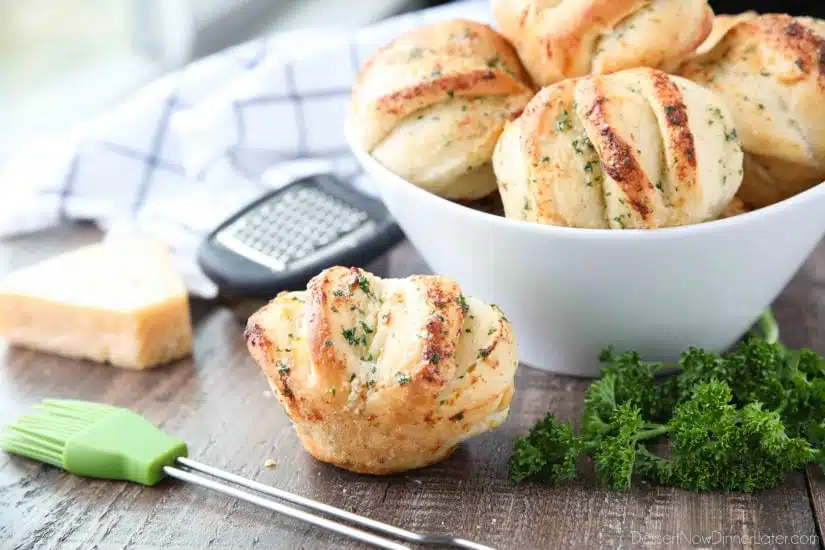
These easy Garlic Parmesan Rolls have layers of flavor to pull apart and savor in every bite. The perfect dinner rolls for holidays or any meal. You’ll love these shortcut butterflake rolls.
*This post is brought to you by Rhodes Bake-N-Serv. Thanks for supporting the brands that make Dessert Now Dinner Later possible.
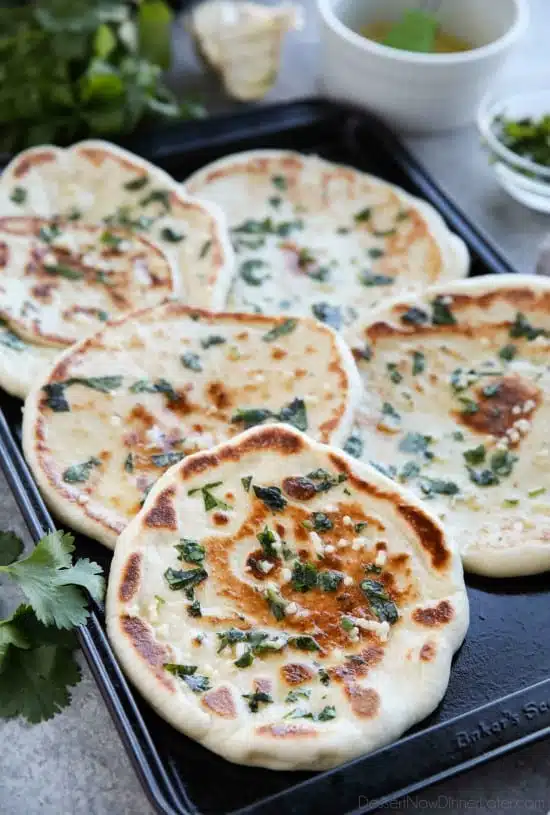
Fresh bread has become a regular occurrence at our house, thanks to Rhodes Bread. Rolls for Sunday dinner, dough for pizza, naan, breadsticks, you name it. We are obsessed with Rhodes’ frozen dough!
Save This recipe
Enter your email below to get a link to this recipe emailed straight to you to save later! Plus be signed up for all new recipes.
Obviously I wanted to use that same frozen dough to make some pull apart garlic parmesan rolls, because why go to the hassle of making dough from scratch when you can just pull it from your freezer?
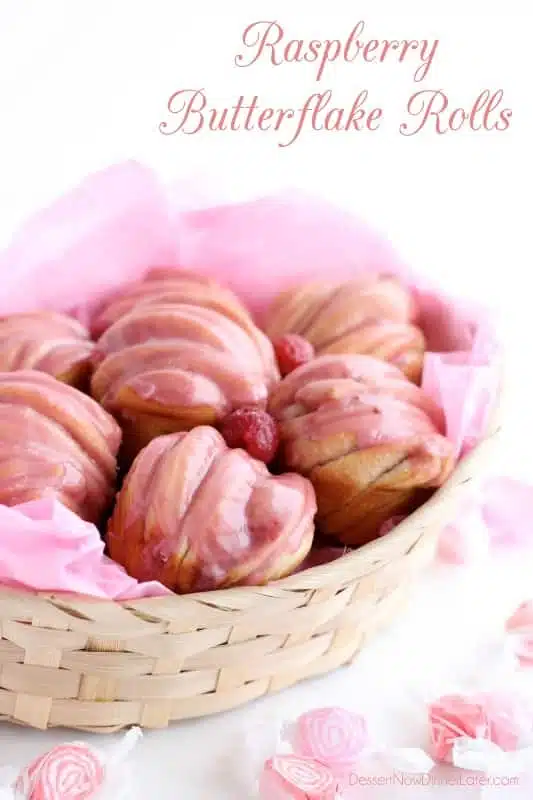
When I worked in a bakery, we made the most amazing, and super popular butterflake rolls, but they are quite the process to make. I’ve shared them on my blog here. So many folds and layers of butter! Don’t get me wrong, they’re definitely worth the work put into them, but this is a quick and easy way to get similar buttery pull-apart results using Rhodes frozen dough and some scissors.
Pull Apart Garlic Parmesan Rolls
Cheesy garlic herb butter is brushed between cuts of yeast dough to create flavorful layers in these soft and savory dinner rolls.
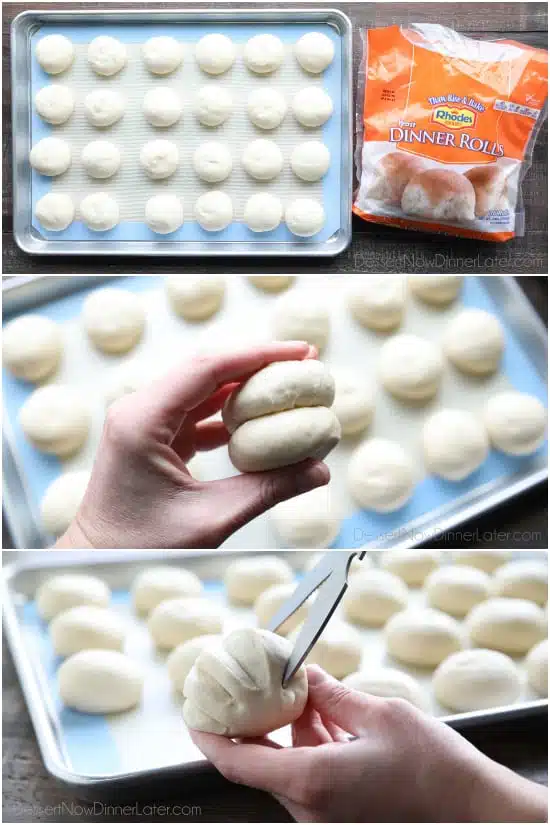
For these garlic parmesan rolls, you can use two Rhodes Yeast Dinner Rolls pressed into one ball, or one Rhodes Texas Roll. Thaw the dough until it’s soft enough to work with. Then make 5 deep cuts into each roll with scissors, cutting nearly to the bottom.
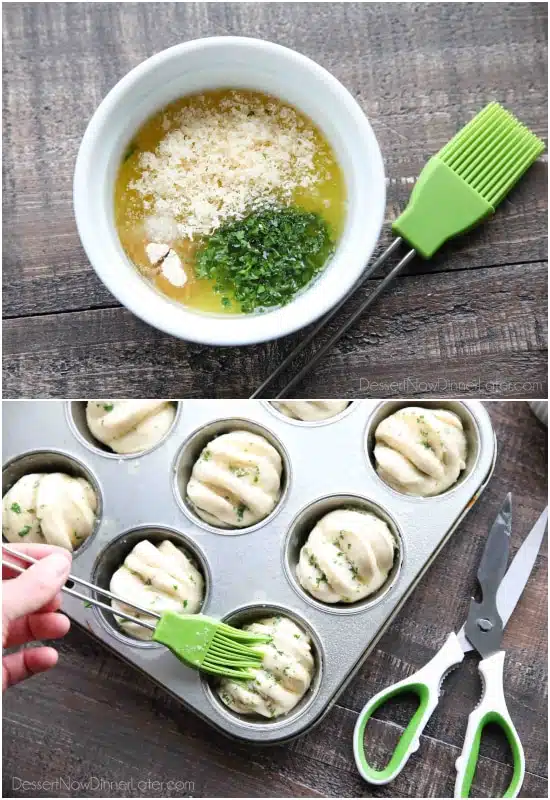
Combine melted butter, garlic powder, salt, parsley, and parmesan cheese in a bowl. Immediately brush the butter mixture between the layers and place the roll in a greased muffin tin. (*TIP: Do one roll at a time so the dough doesn’t try and stick back together.) Save 1/3 of the butter mixture to brush the rolls once they come out of the oven.
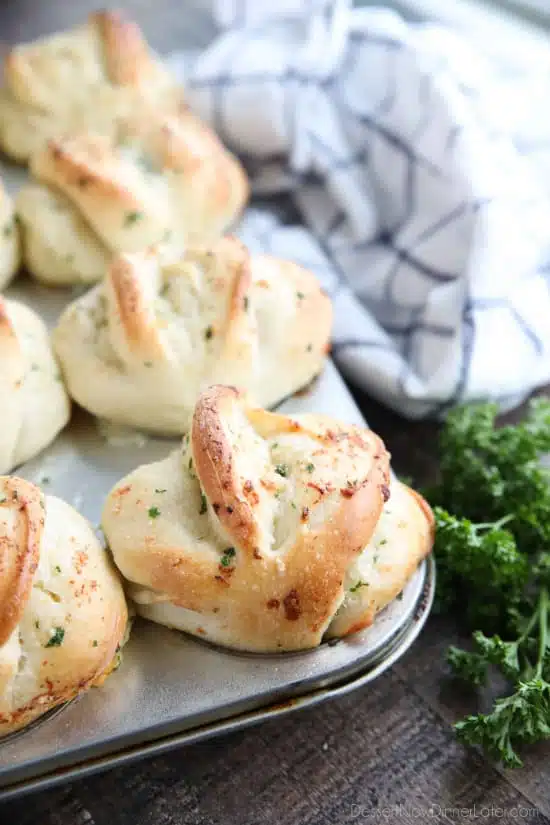
Cover the rolls with sprayed plastic wrap and let rise 30-60 minutes, until about double in size. Mine rose quite a bit once they hit the oven. So even if the dough is just mounding outside of the muffin cup, you should be okay, especially if you used two dinner rolls. Bake the rolls until golden brown, then brush with more of the butter mixture. Voila! Ready to eat!
My kids fought over these pull apart garlic parmesan rolls and asked if we could have them every night, haha. I wish my adult metabolism could withstand that much buttery carbs, because these are quite delicious! I at least want these for every holiday! Thanksgiving, Christmas, Easter. Yes please!
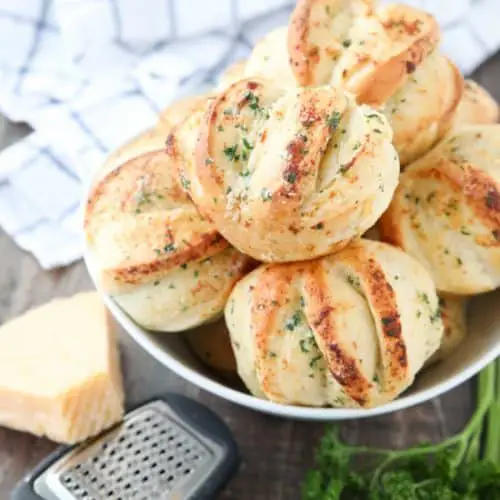
Pull Apart Garlic Parmesan Rolls
Ingredients
- 24 Rhodes Yeast Dinner Rolls or 12 Rhodes Texas Rolls, thawed but still cold
- ¼ cup butter, melted (salted or unsalted)
- ¾ tsp garlic powder
- ¼ tsp salt
- 1 ½ tsp dried parsley, (or 1 Tbsp fresh chopped parsley)
- 2 Tbsp grated parmesan cheese
Instructions
- Place rolls onto a greased baking sheet covered with sprayed plastic wrap. Thaw for 1 to 1 1/2 hours, until thawed but still cold. (May also thaw overnight in the refrigerator.)
- Use two Rhodes Yeast Dinner Rolls pressed into one ball, or one Rhodes Texas Roll. Make 5 deep cuts into each roll with scissors, cutting almost to the bottom.
- Combine melted butter, garlic powder, salt, parsley, and parmesan cheese in a bowl. Immediately brush the butter mixture between the layers and place the roll in a greased muffin tin. (*TIP: Do one roll at a time so the dough doesn’t try and stick back together.) Save 1/3 of the butter mixture to brush the rolls once they come out of the oven.
- Cover the rolls with sprayed plastic wrap and let rise 30-60 minutes, until about double in size, or until just mounding outside of the muffin cup.
- Remove wrap and bake at 350 degrees Fahrenheit for 15-20 minutes, until golden brown. IMPORTANT: Place a baking sheet covered with foil on the rack below the rolls to catch any butter spills.
- Remove from oven and brush with the remaining butter mixture. Enjoy!
Notes
Did you make this?
Don’t forget to leave a rating below and make sure to follow on Pinterest and Instagram for more!


CANT WAIT TO MAKE THESE. THANK YOU FOR SHARING THIS RECIPE.
Made these last year for thanksgiving… they were fabulous! Kids raved about them! The only thing they didn’t like was that each roll was too big for them (I used 2 of the dinner rolls as stated), so will make again with just one roll. This is now my go-to recipe for the holidays!
Thank you so much for taking the time to leave your review Kathy! I’m glad to hear it’s a regular for the holidays!