Rainbow Cupcakes + Video
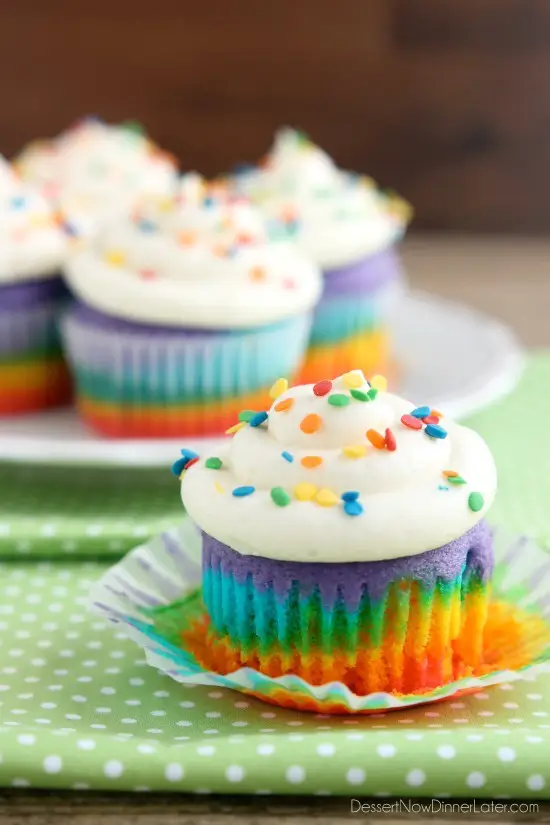
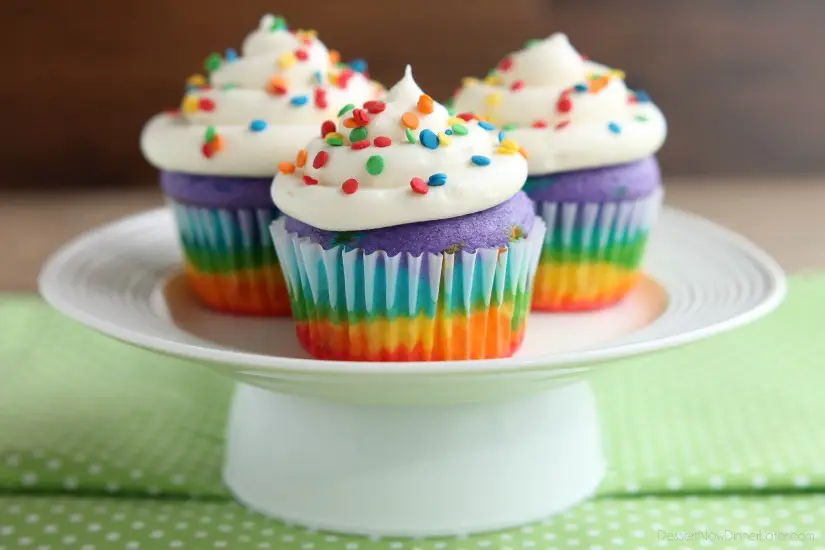
These Rainbow Cupcakes are made with a simple boxed white cake mix, colored, and layered to make a rainbow, with whipped cream cheese frosting on top!
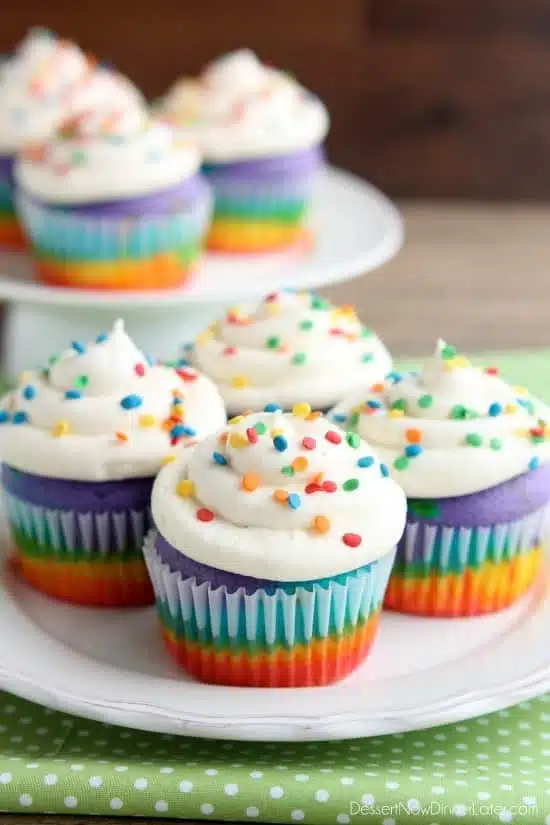
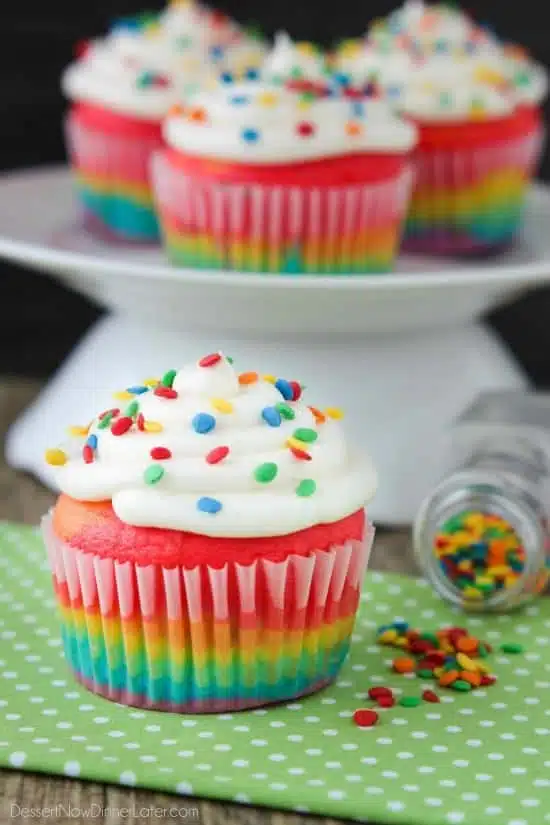
These Rainbow Cupcakes make me giddy! The bright colors, in perfect layers, peaked cupcakes, and whipped cream cheese frosting! So much goodness going on in one cupcake! These are perfect for St. Patrick’s Day!
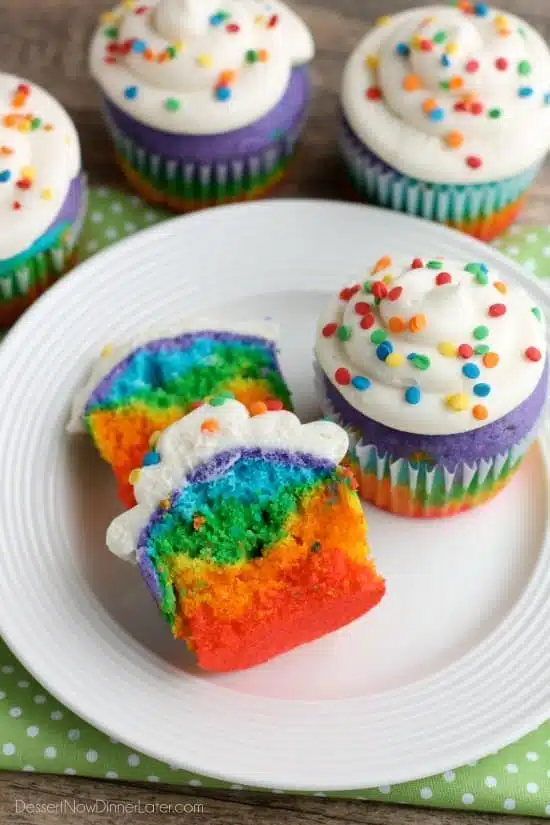
When you can slice right through a rainbow cupcake and see the rounded (not sunken) top and layers of colors, that is success right there!
Save This recipe
Enter your email below to get a link to this recipe emailed straight to you to save later! Plus be signed up for all new recipes.
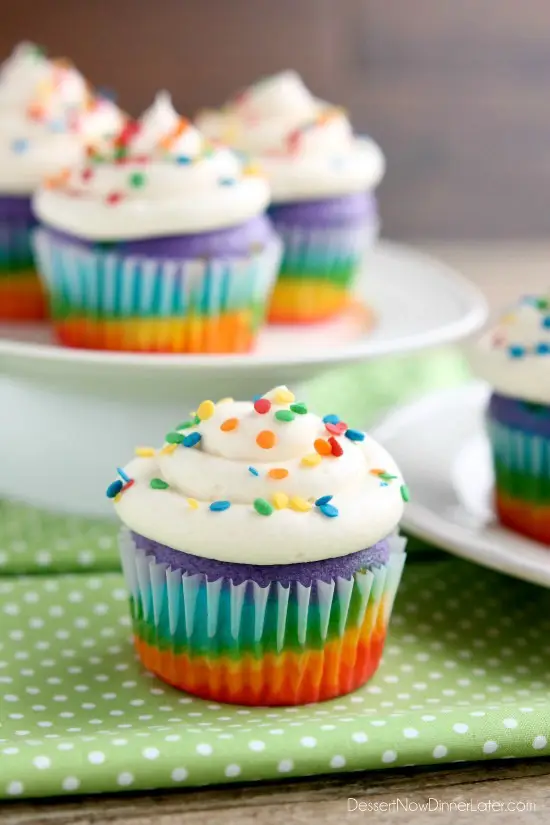
And normally, I’m not a fan of sprinkles, but these little confetti/sequin sprinkles, are just fun! I do like dots better than lines though.
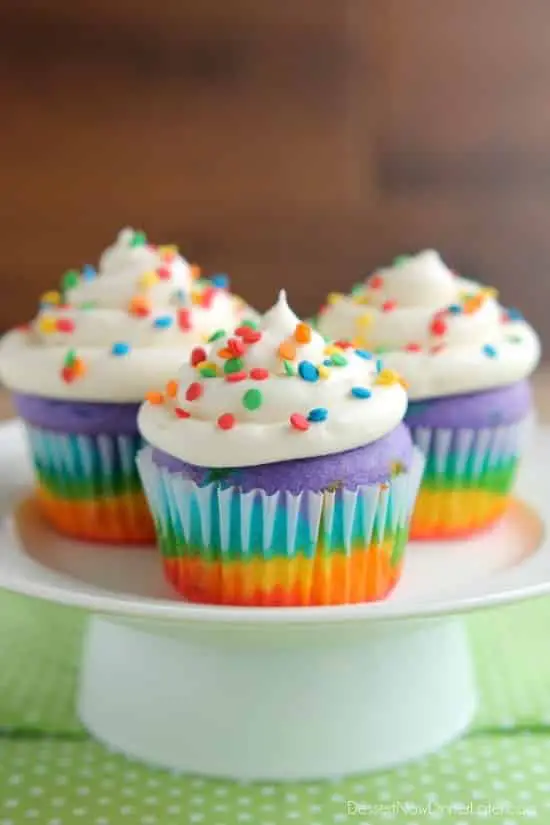
If you couldn’t tell, I was having a lot of fun photographing these! Too many pictures to choose from, but the awesome thing is, I’m going to show you how to make these, and I’m sharing TWO TRICKS to baking the perfect cupcake!
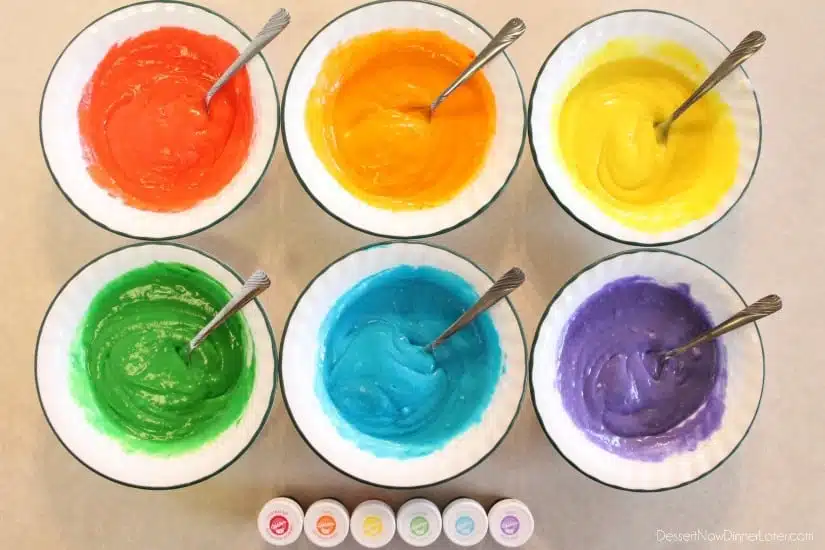
Let’s start with these rainbow cupcakes. It’s a boxed mix people! Grab a white cake mix from the store, mix it up with the ingredients on the label (do the egg whites over whole eggs, if there are two options), then divide the batter into 6 bowls. Using food coloring or paste, mix these 6 colors: red, orange, yellow, green, blue, and purple.
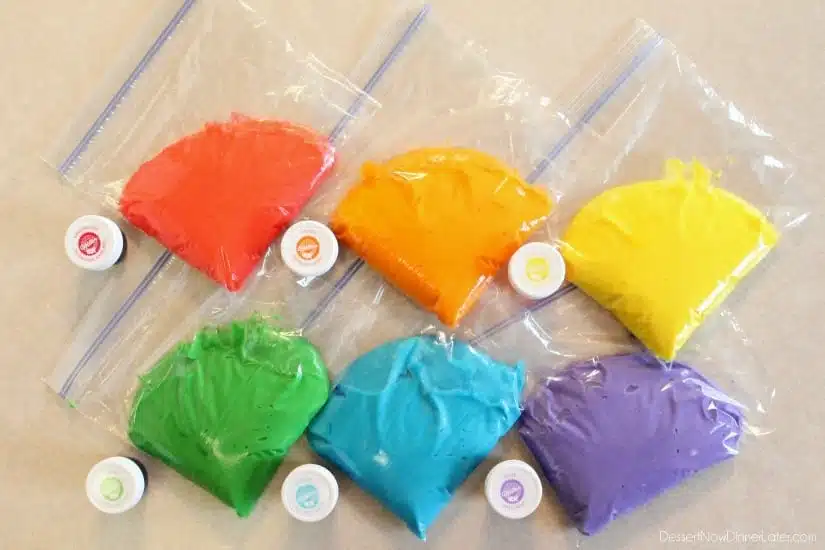
This next part may be an extra, unnecessary step, but I’m OCD to getting as even of layers as I possibly can… Put each batter into a zip-top sandwich bag and cut off one corner to pipe with. It’s best if you cut one bag at a time, so the cake mix doesn’t spill out as you layer the batter.
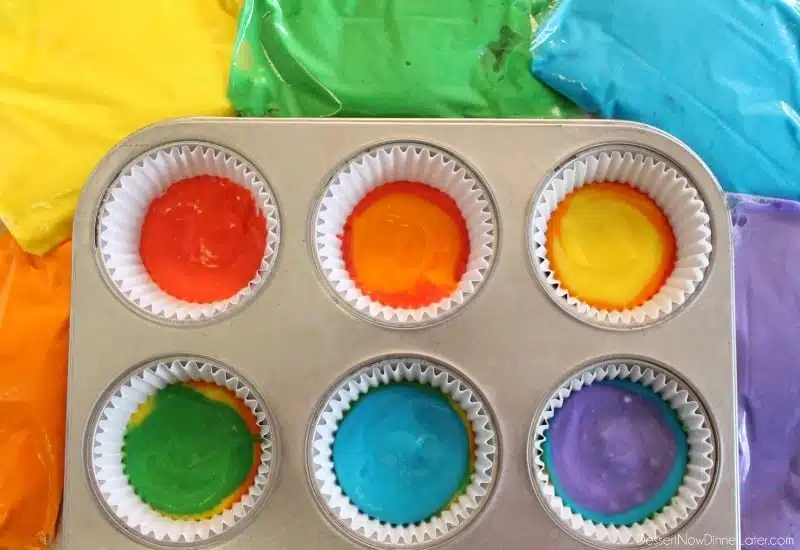
Squeeze the colored batters into paper lined cupcake tins in the order the rainbow: red, orange, yellow, green, blue, and purple. Smooth each layer of the batter as close to the edges as you can with your finger. You can optionally spoon the colored batters into the cupcake liners and spread the batter with your finger to save time and plastic bags. You can see the succession of layers below.
Now, the trick to getting peaked cupcakes (or muffins) is to first, FILL EACH CUPCAKE MOLD 2/3 to 3/4 full. I HIGHLY recommend only doing 18 cupcakes even when your boxed cake mix says it makes 24 cupcakes. The next trick is to BAKE AT 400 degrees Fahrenheit for 11 to 13 minutes. Depending on the batter and your oven, it may take less or more time. You want the cake to spring back when touched lightly.
Baking cupcakes at a higher temperature forces the cake to grow upwards and bake quicker, so it doesn’t have time to spill over the top and get sunken in the middle. I do this with EVERY cupcake and muffin recipe. Times may vary depending on the type of batter, but the 11 minute bake time is a great gauge to start checking the doneness from. Voila! Beautiful cupcakes rounded over the top of the cupcake liner, ready to be frosted. Baking them this way also helps you use less frosting to get that towered look on top!
Rainbow Cupcakes
Ingredients
- 15.25 oz (432 g) box white cake mix
- Ingredients for cake mix as stated on box, (Use only egg whites if that is an option. My box said 1 ¼ cups water, ⅓ cup oil, 4 egg whites.)
- Red, Orange, Yellow, Green, Blue, and Purple Food Coloring/Gel
- 1 recipe The BEST Cream Cheese Frosting
- 4 oz (113 g) whipped topping, (half an 8oz tub of Cool Whip)
- Rainbow Sequins/Celebration Confetti/Rainbow Sprinkles
Instructions
- Prepare cake mix according to directions on the box (do the egg whites version over whole eggs, if there are two options), then divide the batter evenly into 6 bowls.
- Using food coloring or paste, mix these 6 colors: red, orange, yellow, green, blue, and purple.
- Prepare cupcake pan(s) with 18 paper liners.
- Put each batter into a zip-top sandwich bag and cut off one corner to pipe with. It’s best if you cut one bag at a time, so the cake mix doesn’t spill out as you layer the batter.
- Squeeze the colored batters, one at a time, into the paper liners. Pipe the edges of each cupcake first, right up against the cupcake liner, then fill in the centers. Pipe colored batter in the order the rainbow: red, orange, yellow, green, blue, purple. (If you want red on top, like a real rainbow, start with purple and go backwards. Updated pictures are below the recipe card.) Smooth each layer of batter with your finger before moving on to the next color. *TIP: Do all the red batter first, then all the orange, etc.
- Once all the layers are finished, bake the cupcakes at 400 degrees Fahrenheit for 11 to 13 minutes. Baking them at a higher temperature forces the cake to grow upwards and bake quicker, so it doesn’t have time to spill over the top and get sunken in the middle.
- Prepare The BEST Cream Cheese Frosting. Beat in half of an 8oz tub of whipped topping with a handheld electrical mixer. Fit a piping bag with a coupler (no tip or band) and then fill the bag with the frosting.
- Pipe the frosting on top of each cupcake from the outside in towards the middle. Sprinkle with rainbow sequins.
Video
Notes
- Store cupcakes in an airtight container in the refrigerator up to 4 or 5 days.
- Optional: To save time, spoon the colored batters into the cupcake liners instead of squeezing the batter from bags, and spread each layer of batter with your finger.
Did you make this?
Don’t forget to leave a rating below and make sure to follow on Pinterest and Instagram for more!
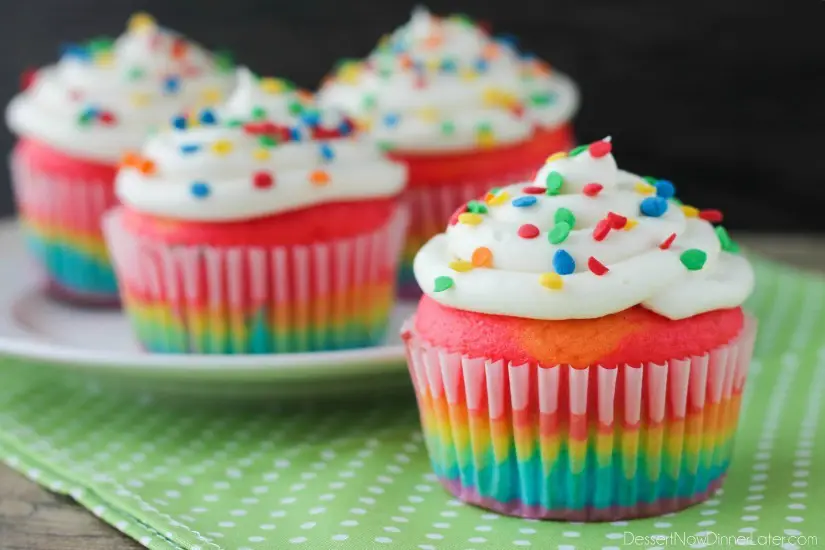
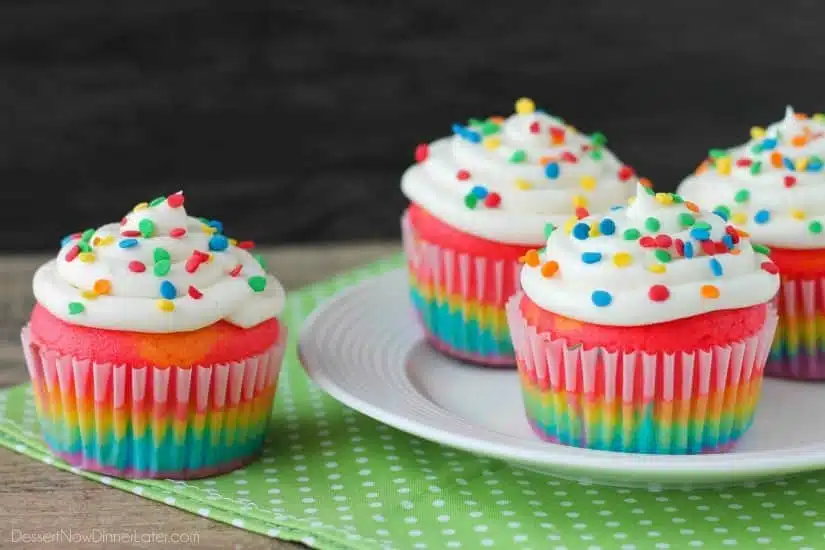
UPDATE 1/25/17: I’m updating this post to include new pictures of these cupcakes with the colors in the proper order of red on top, and purple on bottom. They look pretty either way, but here they are so you can see the difference and decide for yourself. 🙂


Thank you so much for this idea!!! Can’t wait to start baking these!!!
Can you use this recipe to bake a cake instead of a cupcake?
Absolutely! Just layer the colors and bake according to the directions on the box.
Does it matter if the baking pan is light or dark?
These cupcakes would be perfect for my sons First Birthday Party. Where did you find the sprinkles for the top? I love them!!
Hi Beth! I got the sprinkles at Walmart in the cake box aisle. They are rainbow sequins. Have fun!
I made you r cupcakes today &they turned out perfectly! Thanks for such clear directions. My granddaughter loves rainbows &I know she will be so excited when she sees them. Really a cute, clever idea that’s easy to execute. Thanks!
That’s great! Thanks for your comment Peggy!
Made these twice in one week. Brought them to school for my daughter’s birthday. They came out so well that we canceled the cake we had ordered for her party and I made more. This second batch I mixed the liquid food coloring in the bags with the cake mix. My daughter had fun smooshing (mixing) it up and seeing the color-magic happen. This may be my go-to for parties.
Well, that’s wonderful! Thanks for coming back to let me know how it went!
I know this post is from 3 years ago (saw it on Pinterest). Has anyone tried mixing the food coloring inside the sandwich bags. Transferring the batter from the bowl to the bags seems like a bothersome extra step.
You could definitely do that. Great thinking!
My cupcakes sort of deflated when I took them out… any ideas?
If they sunk in the middle, then they weren’t baked enough, but if they just lost some volume after coming out of the oven, that’s normal.
My cupcakes were beautiful! My daughter and her classmates were so excited. I added a rainbow airhead strip on top with sprinkles and the kids went crazy for them. I just wish my icing was stiffer but I think it was just the heat here in The Bahamas. Thanks for sharing your recipe.
I’m glad they worked out, even if the frosting went soft in the heat/humidity. Thanks for your feedback Kelly!
When making the day before should I store them in fridge? Planning to frost day off party…
You don’t have to refrigerate the cupcakes but you will have to refrigerate the frosting because of the cool whip. Make sure you pull the frosting from the fridge 15-30 minutes before piping the frosting on the cupcakes. Good luck and enjoy!