Red Velvet Blossom Cookies + Video
Red Velvet Blossom Cookies are made from a cake mix with sparkling red sugar crystals on the outside and melty chocolate Hershey’s Kisses in the middle.
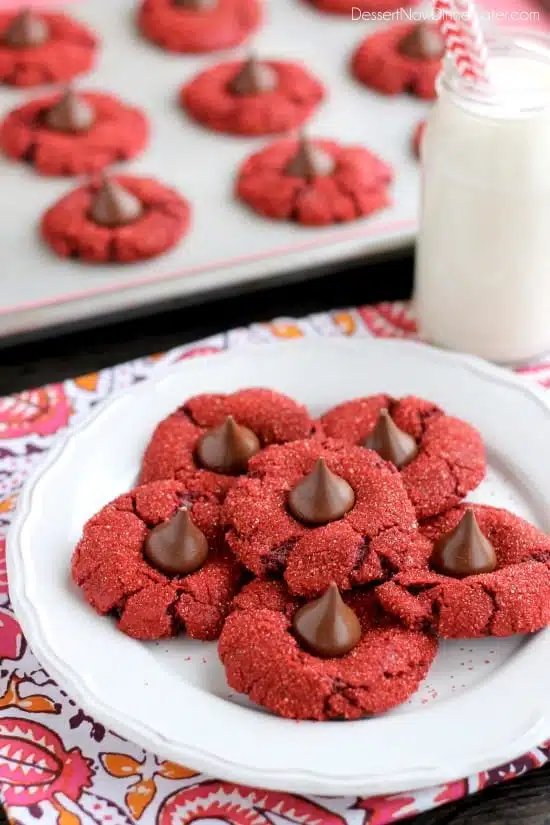
I’m all over red treats right now! Valentine’s Day must be coming up, haha! Y’all have one month to figure out what you’re doing, so I want to be sure to give you some fun ideas, and these Red Velvet Blossoms are 5 ingredients easy! The kids love making and eating them too!
These pictures just don’t do the vibrant red color of these cookies justice because it was a cloudy day, but believe me, these cookies are GORGEOUS!
Save This recipe
Enter your email below to get a link to this recipe emailed straight to you to save later! Plus be signed up for all new recipes.
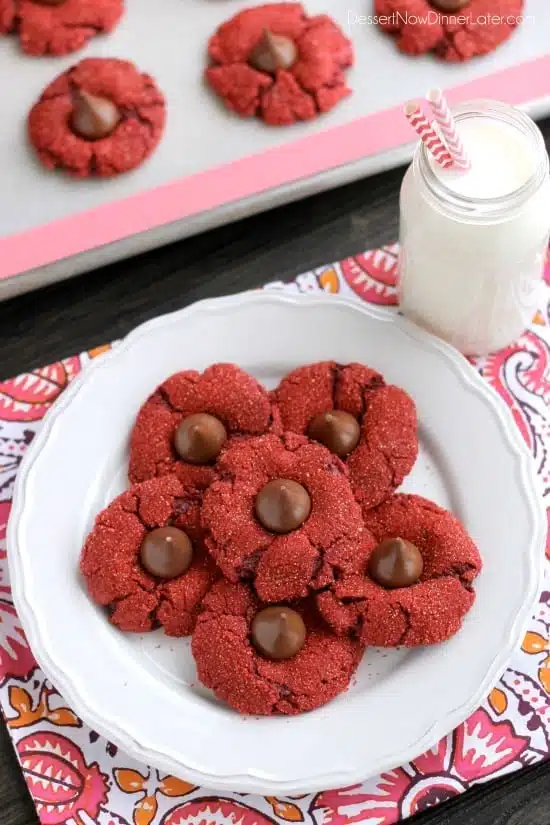
I really enjoyed these cookies fresh from the oven because they are crisp on the outside and fudgy on the inside. I like that the chocolate kiss on top was still melty too! MMM!!!
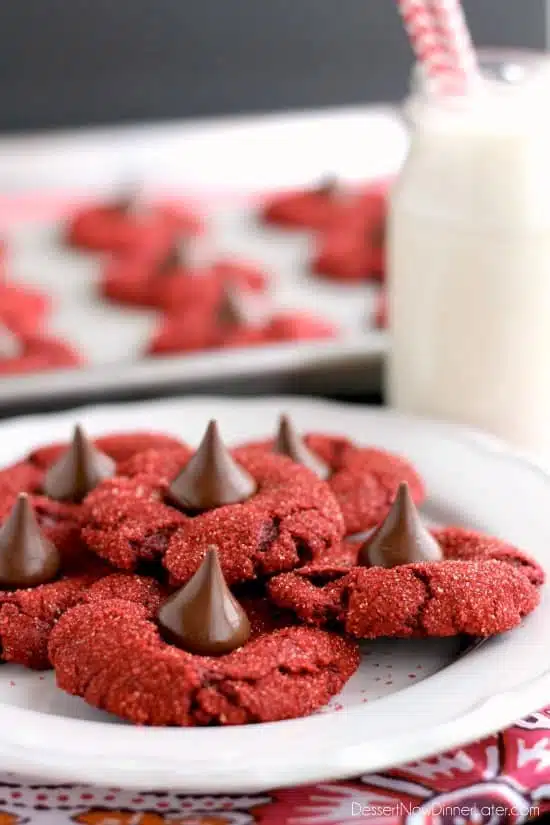
The only warning that should come with these cookies is that they can make your mouth red (duh), so the little ones might get a bit messy! Nonetheless, they are the perfect red treat for at least 2 holidays out of the year!
Red Velvet Blossoms
Ingredients
- 15.25 oz (432 g) box red velvet cake mix
- ⅓ cup (80 g) oil, (canola/vegetable)
- 2 large eggs
- 3.5 oz (99 g) jar red sugar crystals
- Hershey Kisses, (approximately 28)
Instructions
- Preheat oven to 350 degrees Fahrenheit.
- In a stand mixer with the paddle attachment, mix the red velvet cake mix, oil, and eggs until no dry lumps appear. Batter will be thick and sticky.
- Pour the red sugar crystals into a bowl. Use a small (#50) cookie scoop (a heaping Tablespoon) to measure the dough. Squeeze the scoop to release the cookie dough ball directly into the bowl of sugar crystals. Swirl the bowl to coat the cookie dough balls, one at a time, in the red sugar crystals. Place coated dough balls a few inches apart on a prepared baking sheet lined with parchment paper or a silicone baking mat.
- Bake at 350˚F for 8 to 10 minutes. Immediately press a chocolate kiss in the center of each warm cookie gently. Transfer to a wire rack to cool.
Video
Notes
- This recipe has been altered from the original to make up for the smaller size of cake mixes. There is no longer water in the batter and an extra egg was added to the dough.
Nutrition
Did you make this?
Don’t forget to leave a rating below and make sure to follow on Pinterest and Instagram for more!





I just made these, it was very sticky and thin! I added some flour and decided to just go for it. Very difficult to scoop once I rolled them in the sugar, they were a little easier to handle. Unfortunately I don’t think I’ll use this recipe again. I hope my grandkids like them!
Cake mix sizes keep changing and I hadn’t updated this recipe for the current sizing, so thanks for bringing that to my attention. (I just fixed that now.) It will need more flour do to the size difference in cake mixes, but the batter will still be thick and sticky, as mentioned in the steps. Sorry you feel like you wouldn’t make these again. Hopefully they at least taste good.
I was very excited to try these, but upon making the batter it was far too sticky to handle. I triple checked I followed the instructions and am positive I followed everything correctly. Very sad 🙁
Hey Christie, the batter is quite sticky. I’d definitely use a trigger scoop for these and drop them straight into the sugar crystals, then swirl the bowl around to coat the dough. I’ll adjust the recipe card instructions. Thanks for your feedback, and I’m sorry you had a rough time with this recipe.
These were beautiful but tasted just ok. They had a weird taste at first bite. Not sure why. They are not very sweet, which isn’t a bad thing. The sugar crystals and chocolate help. I give them a 3 out of 5. My kids felt the same.
Hoping these turn out okay. As written the batter is very very sticky and impossible to handle. I wound up adding a little flour and chilling the dough. 🤞🤞
Making these cookies right now! Just to let you know… when I added the water.. it made them too sticky to even handle. After researching online, most mixes don’t use water. Adding tons of flour in hopes to counter act this.
Hmm… every cake mix I have ever used requires eggs, oil, and water. The dough on this one is soft and sticky. Using a cookie scoop and emptying the dough straight into the sugar crystals is the best way to make these.
I used both strawberry and red velvet cake mix, rolling the strawberry in pink sugar and the red velvet in red. Hugs on the red velvet cookies are pretty too! Thanks for the quick and easy recipe!
Ooh! I’m going to have to try the strawberry! Yum!
As a heads up, the strawberry mix was even stickier than the red velvet. I added just a little extra flour and refrigerated the dough for about and hour. It was much easier to handle. Same for the red velvet!
Good to know! Thanks for the tips!
Could you post pictures of the process? Would like to see how you they look before the oven. Also, mine are very sticky. Rolling them into a ball is impossible. :-/ Any suggestions?
I don’t have step by step photos, sorry. I use a cookie scoop because the dough is sticky and then I scoop the cookie dough balls one at a time straight into a bowl with sugar crystals, shake the bowl, and then roll the cookie dough over so the sugar crystals are on all sides. Then it’s easy to pick up the cookie dough ball (with the sugar crystals on the outside) and put it on the tray for baking.
I added some flour and put them in the fridge for 40 minutes. Worked like a charm. They’re already a hit! (I’m a medicinal cannabis baker and added the extra ingredient for my patients). I needed a quick and easy Valentine’s cookie. Thanks!
I’m so glad you got it to work out!