Red Velvet Brownies
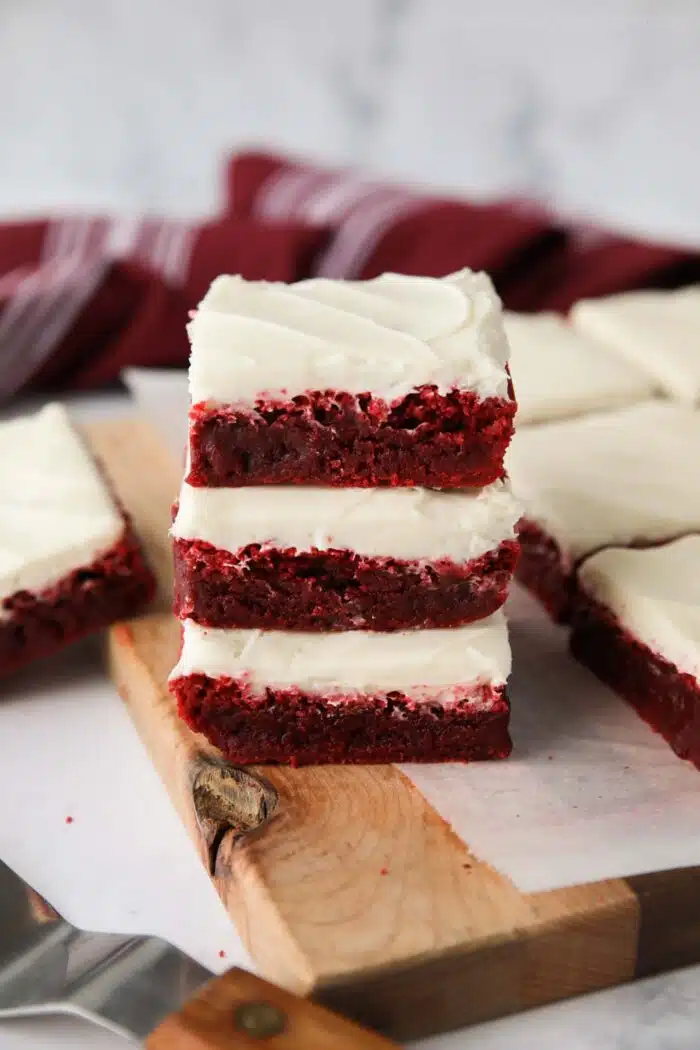
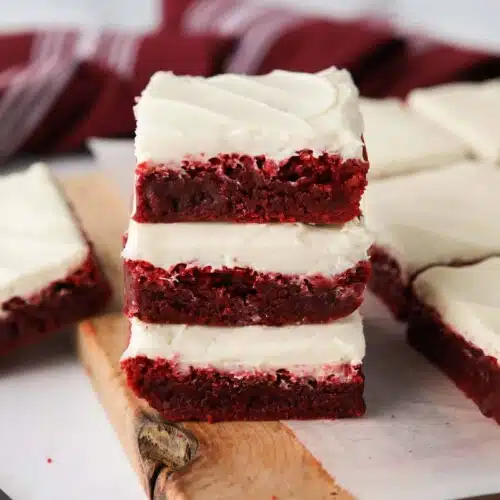
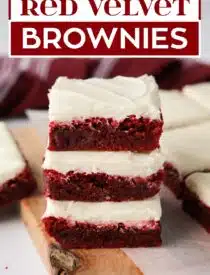
Red Velvet Brownies are soft, moist, and fudgy with a hint of cocoa and bold red color, topped with a tangy and sweet cream cheese frosting. It’s a beautiful and delicious dessert!
Love red velvet desserts? Try these Red Velvet Cupcakes or Red Velvet Cake Roll if you want to bake something from scratch. If you don’t mind using a cake mix, give my Red Velvet Truffles, Red Velvet Blossom Cookies, or Red Velvet Pizookie a try.
Why You’ll Love this Recipe!
Red velvet brownies are rich and moist, with a deep red color that comes from cocoa powder, a hint of vinegar, and a little extra food coloring. The texture is dense yet velvety, creating a perfect balance between fudgy and cake-like.
Save This recipe
Enter your email below to get a link to this recipe emailed straight to you to save later! Plus be signed up for all new recipes.
What makes these brownies even more indulgent is the layer of cream cheese frosting on top. The frosting is smooth, creamy, and slightly tangy, complementing the sweetness of the brownies.
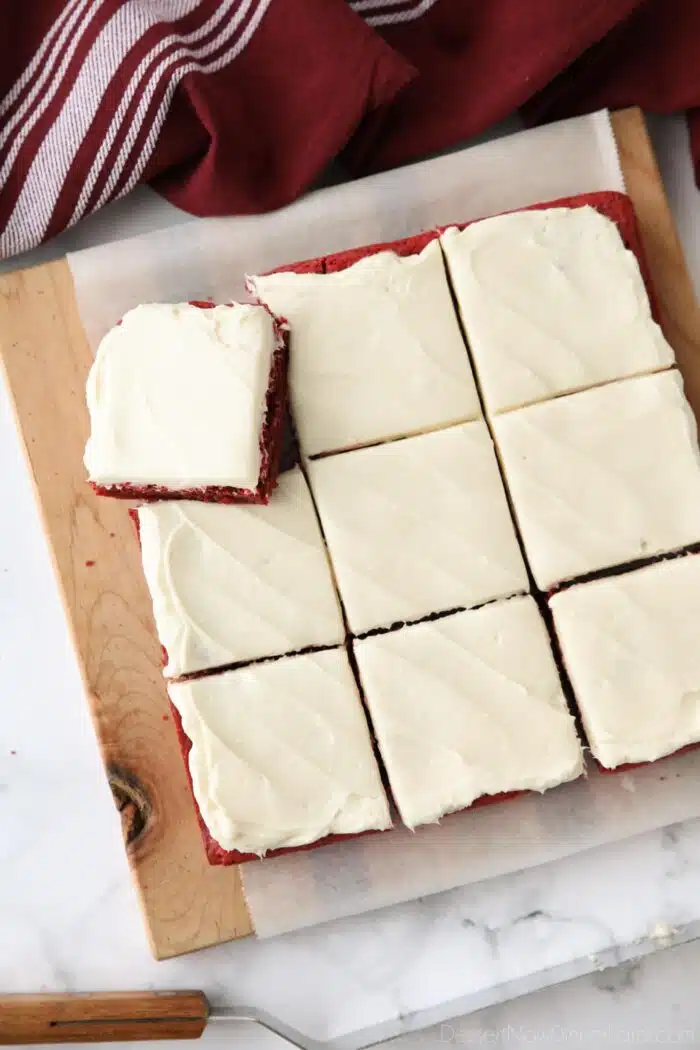
The vibrant red hue of the brownies contrasts beautifully with the creamy white frosting making them a treat for both the eyes and the taste buds. Red velvet brownies with cream cheese frosting is a popular and irresistible dessert choice, especially for Valentine’s Day.
If you love the flavor of cream cheese but don’t want to make a frosting, try my Red Velvet Cheesecake Brownies instead.
What is Red Velvet Brownies made of?
Red velvet brownies are easy to make with ingredients you probably already have on-hand if you’re an avid baker!
- Unsweetened Cocoa Powder – Natural or dutch-process cocoa powder both work here.
- Liquid Red Food Coloring – McCormick sells this in a 1-oz bottle. If you leave this out, the color won’t be as vibrant.
- Vanilla Extract – To enhance the flavor.
- Distilled White Vinegar – To react with the cocoa powder creating a tangy flavor and reddish hue.
- Butter – For flavor.
- Sugar – To sweeten the cocoa powder and create a soft brownie.
- Eggs – Eggs bind, add richness, tenderize, and provide structure here. Specifically a tight crumb and fudgy texture.
- All-Purpose Flour – The more flour in brownies, the cakier they will taste. We want dense and fudgy brownies, so just 1 1/4 cups is used.
- Salt – Enhances the flavors.
The frosting consists of cream cheese, butter, vanilla and powdered sugar. Super simple and delicious.
How to Make Red Velvet Brownies
First, preheat the oven to 350 degrees Fahrenheit. Grease an 8×8-inch baking dish with cooking spray. (Optional: Line with parchment paper leaving a 2-inch overhang on two sides for easy lifting and grease the exposed sides with cooking spray.)
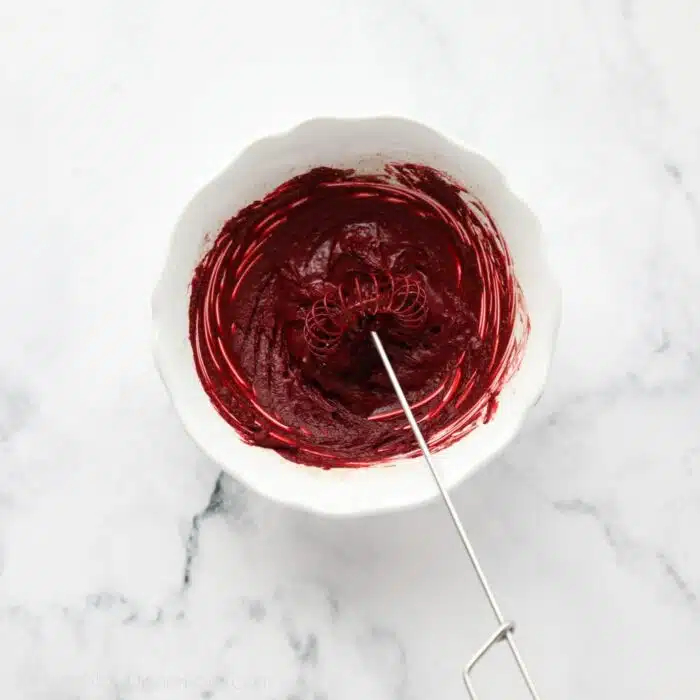
- In a small bowl, slowly stir together the cocoa powder, food coloring, vanilla, and vinegar into a thick paste until no lumps of cocoa remain. Set aside.
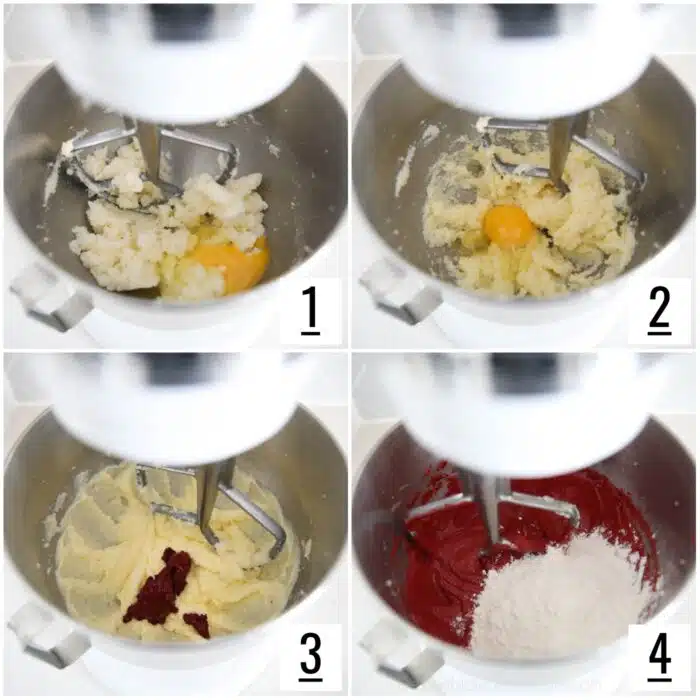
- In the bowl of a stand mixer fitted with the paddle attachment, beat together the butter and sugar on medium speed until light and fluffy; about 2 minutes.
- Add eggs one at a time, mixing well after each addition. Scraping the bowl as needed.
- With the mixer off, add in the cocoa mixture, then turn the mixer to medium and beat the two mixtures together until they are one uniform color.
- Add the flour and salt and mix on medium-low speed, just until combined. Do not over-mix.
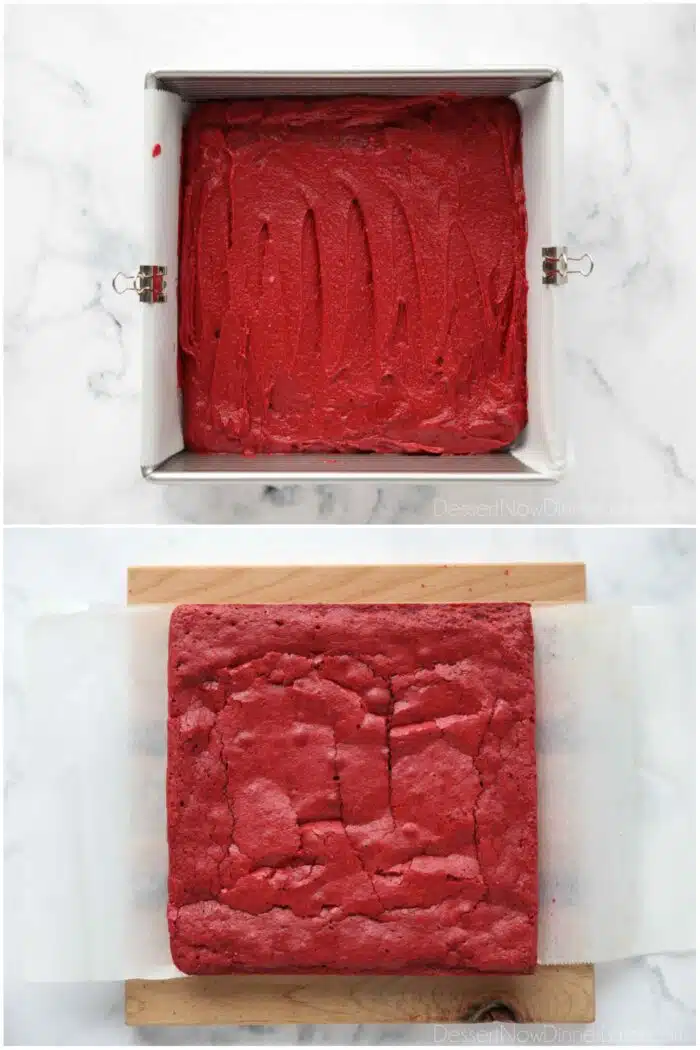
- Spread the red velvet batter into the prepared pan and bake at 350˚F for 30-40 minutes or until a toothpick comes out clean when inserted into the center of the brownies.
- Allow brownies to cool in the pan on a wire rack, about 45-60 minutes. You may place brownies in the fridge/freezer to speed this process along. If parchment paper was used, lift the ends to remove the brownies from the pan once cooled and place on a cutting board.
Make the Cream Cheese Frosting
I cut my best cream cheese frosting recipe in half for these red velvet brownies, but it never hurts to make the full batch. It will just be a thicker layer of frosting on top.
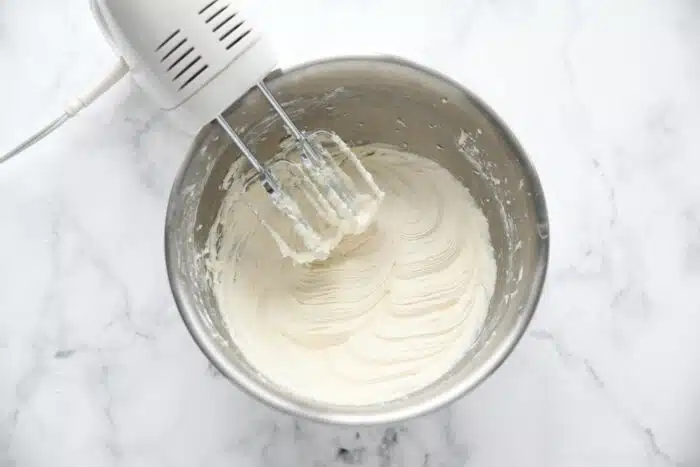
- Prepare frosting by placing the cream cheese in a mixing bowl. Using a hand mixer, beat until smooth. Gradually add the butter 1 Tablespoon at a time, and continue beating until smooth and well blended. Add the powdered sugar and vanilla all at once. Blend until combined and smooth.
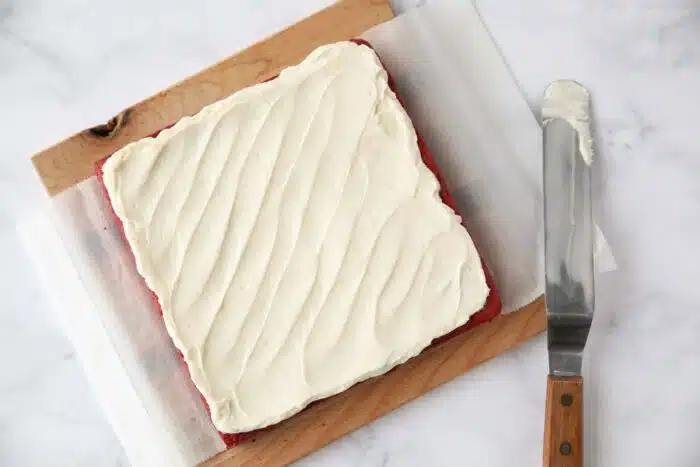
- Spread frosting over cooled brownies.
- Cut and serve.
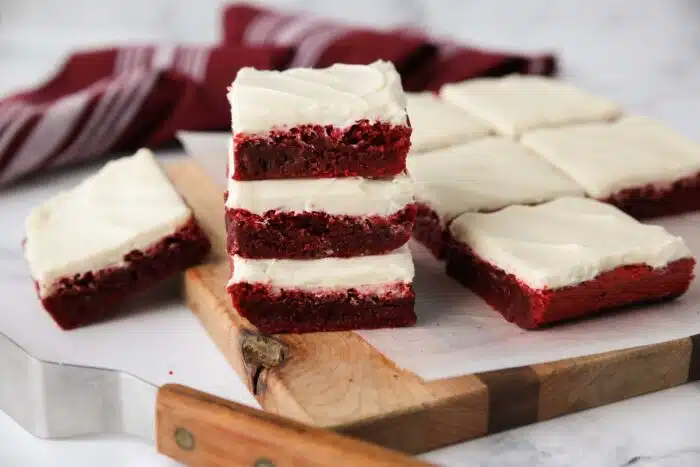
Storing and Freezing
- To Store: Cover the pan of brownies with foil or plastic wrap. Alternately place brownie pieces in an airtight container in a single layer. Store in the fridge for up to 3 to 4 days.
- To Consume: Allow brownies to come to room temperature before consuming. (You could also eat the red velvet brownies cold if you wish to.)
- To Freeze: Individually wrap each brownie in plastic wrap and place in a freezer-safe zip-top bag. Store in the freezer for up to 2 months. Unwrap (so the plastic wrap doesn’t stick) and thaw on a plate in the fridge overnight.
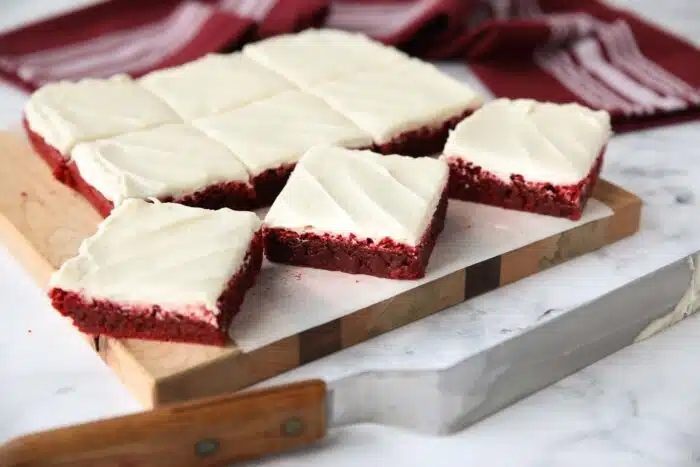
Baking Tips
- Line the baking pan with parchment paper. This helps to release the brownies from the pan more easily.
- Metal vs Glass Pan: If you are using a glass baking dish, you may need to add a few more minutes to the baking time.
- Fully cool the brownies. The hardest part is waiting for the brownies to cool down so that you can frost the top and dig in! However, the brownies need to be completely cooled for the frosting not to melt right off. Place the pan in the fridge or freezer to speed the cooling process along.
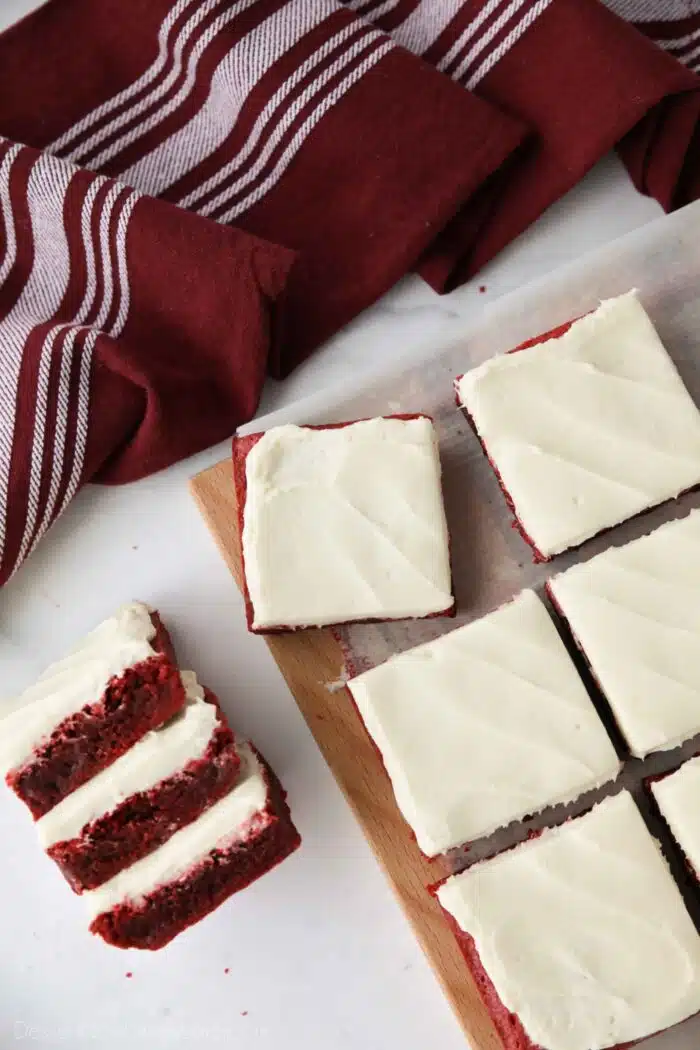
- To cut the red velvet brownies: Use a sharp knife. Be sure to rinse and dry the knife between cuts for clean slices. You can even chill the brownies in the freezer for 15 minutes before cutting to help solidify the frosting.
These red velvet brownies are quick to whip up and get in the oven. They are soft, moist, and perfectly red velvet with that hint of chocolate. Of course that smooth cream cheese frosting is the perfect topper! You’re going to love them!
Red Velvet Brownies
Ingredients
Red Velvet Brownies
- 3 Tbsp unsweetened cocoa powder
- 1 Tbsp liquid red food coloring, (approximately 0.5 oz)
- 2 tsp vanilla extract
- 1 tsp white distilled vinegar
- ½ cup (113 g) unsalted butter, (1 stick) softened
- 1 ½ cups (300 g) granulated sugar
- 2 large eggs, room temperature
- 1 ¼ cups (150 g) all-purpose flour, stir, spoon & level
- 1/4 tsp salt
Cream Cheese Frosting**
- 4 oz (113 g) block-style cream cheese, cold
- 4 Tbsp (57 g) unsalted butter, room temperature
- ½ tsp vanilla extract
- ½ cup (60 g) powdered sugar
Equipment
Instructions
- Preheat oven to 350 degrees Fahrenheit. Grease an 8×8-inch baking dish with cooking spray. (Optional: Line with parchment paper leaving a 2-inch overhang on two sides for easy lifting and grease the exposed sides with cooking spray.)
- In a small bowl, slowly stir together the cocoa powder, food coloring, vanilla, and vinegar into a thick paste until no lumps of cocoa remain. Set aside.
- In the bowl of a stand mixer fitted with the paddle attachment, beat together the butter and sugar on medium speed until light and fluffy; about 2 minutes. Add eggs one at a time, mixing well after each addition. Scraping the bowl as needed.
- With the mixer off, add in the cocoa mixture, then turn the mixer to medium and beat the two mixtures together until they are one uniform color. Add the flour and salt and mix on medium-low speed, just until combined. Do not over-mix.
- Remove the bowl from the mixer and scrape the sides with a spatula. Stir the batter once or twice, just to ensure all of the flour has incorporated from the sides of the bowl and there isn't anything stuck on the bottom of the bowl. Some lumps are ok.
- Spread into the prepared pan and bake at 350˚F for 30-40 minutes or until a toothpick comes out clean when inserted into the center of the brownies. Allow brownies to cool in the pan on a wire rack, about 45-60 minutes. You may place brownies in the fridge/freezer to speed this process along. If parchment paper was used, lift the ends to remove the brownies from the pan once cooled and place on a cutting board.
- Prepare frosting by placing the cream cheese in a mixing bowl. Using a hand mixer, beat until smooth. Gradually add the butter 1 Tablespoon at a time, and continue beating until smooth and well blended. Add the powdered sugar and vanilla all at once. Blend until combined and smooth. (Don't beat too long or the frosting will be too soft to pipe. If this happens, place the frosting in the refrigerator or freezer until it firms back up.)
- Spread frosting over cooled brownies. Cut and serve.
Notes
- **Cream Cheese Frosting: Feel free to double the frosting recipe if you like a thicker layer on top.
- To Store: Cover the pan of brownies with foil or plastic wrap. Alternately place brownie pieces in an airtight container in a single layer. Store in the fridge for up to 3 to 4 days.
- To Consume: Allow brownies to come to room temperature before consuming. (You could also eat the red velvet brownies cold if you wish to.)
- To Freeze: Individually wrap each brownie in plastic wrap and place in a freezer-safe zip-top bag. Store in the freezer for up to 2 months. Unwrap (so the plastic wrap doesn’t stick) and thaw on a plate in the fridge overnight.
Nutrition
Did you make this?
Don’t forget to leave a rating below and make sure to follow on Pinterest and Instagram for more!
*Originally published 2/3/2013. Post updated January 2024.
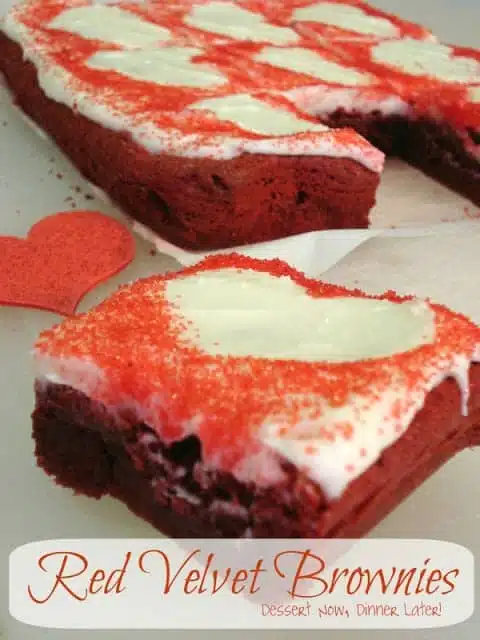





I made the red velvet brownies for Valentines. They were sooooo good! I doubled the frosting but didn’t need to they would have been fine.
These look heavenly! I love how you added the res sugar on the top. Very cute!