Red Velvet Cake Roll + Video
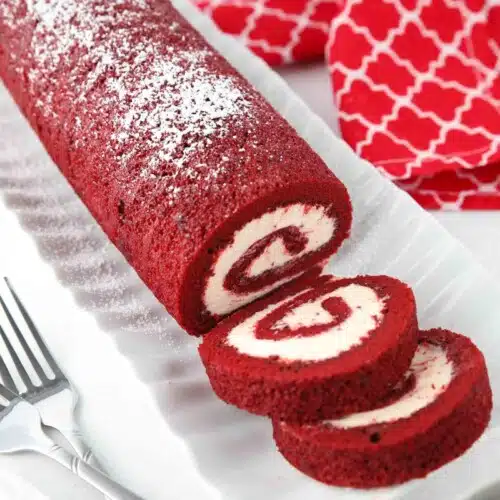
This stunning Red Velvet Cake Roll is filled with the BEST cream cheese frosting. You’ll love this soft and fluffy cake with a hint of cocoa powder. It’s beautiful, delicious, and easy to make.
Cake rolls are a fun way to eat cake with nearly equal frosting-to-cake in each bite. Try my classic pumpkin roll, chocolate peanut butter roll and carrot cake roll too!
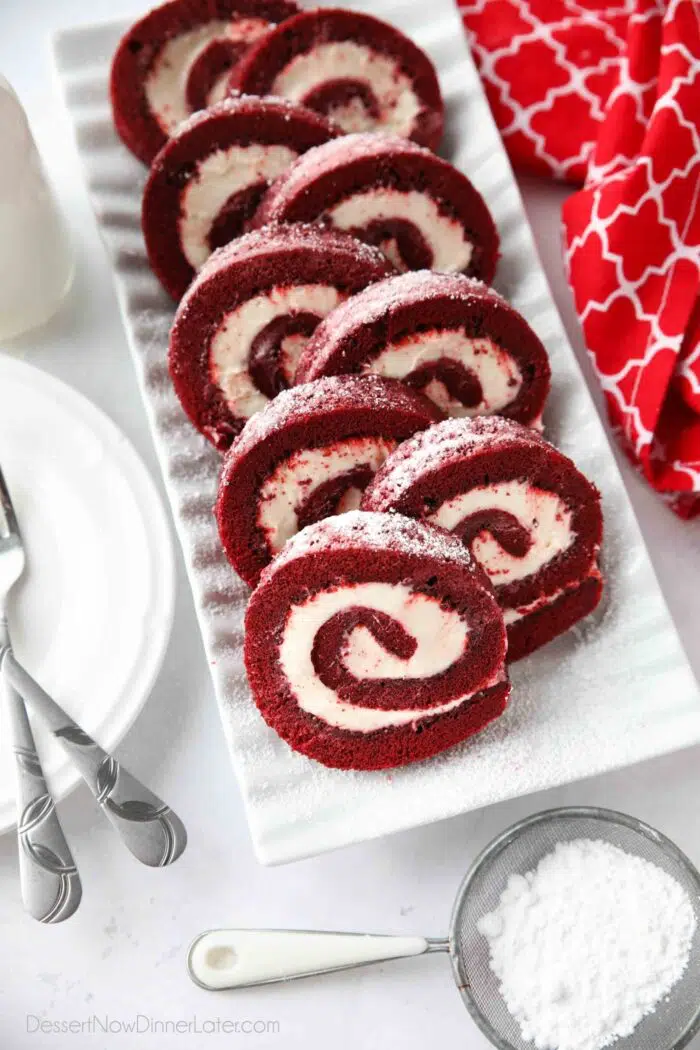
A Cake with Many Names
A rolled cake is also known as a jelly roll, roulade, or a Swiss roll. These names all describe a type of rolled cake filled with whipped cream, jam, or frosting. Rolled cakes can be easy to make and have that eye-catching swirl of filling and cake.
Save This recipe
Enter your email below to get a link to this recipe emailed straight to you to save later! Plus be signed up for all new recipes.
I made this red velvet cake roll many years ago, except I rolled it into a heart shape for Valentine’s Day. That might be a little more advanced than rolling it into one cohesive swirl, so I decided to re-do it for the Christmas holiday season.
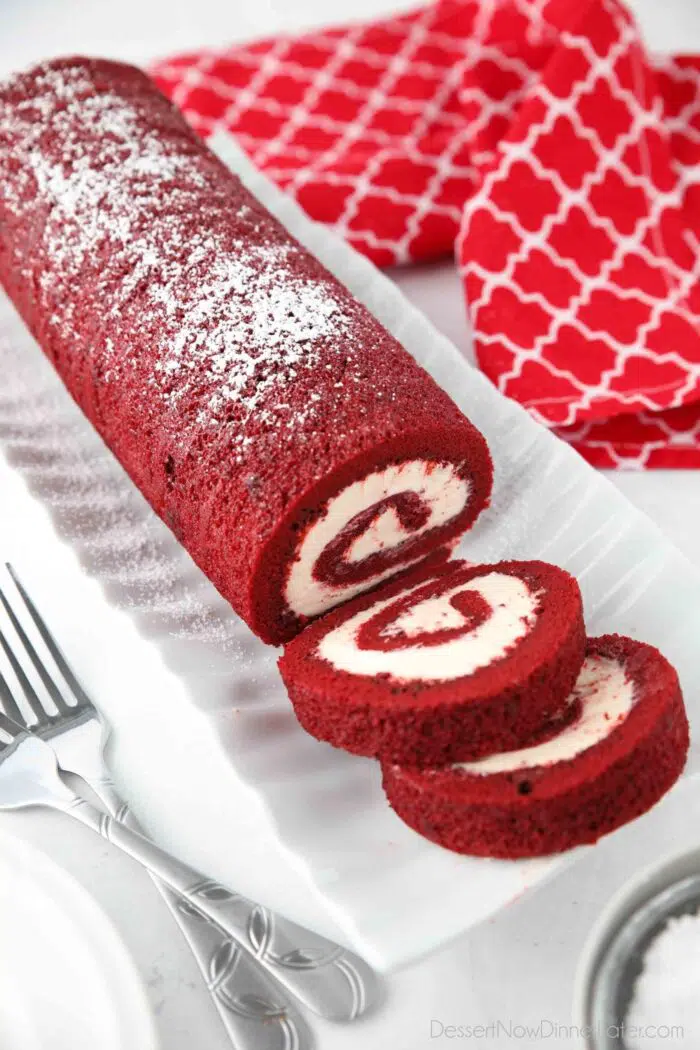
A Great Holiday Dessert
We love a good cake roll for the holidays because it’s an impressive looking dessert. We’ll make a pumpkin roll for Thanksgiving and a carrot cake roll with cream cheese filling for Easter.
I’ve made a chocolate peppermint cake roll for Christmas before, but loved the idea of a bright red velvet Swiss roll.
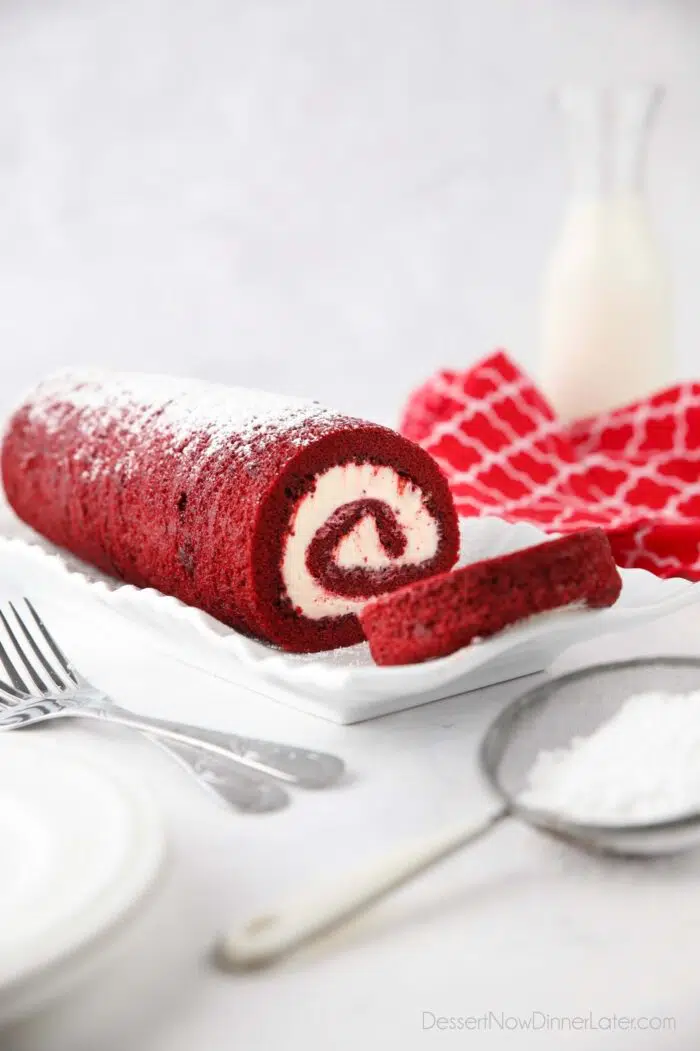
Why make a cake roll?
There are a lot of great reasons to make a cake roll for your next holiday or family celebration.
- You can make a cake roll ahead of time and freeze it. (I prefer it frozen for cutting slices anyway.)
- Cake rolls take up minimal space in the fridge/freezer.
- You can get between 12-14 slices from one cake roll.
- Equal frosting and cake in each bite.
- Cake rolls are beautiful and delicious!
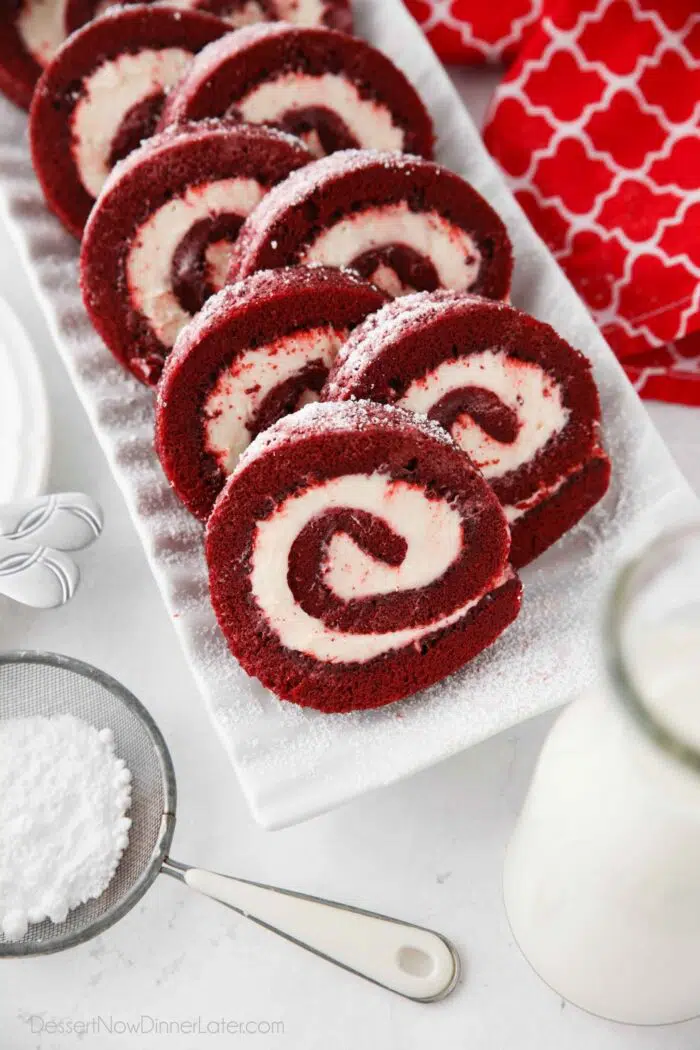
How to make Cake Roll with No Towel
Recently I’ve been making all of my cake rolls without a towel. Especially for this red velvet cake roll, I didn’t want to stain any of my nice linens with red cake.
The trick to making a cake roll with no towel is to use parchment paper. There is a trade-off though. The cake does sweat a bit, making the inside where you spread the frosting wet and sticky. I have some tricks for that though.
Cake Roll Supplies
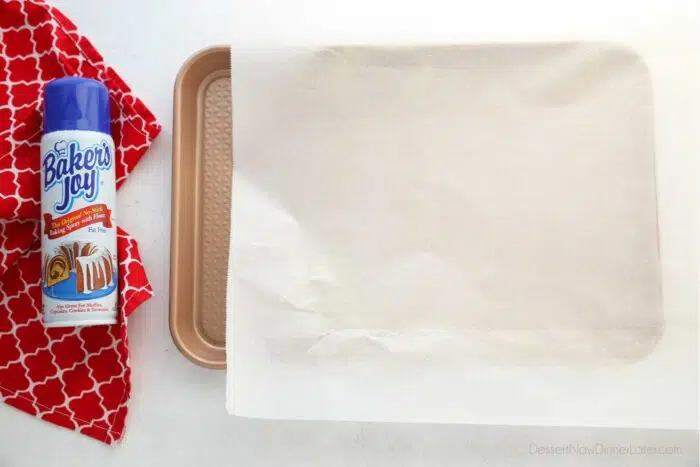
First, you will need a 15×10-inch jelly roll pan to make this red velvet cake roll. You could probably get away with a 1/2 sheet pan (18×13-inches), but the cake will be thinner.
Parchment paper is used to line the pan and sides, with a bit overhanging for easy removal. If you don’t use parchment paper you will need to grease and flour the pan thoroughly. I like to use Baker’s Joy (a nonstick spray containing flour) for ease.
You can even spray your parchment paper with Baker’s Joy for added insurance that the cake won’t stick, but it’s not necessary.
Red Velvet Cake Roll Ingredients
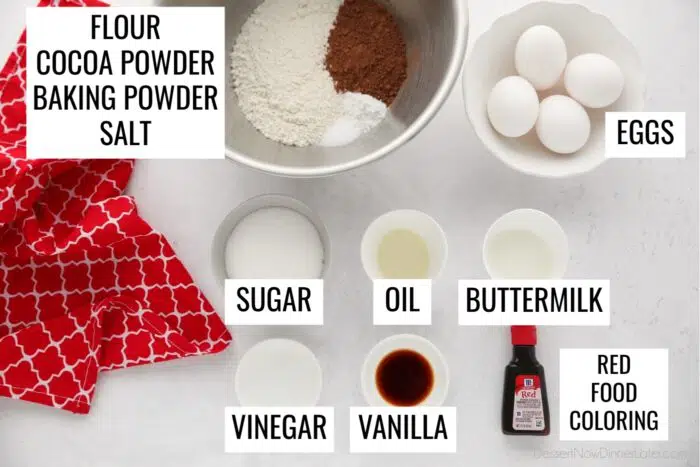
To make this red velvet cake roll recipe, you will need:
- All-Purpose Flour
- Cocoa Powder – 100 % natural unsweetened cacao
- Baking Powder
- Salt
- Eggs
- Granulated Sugar
- Oil
- Buttermilk – or regular milk, plus vinegar. Stir together and let the mixture sit for 5 minutes before using.
- White Distilled Vinegar
- Vanilla Extract
- Red Food Coloring – optional. Traditional recipes don’t use this, but if you want a vibrant color, you will want to add it.
- Powdered Sugar – (Not pictured.) If you don’t use parchment paper and decide to use a tea towel, you will need to coat it with powdered sugar.
Making the Cake Batter
- Preheat oven to 350 degrees Fahrenheit. Line a 15×10-inch jelly roll pan with parchment paper covering the bottom and sides, leaving an inch or two overhanging. If sides are exposed, grease and flour them. (Can use Baker’s Joy – a nonstick spray with flour.)
- In a bowl, sift together the flour, cocoa, baking powder and salt. Set aside.
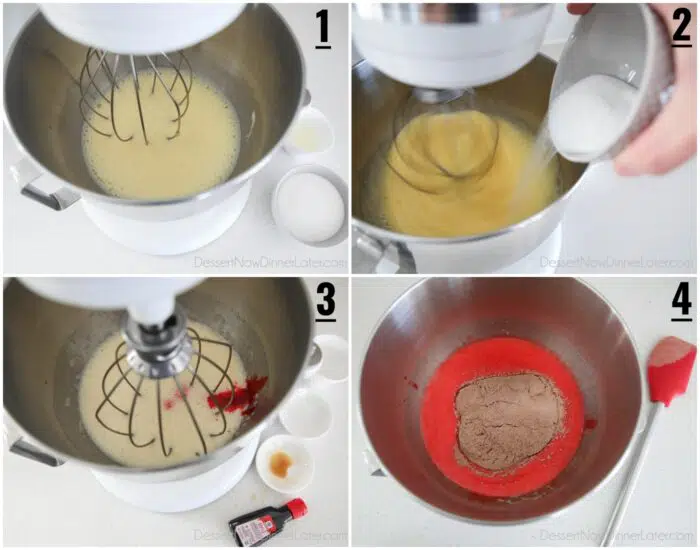
- Whisk eggs until light and frothy in the bowl of a stand mixer with the whisk attachment.
- Add sugar and oil. Mix together.
- Add buttermilk, vinegar, vanilla, and red food coloring. Mix together.
- Stir in flour and cocoa mixture.
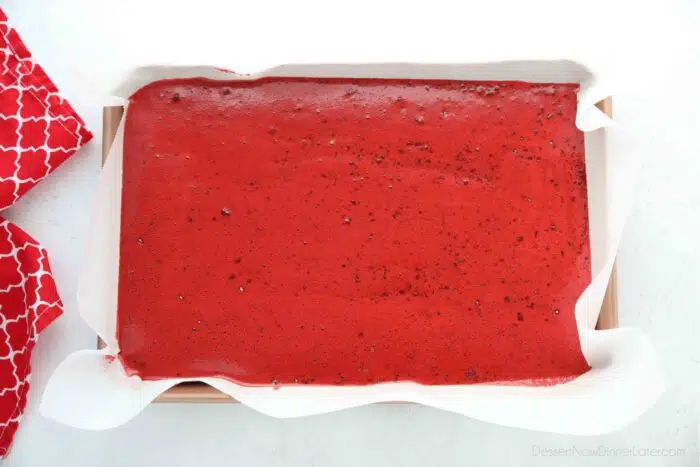
- Pour cake batter into a parchment lined jelly-roll pan.
- Bake at 350 degrees Fahrenheit for 13-15 minutes or until cake springs back when touched.
How to Roll a Cake Roll
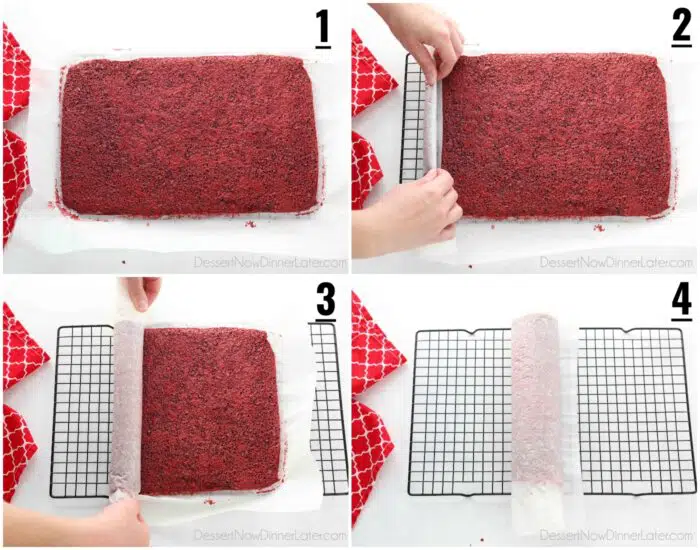
After baking the red velvet cake, it’s time to roll it up. You want to do this while it’s still warm. Traditionally you would immediately turn the cake out onto a powdered sugar coated towel, remove the parchment paper and then roll it up.
To roll the cake up in parchment paper, it’s best to wait a few minutes before rolling the cake, to let off some of the steam first.
- Lift the cake out of the pan with the parchment paper and set it on a wire rack. Wait 3 minutes to let off any steam. (But don’t forget about it. It still needs to be warm/hot to shape it correctly.)
- Fold the end of the paper over one of the shorter ends (a 10-inch side). Then lift the cake and fold/roll it over the top of the parchment.
- Roll the cake tightly towards the other short (10-inch) side. You can use the ends of the parchment paper to help if the cake is too hot for your fingers, but keep it tight.
- Let the rolled up cake rest on the wire rack until cool.
Cream Cheese Filling Ingredients
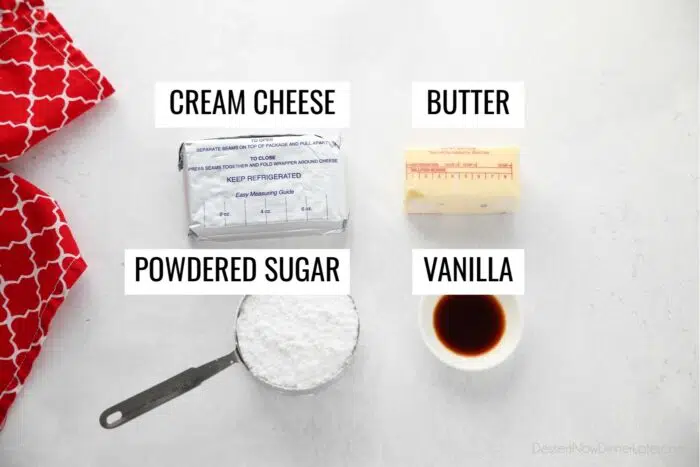
While the cake cools, you can make the cream cheese filling. You will need:
- Cream Cheese – COLD. Don’t let the fact that it’s cold freak you out. Using cold cream cheese will help the filling not squeeze out.
- Butter – room temperature. This helps balance out the cold cream cheese so they will cream together.
- Powdered Sugar – I only use 1 cup. It’s just enough sweetness without going overboard and won’t make the frosting stringy.
- Vanilla – for flavoring.
Beat the cream cheese and butter together until smooth. Then add the powdered sugar and vanilla. Mix together, then refrigerate until cake is cool.
How to Fill a Cake Roll
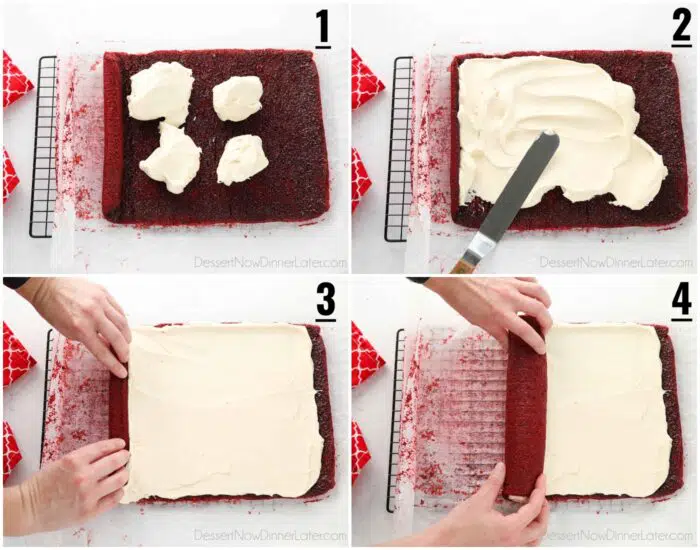
After the red velvet cake roll has cooled, carefully un-roll the cake. The parchment paper will be sticky and moist as well as the cake. You can let the cake rest for 5 minutes after unrolling it to allow some of the moisture to evaporate. Then:
- Dollop the cream cheese frosting over the cake.
- Use an offset spatula to spread the cream cheese filling evenly over the cake leaving a 1/2-inch bare on the edge that you will roll towards. IMPORTANT: Keep the tip of the spatula in the frosting at all times, or it will pull up the moist cake crumbs and mix with the frosting.
- Start rolling the cake back up by lifting the end of the cake up and over the filling, tucking the cake into the frosting.
- Use your hands to tightly roll the cake without pressing the cake down and squeezing the frosting out. (A lift and fold/roll motion.) You can alternately lift the parchment paper with one hand, while rolling the cake with the other hand.
Chilling and Slicing
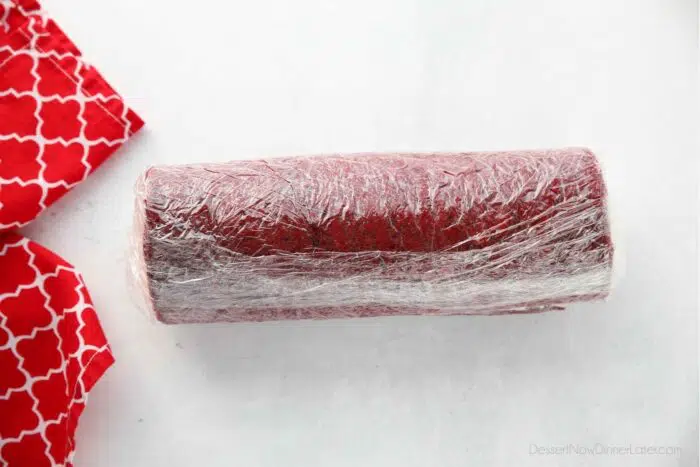
After the red velvet cake roll is filled and rolled back up, it’s best to chill it before slicing the cake, to help the filling set.
Wrap the cake in plastic wrap and refrigerate/freeze it for at least 1-2 hours. I prefer to double wrap and freeze the cake roll overnight.
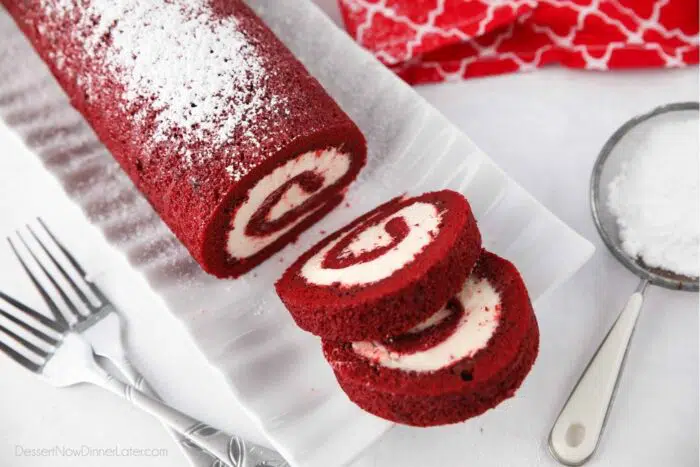
Use a serrated knife to cut the red velvet cake roll into 1/2 to 3/4 inch slices; for about 12 servings. For clean looking slices, rinse and dry the blade between cuts.
Using a serrated knife and cutting the cake like you would bread (sawing back and forth) prevents smashing the cake and squeezing the filling out.
Wrap any leftover slices of red velvet cake directly on the platter and store in the fridge up to 5 days.
To Make-Ahead and Freeze
You can make this red velvet cake roll ahead of time and freeze it. Double wrap the cake tightly with plastic wrap. Or use one layer of plastic wrap and one layer of foil. Label and freeze for up to 2-3 months.
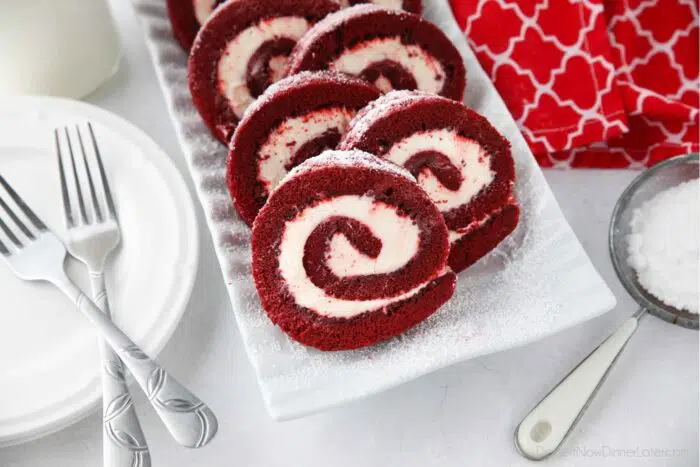
NOTE: You can slice the cake from frozen and then stagger the pieces on a serving platter. (I actually prefer it this way.) They will thaw after about 20 minutes at room temperature. Alternately thaw the cake roll/slices in the fridge overnight.
Red Velvet Cake Roll
Ingredients
Red Velvet Cake:
- ¾ cup (90 g) all-purpose flour, (stir, spoon & level)
- ¼ cup (20 g) unsweetened cocoa powder
- 1 tsp baking powder
- ½ tsp salt
- 4 large eggs
- ¾ cup (150 g) granulated sugar
- 1 Tbsp oil, (canola/vegetable)
- 2 Tbsp buttermilk, (or 2 Tbsp milk plus 1/2 tsp vinegar; let sit 5 minutes before using)
- 1 tsp white distilled vinegar
- 1 tsp vanilla extract
- 2 Tbsp red food coloring, (one 1 oz bottle)
- powdered sugar, optional
Cream Cheese Filling:
- 8 oz (226 g) brick cream cheese, cold
- ½ cup (113 g) butter, (1 stick) room temperature
- 1 cup (120 g) powdered sugar
- 1 tsp vanilla
Instructions
- Preheat oven to 350 degrees Fahrenheit. Line a 15×10-inch jelly roll pan with parchment paper covering the bottom and sides, leaving an inch or two overhanging. If sides are exposed, grease and flour them. (Can use Baker's Joy – a nonstick spray with flour.)
- In a bowl, sift together the flour, cocoa, baking powder and salt. Set aside.
- In the bowl of a stand mixer using the whisk attachment, whip the eggs on medium speed for 5 minutes until light and frothy. Slowly add the sugar and oil while mixer is running on medium/low.
- Add the buttermilk, vinegar, vanilla and red food coloring. Mix to combine. Add the flour mixture and mix until just incorporated. Pour batter into prepared pan. Spread evenly.
- Bake at 350˚F for 13-15 minutes or until the top of the cake springs back when touched. Or a toothpick comes out clean or with a few moist crumbs after inserting into the center of the cake.
- Lift cake by the parchment paper and place it on a wire rack. Allow cake to rest for 3 minutes for steam to release. Fold parchment paper over one of the 10-inch (shorter) sides and roll the cake tightly into a log while it is still warm. Leave cake on wire rack to cool completely.
- Meanwhile, make filling by beating the cream cheese and butter together in a bowl with an electric hand mixer until smooth. Add the powdered sugar and vanilla. Mix until combined. Place frosting in fridge until cake is cool.
- Carefully unroll the cake. If it's still warm or particularly wet and sticky after unrolling, let it rest (unrolled) for 5 minutes. Dollop the cream cheese frosting over the cake and spread it evenly with an offset spatula, leaving 1/2-inch bare on the end you will roll towards. IMPORTANT: Keep the tip of the spatula in the frosting the whole time as to not lift crumbs into the frosting.
- Re-roll the cake as tightly as you can. For best results, wrap the cake roll and refrigerate/freeze the cake for 1-2 hours to help the filling set. Alternately freeze the cake overnight.
- Unwrap the chilled cake. Dust the top with powdered sugar, optional. Use a serrated knife to cut 12 even pieces. Rinse and dry knife between cuts for clean slices.
Video
Notes
- NO PARCHMENT/TOWEL METHOD: If not using parchment paper, heavily grease and flour the pan before adding the batter. Then turn the hot baked cake out onto a tea towel that's been sprinkled with about 1/2 cup of powdered sugar. Roll the cake up in towel while warm, and follow the steps as written.
- TO FREEZE: Double wrap the red velvet cake roll with plastic wrap and freeze it up to 2-3 months. Unwrap the cake and slice from frozen. Allow the cake to thaw at room temperature for 20 minutes before serving. Alternately thaw cake in fridge overnight before slicing and serving.
- STORE leftovers covered with plastic wrap in the fridge up to 5 days.
Nutrition
Did you make this?
Don’t forget to leave a rating below and make sure to follow on Pinterest and Instagram for more!






Follow recipe exactly, first time used a 15×10 jelly roll pan and personally thought the cake was too thin (and looked thinner than the pictures). Remade with a smaller jelly roll pan and appearance-wise was better, however not a great quality cake, was a bit dense and dry.
If your first cake was thinner than the pictures, you may not have whipped the eggs long enough to make them frothy and pale or the batter could have been over-mixed once the dry ingredients were added which would decrease the volume. I did use a 15×10-inch jelly roll pan as stated and shown in my step-by-step pictures. These cakes do bake up quick, and every oven is different, so if the cake was dry it may have been baked too long. Sorry it didn’t turn out how you had hoped.