Red Velvet Cheesecake Brownies
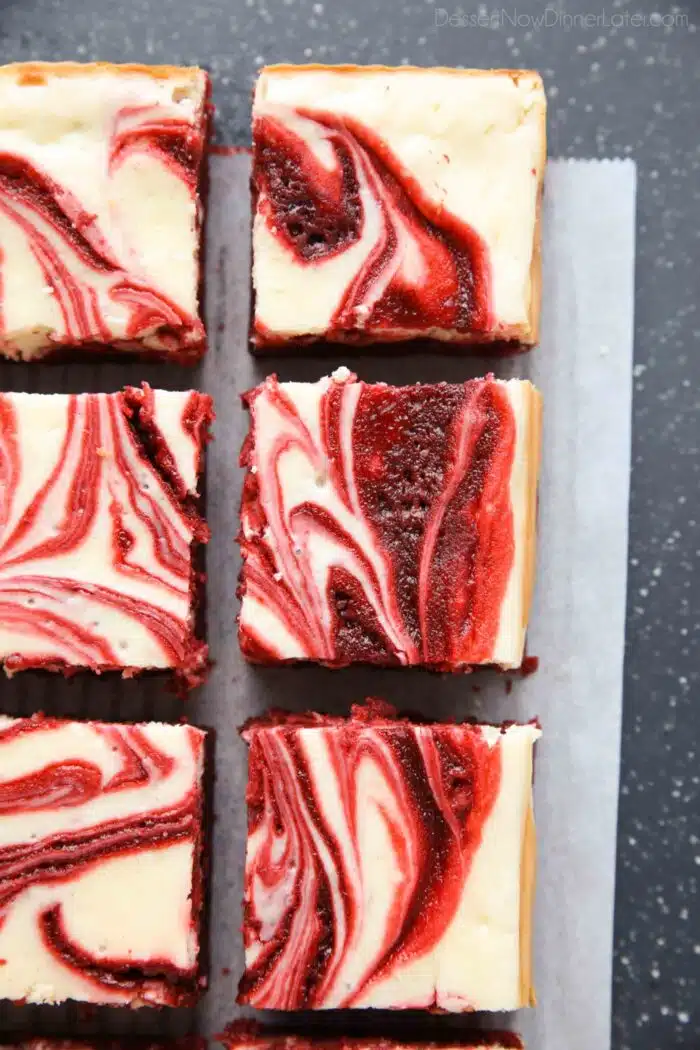
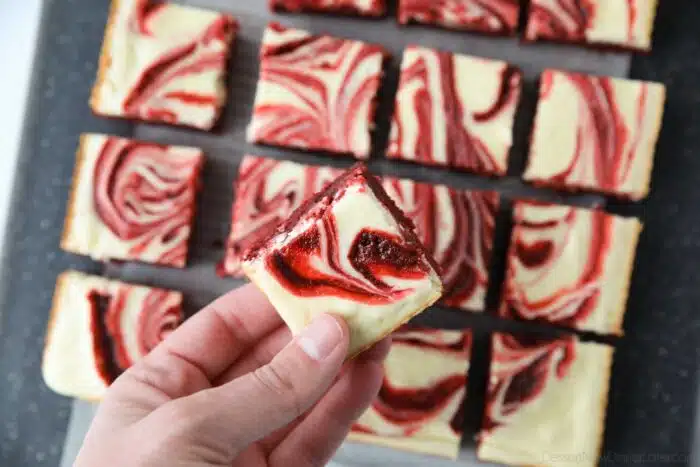
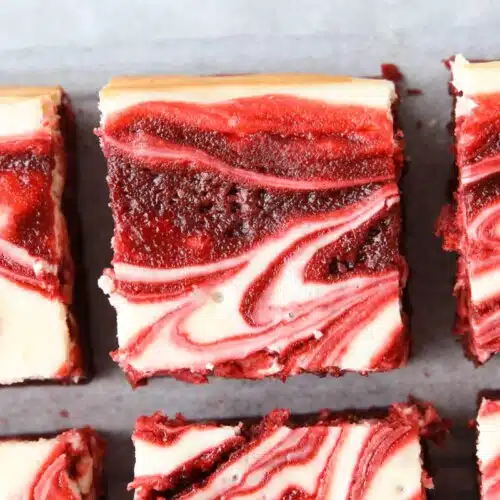
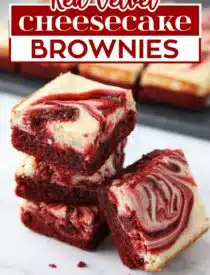
These Red Velvet Cheesecake Brownies combine two delicious desserts into one. Fudgy red velvet brownies swirled together with creamy vanilla cheesecake. These dessert bars look as good as they taste.
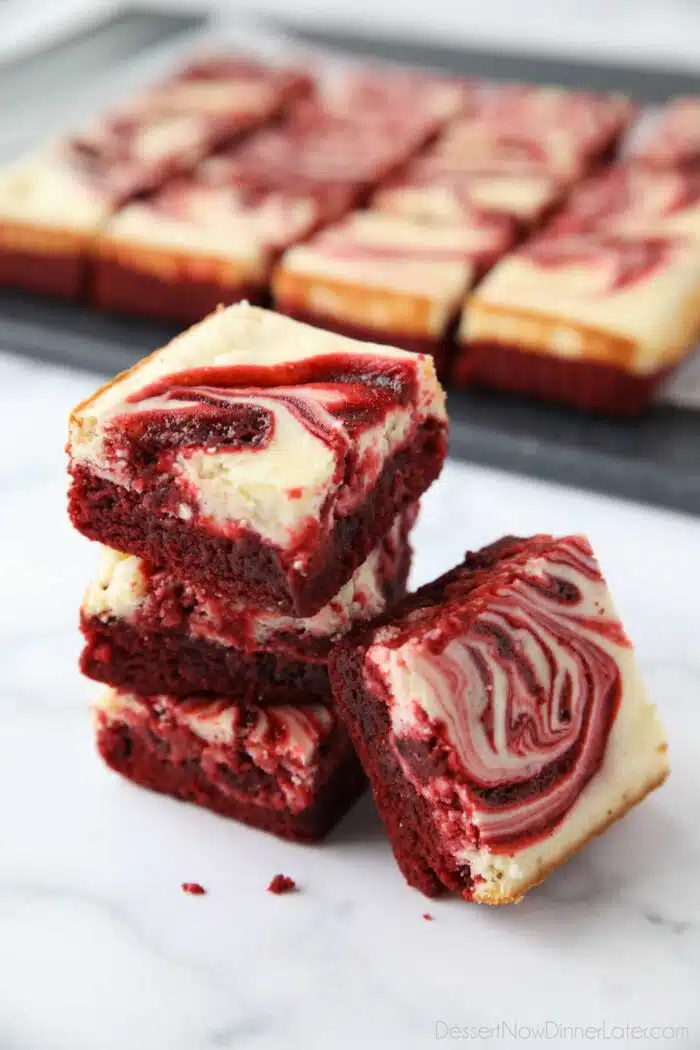
Red Velvet Desserts for Valentine’s Day
With Christmas just behind us and Valentine’s Day coming up, red desserts are at the forefront of my baking.
If I’m making a Valentine’s Dessert with the kids, it’s usually Red Velvet Blossom Cookies, but if it’s just the hubby and me, we’ll share a warm Red Velvet Pizookie.
Save This recipe
Enter your email below to get a link to this recipe emailed straight to you to save later! Plus be signed up for all new recipes.
Red velvet desserts just scream romance because they’re full of chocolate and often paired with cream cheese — all the indulgent things. Not to mention that RED is the color of love.
So of course I wanted to combine all those things and make these red velvet cheesecake brownies.
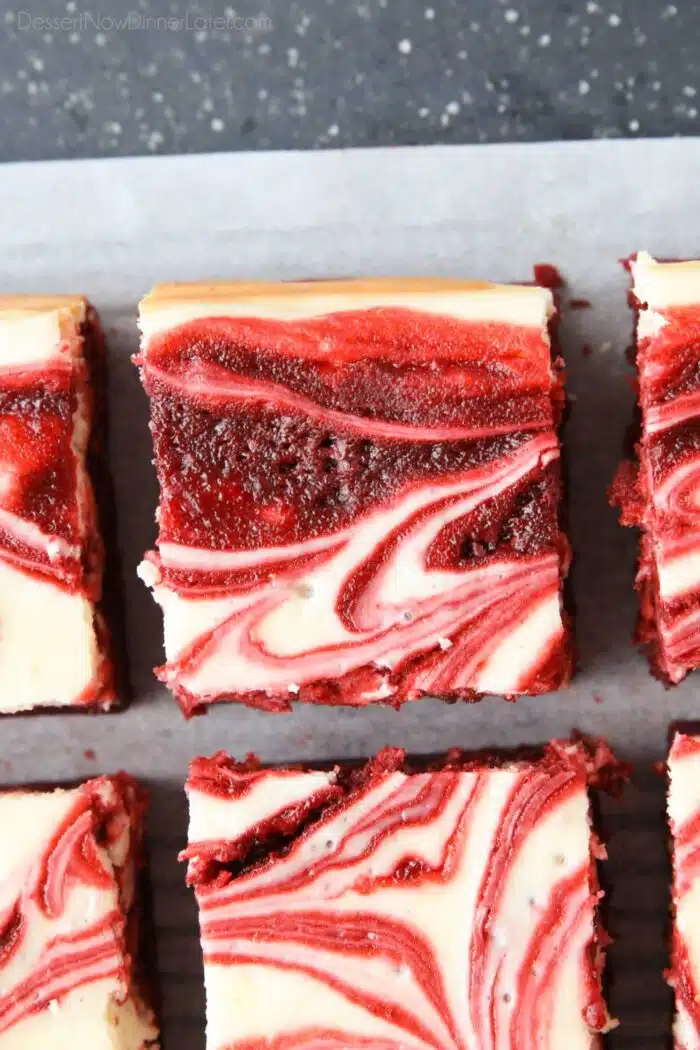
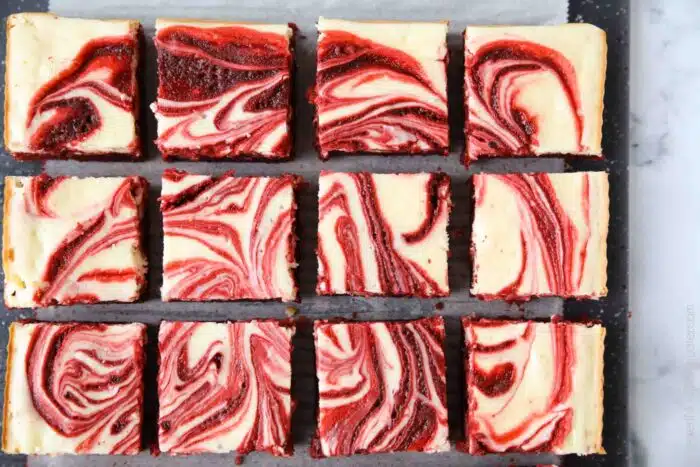
A Cheesecake Swirl
Swirling the cheesecake batter (like in my valentines cheesecake) makes it seem extra fancy, when in reality it’s really easy to do. I’ll show you how.
The beauty of these swirled red velvet cheesecake brownies will definitely please your sweetheart.
Make the Red Velvet Brownies
First, you will make the red velvet brownie batter.
What is red velvet brownies made of? A brownie batter with slightly less cocoa powder and a splash of vinegar to brighten the chocolate flavor and give it a reddish hue, which is enhanced with some additional red food coloring.
Can I leave the vinegar out? Yes. White vinegar is classic in red velvet desserts to add a slight tang and to enrich the color and flavor of the cocoa. For these brownies, it’s such a small amount. Plus we’re adding food coloring to make it brighter, so you can feel free to leave it out.
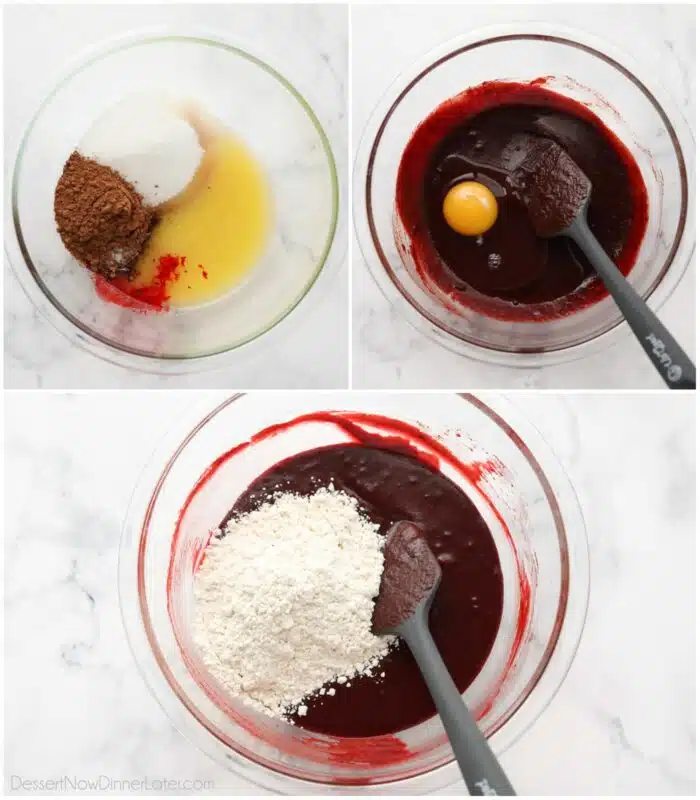
- In a large bowl, stir together the melted butter, sugar, cocoa powder, salt, red food coloring, vanilla, and vinegar. Combine well.
- Stir in the eggs one at a time, incorporating well with each addition.
- Add the flour and stir until just combined. Set batter aside.
Make the Cheesecake
After the brownie batter is made, it’s time to make the cheesecake batter.
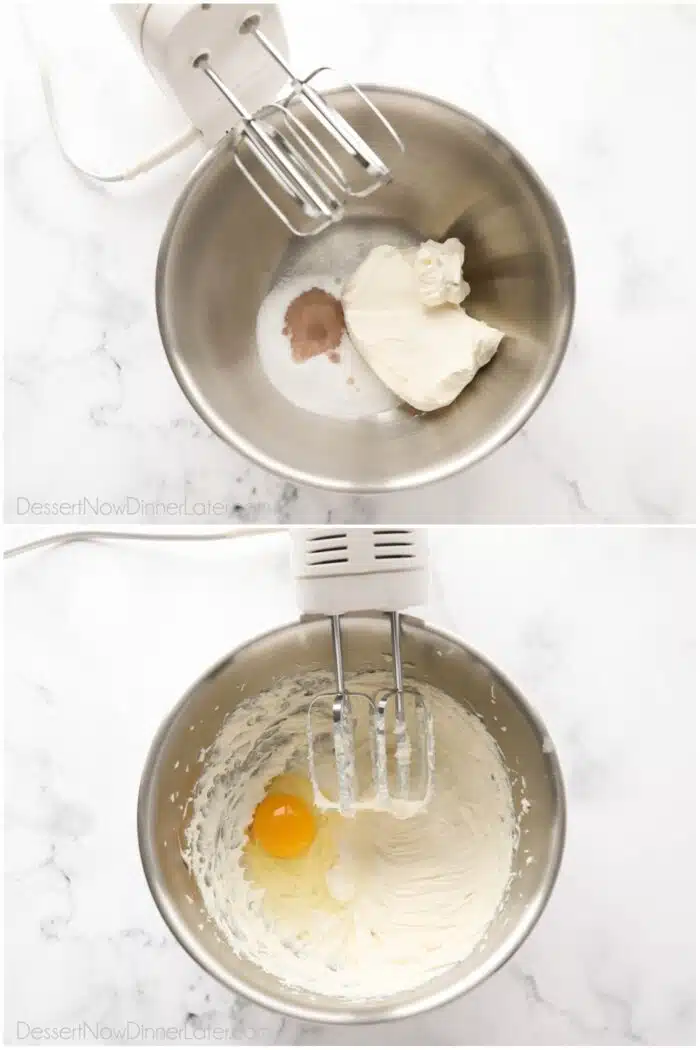
- In another large bowl, beat together the cream cheese, sugar, and vanilla with an electric hand mixer.
- Add the egg and blend until smooth. Set aside.
Assembling the Red Velvet Cheesecake Brownies
Once both batters are ready to go, you can assemble the red velvet cheesecake brownies.
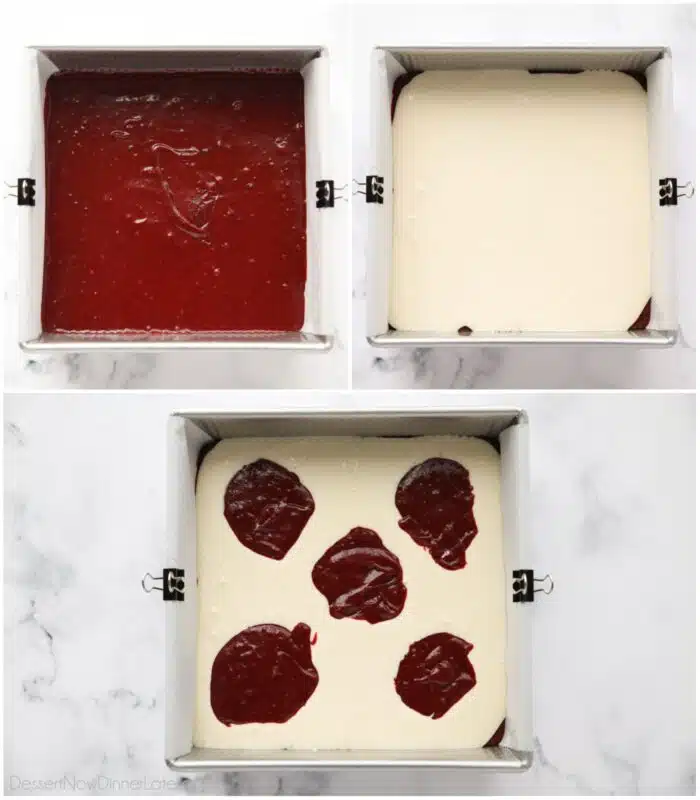
- Line an 8×8-inch baking pan with parchment paper leaving a couple inches of overhang for easy lifting. Use cooking spray to grease the sides not covered with paper.
- Reserve 1/2 cup of red brownie batter for topping. Pour the remaining red velvet batter into the prepared pan.
- Pour the cheesecake batter evenly over the red velvet batter.
- Dollop the reserved 1/2 cup of red velvet brownie batter over the cream cheese layer.
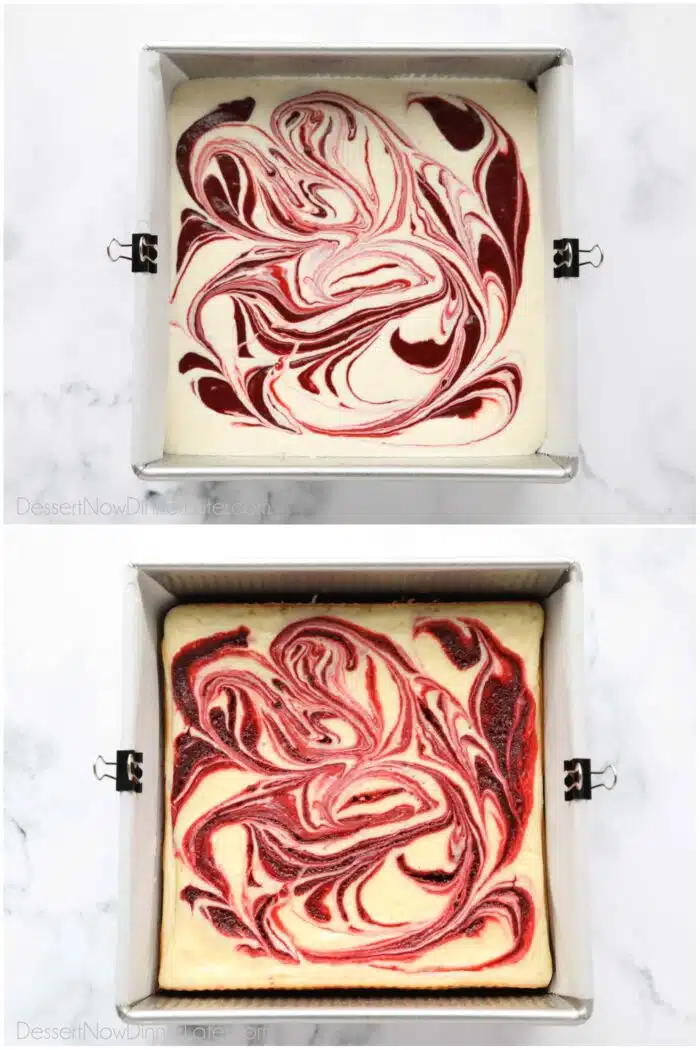
- Use a butter knife or toothpick to swirl the cheesecake together with the dollops of red velvet batter.
TIP: Don’t over-do the swirling. Less is more. It might be helpful to make “figure 8” swirls.
Baking and Serving
After swirling the two batters together, place the pan of red velvet cheesecake brownies in the oven.
- Bake at 350˚F for 30 minutes, or until a toothpick inserted into the center comes out with a few moist crumbs of brownie batter or thick baked cheesecake stuck to it. If it still looks wet, bake a few minutes more.
- Cool completely before lifting the parchment out of the pan to cut the brownies into squares.
- Store leftovers in an airtight container, with parchment paper separating any layers, in the refrigerator up to 1 week.
More Red Velvet Desserts
CAKES…
OTHER DESSERTS…
- Red Velvet Chocolate Chip Cookies
- Red Velvet Brownies
- Mini Red Velvet Cheesecake
- Red Velvet Waffles
- Red Velvet Cheese Ball
If You Make This Recipe, Please Rate and Review it in the Comments Below. THANKS!
Red Velvet Cheesecake Brownies
Ingredients
Red Velvet Brownies:
- ½ cup (113 g) unsalted butter, (1 stick) melted
- 1 cup (200 g) granulated sugar
- ¼ cup (20 g) unsweetened cocoa powder
- ¼ tsp salt
- 1 Tbsp red food coloring
- 1 tsp vanilla extract
- ½ tsp distilled white vinegar
- 2 large eggs
- ¾ cup (90 g) all-purpose flour, stir, spoon & level
Cheesecake:
- 8 oz (226 g) block-style cream cheese, room temperature
- ¼ cup (50 g) granulated sugar
- ½ tsp vanilla extract
- 1 large egg, room temperature
Instructions
- Preheat oven to 350℉. Line an 8×8-inch baking pan with parchment paper leaving a couple inches of overhang for easy lifting. Use cooking spray to grease the sides not covered with paper. Set aside.
- RED VELVET BROWNIES: In a large bowl, stir together the melted butter, sugar, cocoa powder, salt, red food coloring, vanilla, and vinegar. Combine well.
- Stir in the eggs one at a time, incorporating well with each addition. Add the flour and stir until just combined. Set batter aside.
- CHEESECAKE: In another large bowl, beat together the cream cheese, sugar, and vanilla with an electric hand mixer. Add the egg and blend until smooth. Set aside.
- ASSEMBLING: Reserve 1/2 cup of red brownie batter for topping. Pour the remaining red velvet batter into the prepared pan.
- Pour the cheesecake batter evenly over the red velvet batter.
- Dollop the reserved 1/2 cup of red velvet brownie batter over the cream cheese layer. Use a butter knife or toothpick to swirl the cheesecake together with the dollops of red velvet batter. TIP: Don’t over-do the swirling. Less is more. It might be helpful to make “figure 8” swirls.
- BAKE at 350℉ for 30 minutes, or until a toothpick inserted into the center comes out with a few moist crumbs of brownie batter or thick baked cheesecake stuck to it. If it still looks wet, bake a few minutes more.
- Cool completely before lifting the parchment out of the pan to cut the brownies into squares.
Notes
- Store leftovers in an airtight container, with parchment paper separating any layers, in the refrigerator up to 1 week.
Nutrition
Did you make this?
Don’t forget to leave a rating below and make sure to follow on Pinterest and Instagram for more!



Made these for the family this Valentine’s Day. Everyone from parents to kids loved them! Thank you for the recipe. Will save and make again!
I’m so glad to hear that! Thanks for your comment Jorden!
Can you please tell me the cup size you used for the receipe.
The recipe card has the full recipe amounts and instructions. I use U.S. measuring cups.