Red Velvet Cupcakes
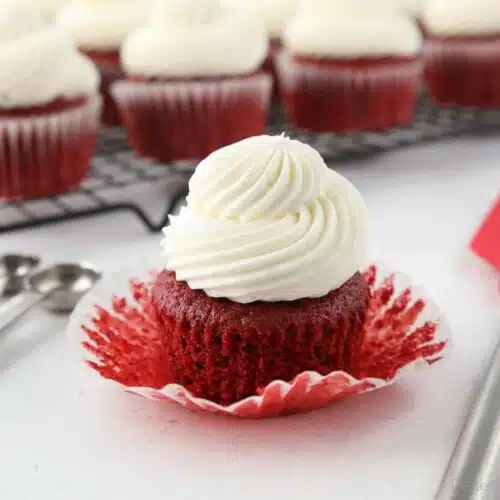
These Red Velvet Cupcakes are fluffy and moist with a hint of chocolate and topped with whipped cream cheese frosting. Melt in your mouth delicious! This recipe is great for Christmas, Valentine’s Day, or any celebration.
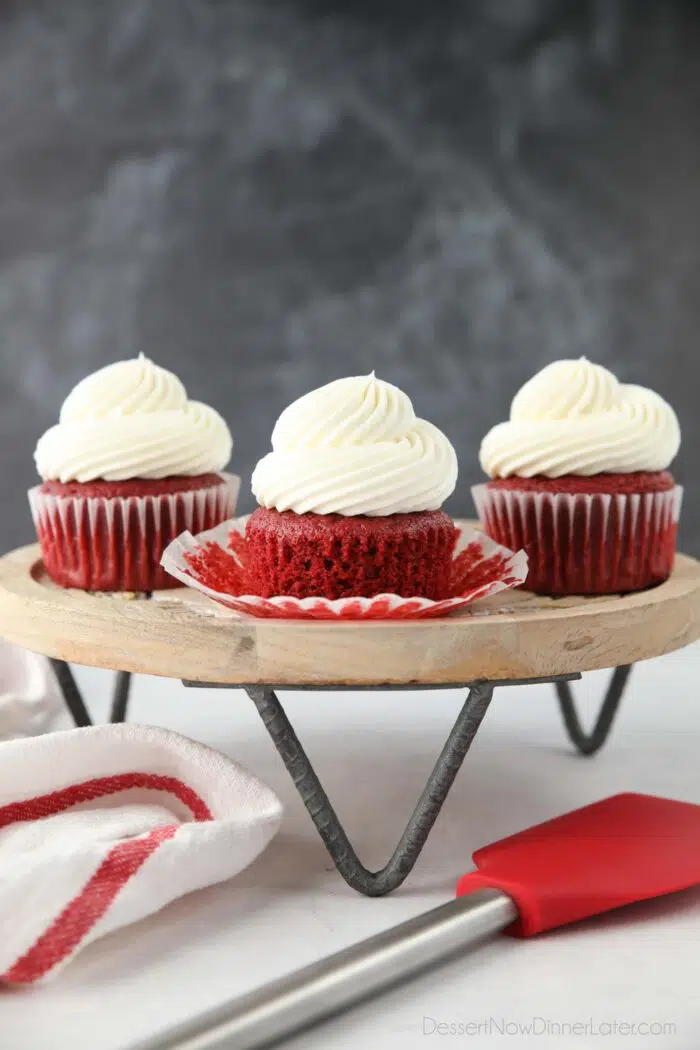
When I think of fun recipes to make for Valentine’s Day or Christmas time, I think of red velvet desserts, since the colors resemble love and Christmas. Who can say no to a beautiful red cake topped with white cream cheese frosting? Impossible.
Today I’m sharing this easy red velvet cupcake recipe. It’s so fluffy and moist that the wrappers peel right off.
Save This recipe
Enter your email below to get a link to this recipe emailed straight to you to save later! Plus be signed up for all new recipes.
This recipe uses buttermilk. If you don’t have, or can’t find buttermilk in the stores (which happens a lot during the holiday season) don’t stress! You can make your own, and I’ll tell you how.
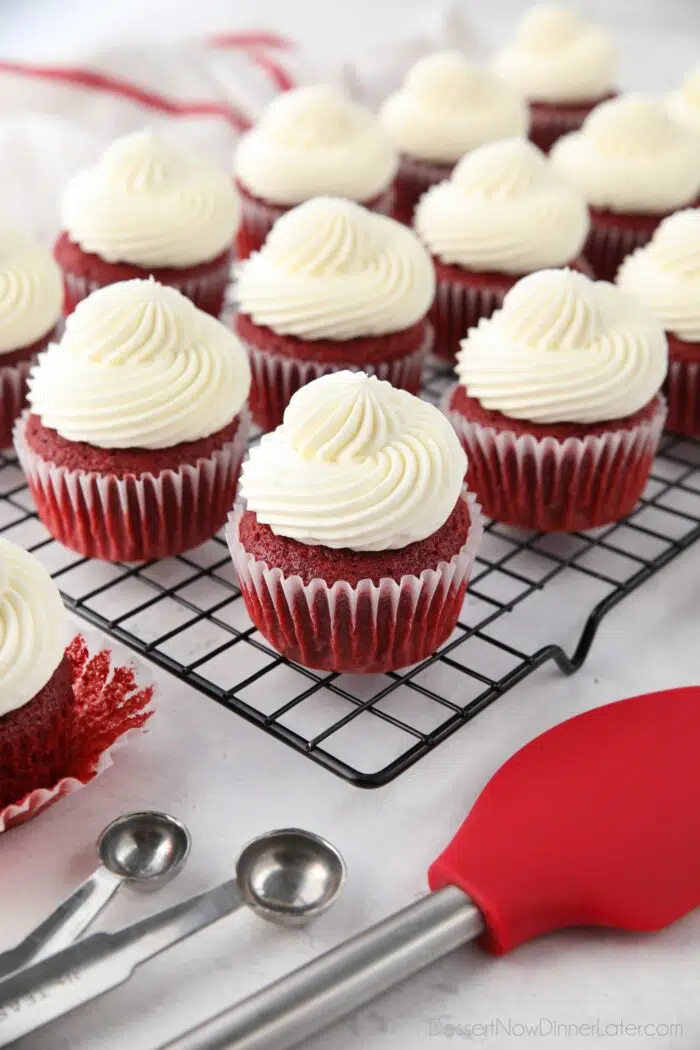
Red Velvet Cupcakes
First off, what exactly is red velvet cake? Are red velvet cupcakes just chocolate? You might be asking yourself these questions around this hyped up dessert.
Red Velvet Cupcakes are not the same as chocolate cupcakes.
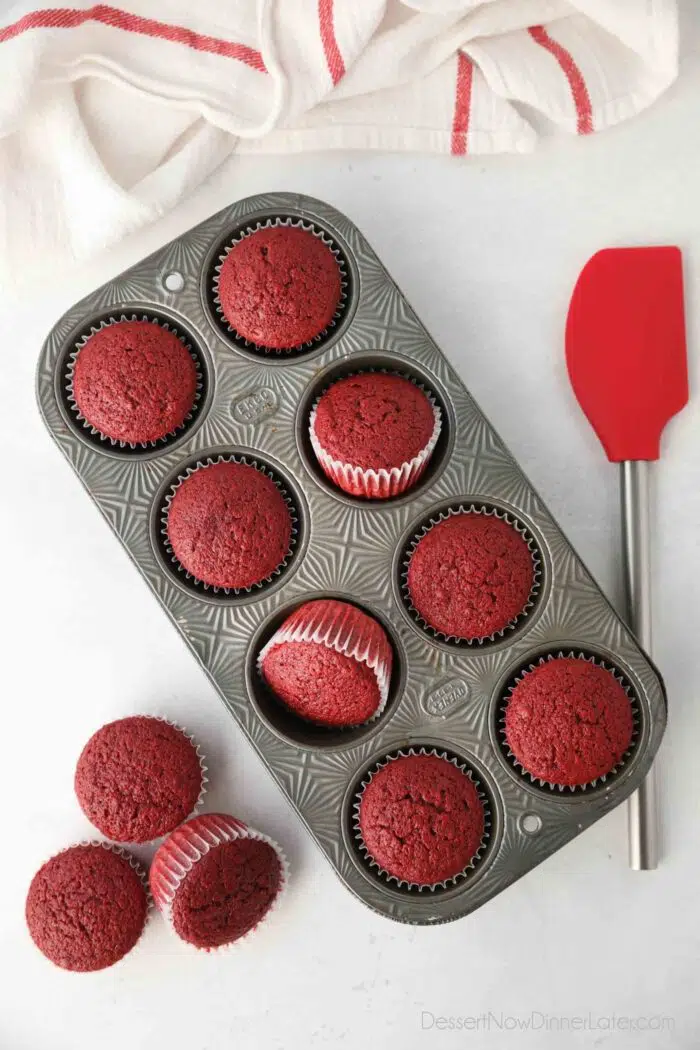
Red Velvet Cupcakes are essentially a vanilla cupcake with a touch of cocoa powder and a slight tang from vinegar and buttermilk. Red food coloring is often added to create a vibrant scarlet red color.
These cupcakes are velvety due to the fine crumb with a buttery flavor. Paired with lightly sweet whipped cream cheese frosting, these red velvet cupcakes are a winner!
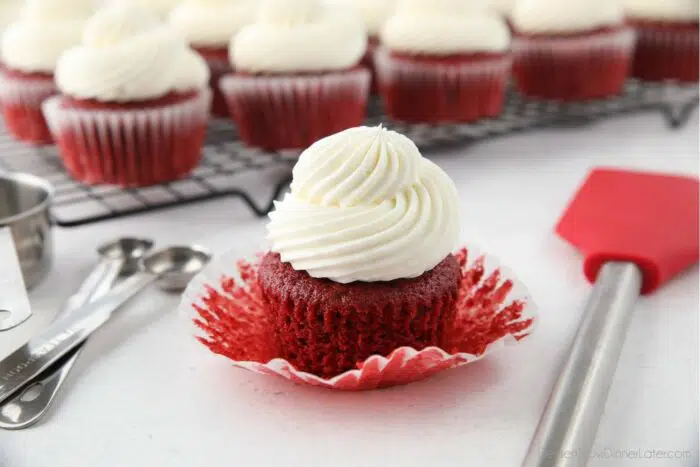
Ingredients in Red Velvet Cupcakes
To make this red velvet cupcake recipe, you’ll need some basic ingredients. Most of these ingredients should be in your pantry, but I’ll tell you how to make some substitutions, if needed.
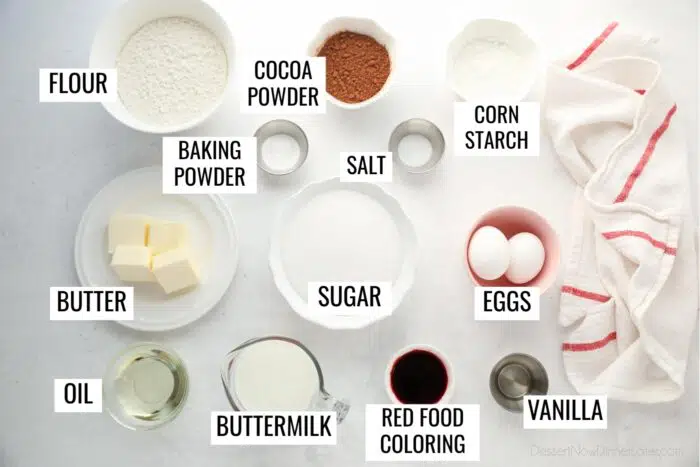
- All-Purpose Flour – You don’t need to have cake flour to make these cupcakes. Make sure to stir the flour to incorporate air, then spoon it into the cup and level it off. You will also be sifting the dry ingredients together to help create that velvety fine crumb. NOTE: If you do have cake flour, use it in place of the all-purpose flour and cornstarch.
- Cocoa Powder – For the subtle chocolate flavor. Standard cocoa or dutch processed works great.
- Corn Starch – Corn starch helps inhibit the formation of some of the gluten in all-purpose flour. It’s a great hack if you don’t have cake flour. Don’t want to use corn starch? You can use extra all-purpose flour in its place, but it does help create the velvety texture you want in red velvet cake, without cake flour.
- Baking Powder – Leavens the cake making it rise. Double acting baking powder is most common. This means it will start reacting when the wet ingredients are added, and then again with the heat of the oven.
- Salt – To intensify flavors.
- Butter – For a great tasting cake. Use unsalted butter. (It’s best to control the amount of salt, by adding it separately.) Make sure the butter is at room temperature to help the ingredients combine well together.
- Granulated Sugar – Sweetens the cake. If you want to enhance the fine crumb, you can pulse granulated sugar in the food processor until it’s super fine, but not powdery. (Doing this would be making your own caster sugar.)
- Eggs – Large eggs are best for baking. The size does make a difference. Eggs help leaven and create structure. Also, make sure to let the eggs come to room temperature so they don’t harden the butter in the batter, making it look curdled or chunky.
- Oil – Adds moisture to the cake. Butter alone tastes good, but adding oil makes the cake moist. Use both.
- Buttermilk – Is a fermented milk that is thicker than regular milk, but thinner than cream, with a slight tang. The acid in buttermilk helps tenderize gluten, making the cake light and fluffy. (See below for a substitute.) Let this come to room temperature before using it, for the same reasons as the eggs.
- Red Food Coloring – 1 whole Tablespoon of liquid food coloring is used in this recipe. (Half of a 1-oz bottle. You can use the whole bottle if you want to.) You won’t need quite as much food coloring if using gel paste; maybe two to three good drops or swipes into the batter with a toothpick.
- Vanilla – Pure vanilla extract is used to enhance the flavors. I used clear vanilla to try and keep the color light, but it’s not necessary.
No buttermilk? You can still make Red Velvet Cupcakes without buttermilk by mixing 1 cup of regular milk with 1 Tablespoon of distilled white vinegar or lemon juice. Let it sit for 5-10 minutes before using it so that it curdles.
Red Velvet Chemical Reaction – Vinegar!
You might have thought I forgot about one of the most important ingredients in this cake – vinegar!
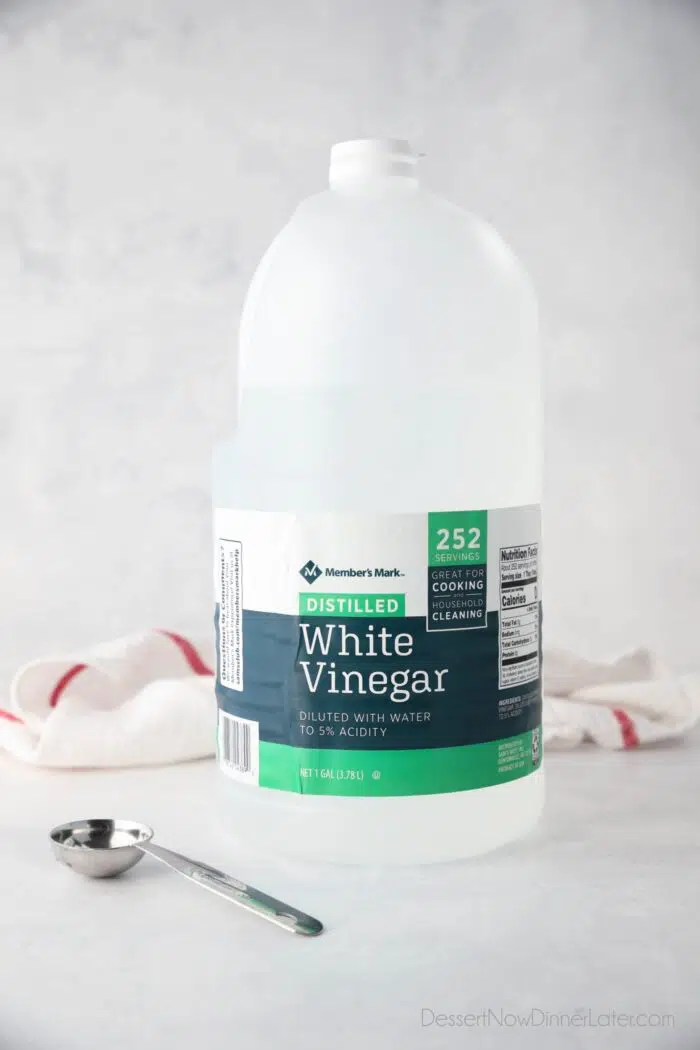
Red Velvet Cupcakes have double the acid with buttermilk AND vinegar. They both contribute to the signature tang of red velvet cake, but also react with the cocoa powder (which contains anthocyanin, a pH-sensitive antioxidant that reacts to acids) to create a red hue.
To get the gorgeous bright red color you see in most red velvet cakes, you will still need to add red food coloring.
That chemical reaction between the acid and cocoa is what makes it “red velvet.” You really do need the cocoa in it for it to be a red velvet cake and not just a white cake, colored red.
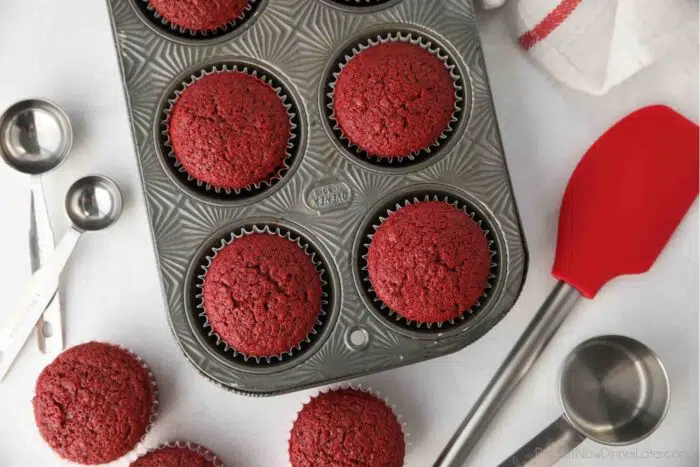
Sifting the Dry Ingredients
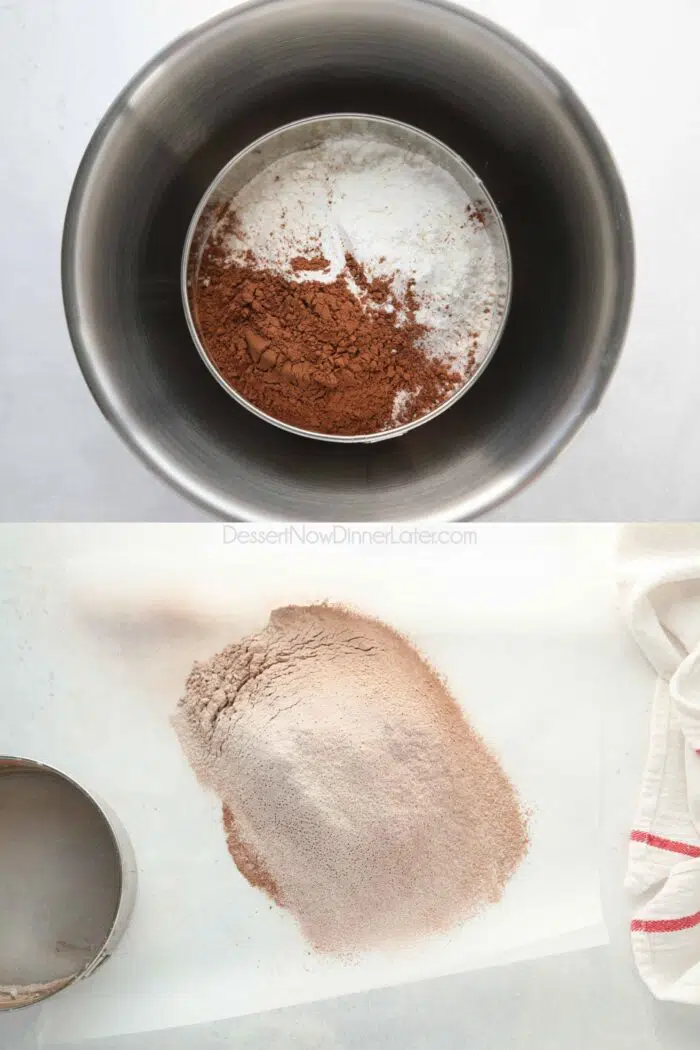
To make these cupcakes as fine and velvety as possible, you need to sift the dry ingredients: flour, cocoa powder, cornstarch, baking powder and salt.
Do this twice to really mix them together well and incorporate lots of air.
PRO TIP: I like to sift my dry ingredients onto parchment paper to create a funnel for pouring into the mixer later on.
How to make Red Velvet Cupcakes
It is very easy to make these red velvet cupcakes with a stand mixer or an electric hand mixer and bowl.
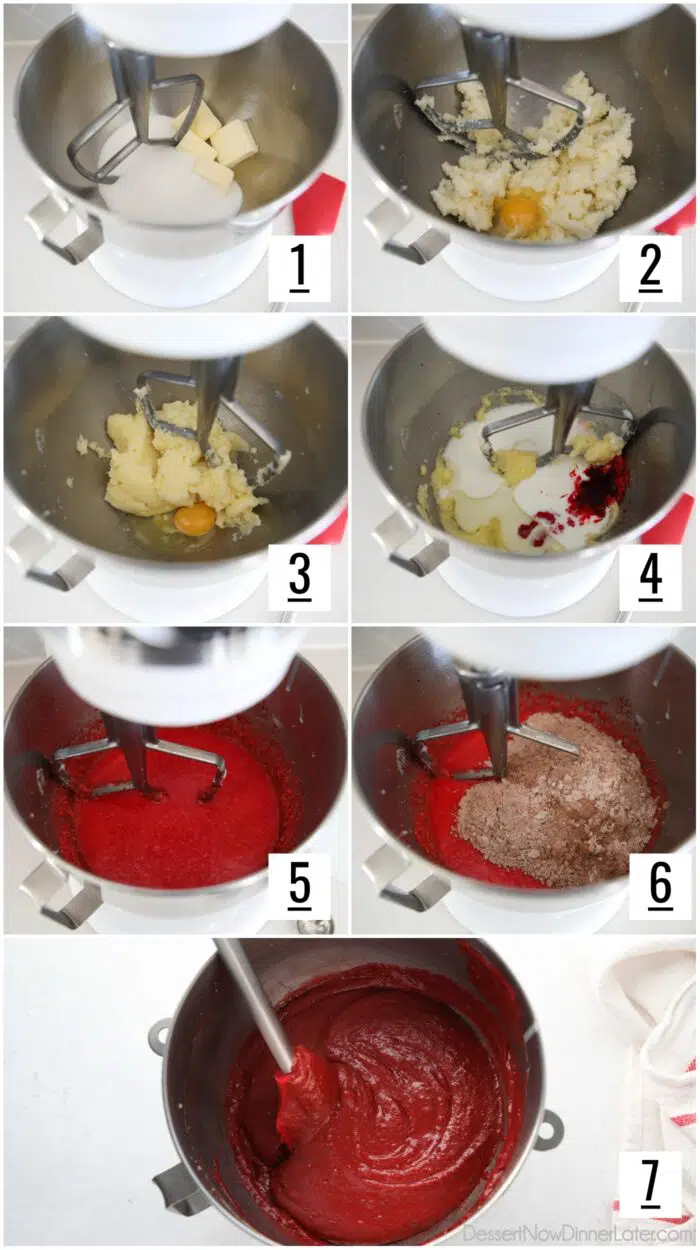
- Place butter and sugar in a stand mixer. Cream until fluffy and light; a pale yellow, almost white color.
- Add one egg, and mix until incorporated.
- Add the other egg and mix until incorporated. (Mixing the eggs separately helps them emulsify correctly.)
- Add the oil, buttermilk, red food coloring, vinegar and vanilla.
- Mix until combined. Scrape bowl.
- Add the dry ingredients.
- Mix until just incorporated. Do not over-mix.
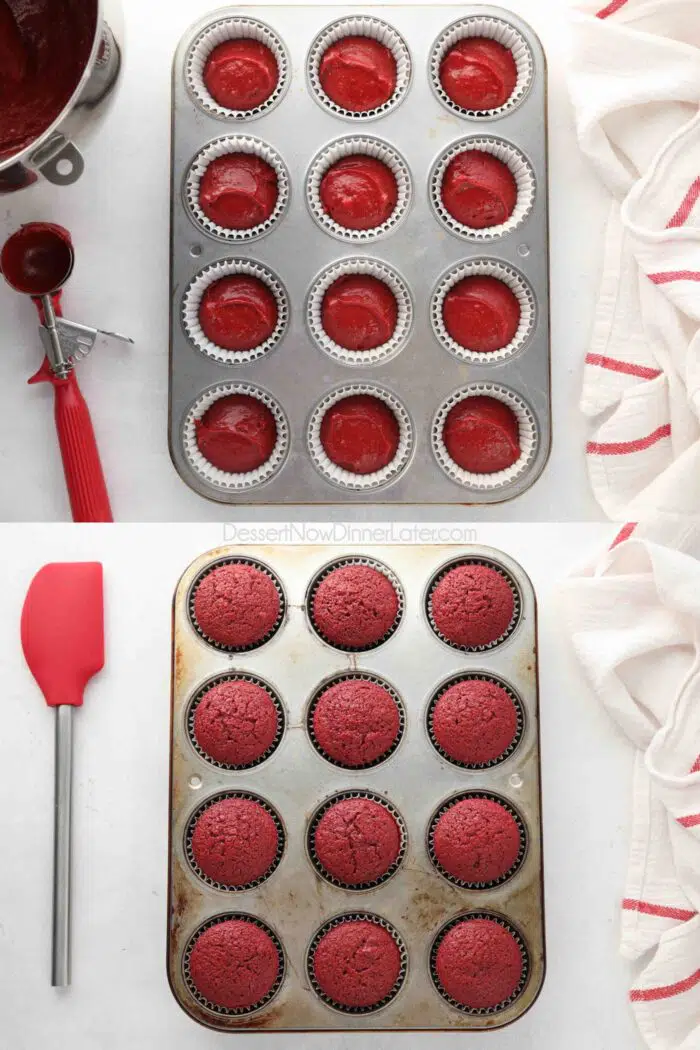
- Immediately spoon batter into cupcake lined muffin tins and bake at 350 degrees for 20 minutes.
Cream Cheese Frosting
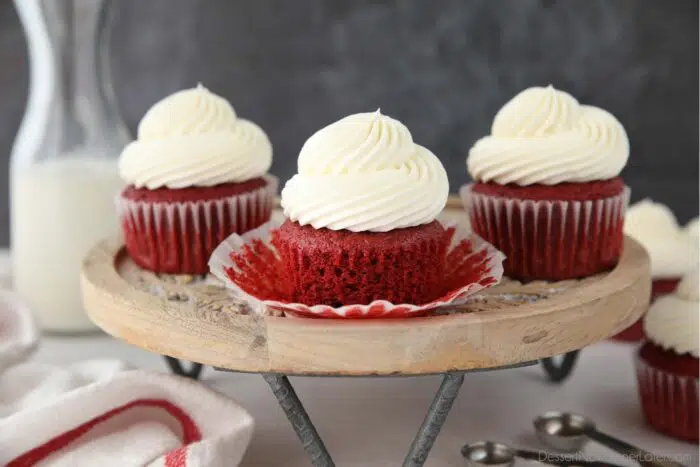
You can’t have red velvet cupcakes without cream cheese frosting.
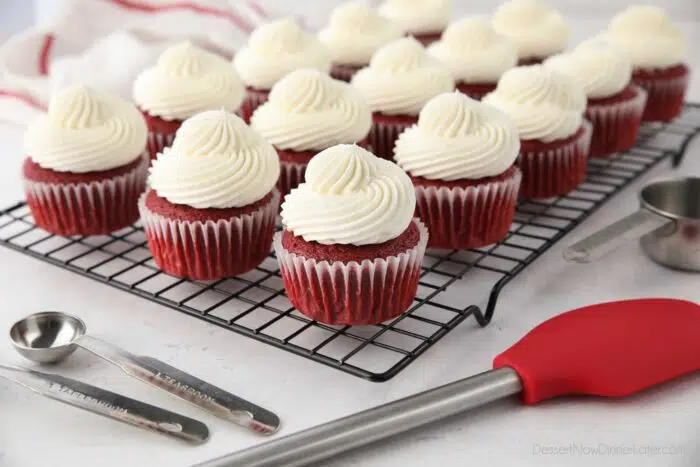
You can find my classic cream cheese frosting recipe right here on my blog. As this recipe makes 20 cupcakes, you will most likely need to 1.5-2x the recipe in order to pile it high, as pictured.
I opted to use my whipped cream cheese frosting for these cupcakes. It makes plenty of frosting and tastes just as delicious, if not better, and is certainly lighter than regular cream cheese frosting.
Baking Tips and Storage
Sift the dry ingredients. Since we are using all-purpose flour instead of cake flour in this red velvet cupcakes recipe, I highly recommend sifting the dry ingredients — twice. This can be done with any fine mesh sieve. I love using this 6-inch round sifter.
Sifting the dry ingredients will help distribute things better and create a lighter, fluffier cupcake. Be sure to stir, spoon, and level the flour when it’s measured as well, so that it’s not packed into the measuring cup.
Use room temperature ingredients. For the batter to come together correctly, the refrigerated ingredients must come to room temperature. Pull them from the fridge 30-60 minutes before using them.
Use a scoop for filling the cupcake liners. I like to use a #24 scoop to fill the cupcake liners about 2/3 full. This creates consistently sized cupcakes and ensures the cupcakes will all bake evenly.
Store leftover red velvet cupcakes in an airtight container in the refrigerator up to 3 days. Remove leftover cupcakes from the fridge 20-30 minutes before consuming to take the chill off the cake.
Freeze cupcakes wrapped in plastic wrap (in groups of up to 6, or individually) inside of an airtight container or freezer bag for up to 2 months. Defrost at room temperature.
If freezing with the frosting on top, partially freeze cupcakes until firm enough to wrap individually. Then place in an airtight container to freeze completely. Remove plastic wrap and thaw in the fridge overnight or at room temperature for 1-2 hours.
More Red Velvet Desserts
- Red Velvet Cake Roll
- Red Velvet Brownies Recipe
- Mini Red Velvet Cheesecake
- Red Velvet Truffles
- Red Velvet White Chocolate Chip Cookies
- Red Velvet Waffles
- Red Velvet Skillet Cookie
- Red Velvet Blossoms
- Red Velvet Cheese Ball
Red Velvet Cupcakes
Ingredients
- 1 ¾ cups (210 g) all-purpose flour
- ⅓ cup (27 g) cocoa powder
- ¼ cup (40 g) cornstarch
- 1 ½ tsp baking powder
- ½ tsp salt
- ½ cup (113 g) unsalted butter, (1 stick) room temperature
- 1 ½ cups (300 g) granulated sugar
- 2 large eggs, room temperature
- ¼ cup (59 ml) oil, (canola/vegetable)
- 1 cup (237 ml) buttermilk, room temperature
- 1 Tbsp red food coloring, (half of a 1-oz bottle)
- 1 Tbsp distilled white vinegar
- 1 tsp vanilla extract
Instructions
- Preheat oven to 350 degrees Fahrenheit. Line muffin tins with paper cupcake liners. Set aside.
- Sift the flour, cocoa powder, corn starch, baking powder, and salt, TWICE, with a fine mesh sieve.
- In the bowl of a stand mixer with the paddle attachment, cream the butter and sugar until fluffy and pale.
- Add eggs one at a time, mixing completely between each addition.
- Add the oil, buttermilk, red food coloring, vinegar, and vanilla. Mix to combine. Scrape bowl.
- Add the dry ingredients to the wet ingredients in mixer. Mix until just combined. Do not over-mix!
- Use a #24 scoop to divide batter into cups. Will make 20 cupcakes.
- Bake at 350˚F for 20 minutes or until a toothpick inserted into the center comes out clean or with a few moist crumbs and the cake springs back when touched. Allow to cool completely before frosting. I used my Whipped Cream Cheese Frosting recipe.
Notes
- To make buttermilk: Stir together 1 cup of plain milk with 1 Tablespoon of white vinegar. Let sit for 5-10 minutes, until curdled. Use the entire mixture for the recipe.
- Store leftover red velvet cupcakes in an airtight container in the refrigerator up to 3 days. Remove leftover cupcakes from the fridge 20-30 minutes before consuming to take the chill off the cake.
- Freeze cupcakes wrapped in plastic wrap (in groups of up to 6, or individually) inside of an airtight container or freezer bag for up to 2 months. Defrost at room temperature.
- If freezing with the frosting on top, partially freeze cupcakes until firm enough to wrap individually. Then place in an airtight container to freeze completely. Remove plastic wrap and thaw in the fridge overnight or at room temperature for 1-2 hours.
Nutrition
Did you make this?
Don’t forget to leave a rating below and make sure to follow on Pinterest and Instagram for more!
Recipe altered from allrecipes
*Originally published 12/7/11.



Hey! I was wondering if the batter will be either thick or thin? I want to achieve super fully cupcakes. Any tips on how I can get that texture?
The batter should be on the thicker side. Be sure to fill the cups 2/3-3/4 full.