Chocolate Peppermint Crinkle Cookies
Chocolate Peppermint Crinkle Cookies are made easy with a cake mix! They’re soft, fudgy and brownie-like with crunchy peppermint candy cane bits. No chill time required — just make and bake these delectable Christmas cookies.
Want to make it from scratch? Use my double chocolate crinkle cookies recipe and add the peppermint extract and candy cane bits from this recipe.
Why You’ll Love this Recipe
Making chocolate peppermint crinkle cookies can be a delightful and festive choice for various reasons. Here are a few:
Save This recipe
Enter your email below to get a link to this recipe emailed straight to you to save later! Plus be signed up for all new recipes.
- Only 7 Ingredients: This Christmas cookie is so FAST to pull together! 7 ingredients might still sound like a lot, but when it starts with a cake mix, it’s really minimal extras. Especially when two of of those ingredients are different sugars that you roll the cookies in.
- Holiday Flavors: Chocolate and peppermint is a classic and beloved flavor combination. The rich, chocolatey base of the cookie contrasts beautifully with the cool and refreshing taste of peppermint. Technically you can use peppermint candies to make these year round, but using candy canes gives them a festive and wintery appeal, making them perfect for holiday gatherings and parties.
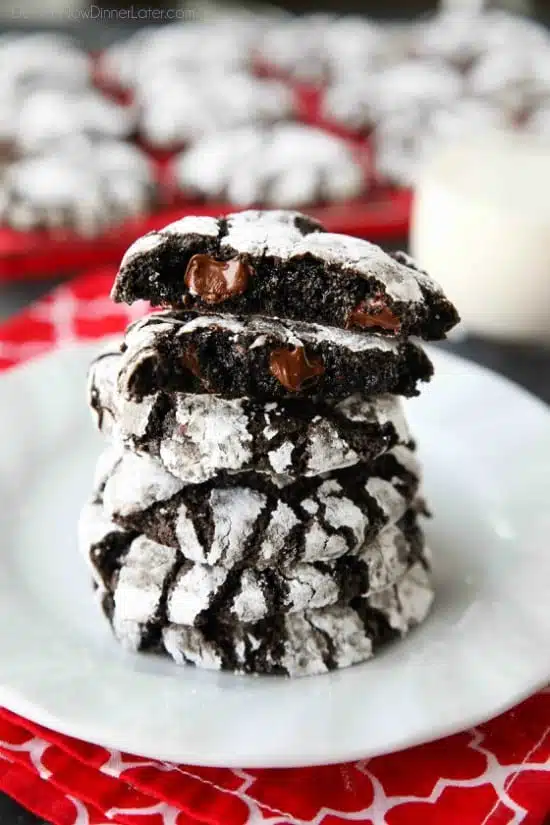
- Aesthetically Pleasing: The characteristic crinkle effect on these cookies, where the powdered sugar coating cracks during baking, creates a visually appealing contrast between the dark cookie and the white crinkles. This makes them not only tasty, but also the prettiest cookie on the dessert platter or at the cookie exchange.
Chocolate Peppermint Crinkle Cookies
I tested these cake mix crinkle cookies twice. The first time I chilled the dough, like I do for my homemade chocolate crinkles, and they didn’t crack on top at all.
The second time I baked them straight away and they turned out perfectly with beautiful cracks on top. I definitely enjoyed the time saving hack of using the cake mix as well.
These chocolate peppermint crinkles are amazingly thick, soft, and moist. I especially liked the crunchy peppermint pieces with the brownie-textured chocolate cookie. You’re going to love them too!
Ingredients
There’s only 7 simple ingredients needed to make these peppermint chocolate crinkle cookies.
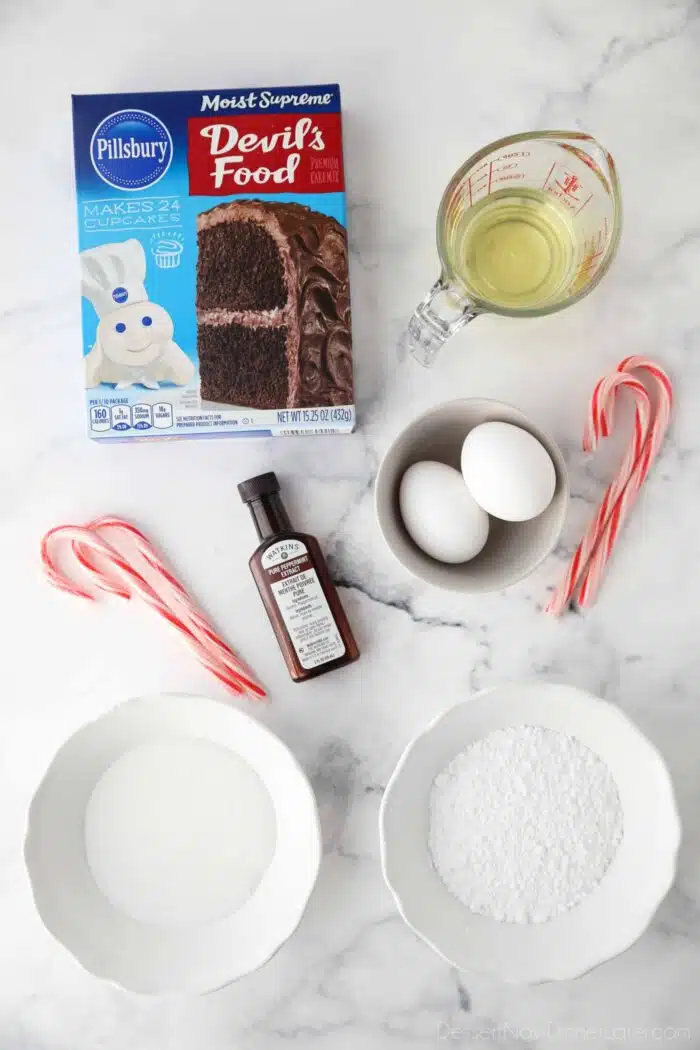
- Devil’s Food Cake Mix – NOTE: The size of boxed cake mix is continually shrinking. If you cannot find the size needed, use a kitchen scale (affiliate) and add extra flour until the weight matches 15.25 oz. (Pillsbury cake mix is the only brand still offering this size currently. — Nov. 2023)
- Oil – Canola, vegetable, or any other neutral tasting oil works great.
- Eggs – Large eggs work best for baking.
- Peppermint Extract – For flavoring the cookie dough.
- Peppermint Candy Canes – For extra peppermint flavor and crunchy bits.
- Granulated Sugar – Helps the powdered sugar stick to the cookie dough better without absorbing.
- Powdered Sugar – Creates a beautiful contrast between the chocolate cookie when it cracks.
Don’t like peppermint? Use mint extract and add Andes creme de menthe baking chips instead to make mint chocolate crinkle cookies.
How to Make Chocolate Peppermint Crinkle Cookies
NOTE: I’ve pictured an electric hand mixer here, but it’s much wiser to use a stand mixer. The batter is VERY thick. You can start mixing the dough with a hand mixer, but you will need to switch to mixing by hand with a sturdy spatula once it thickens up.
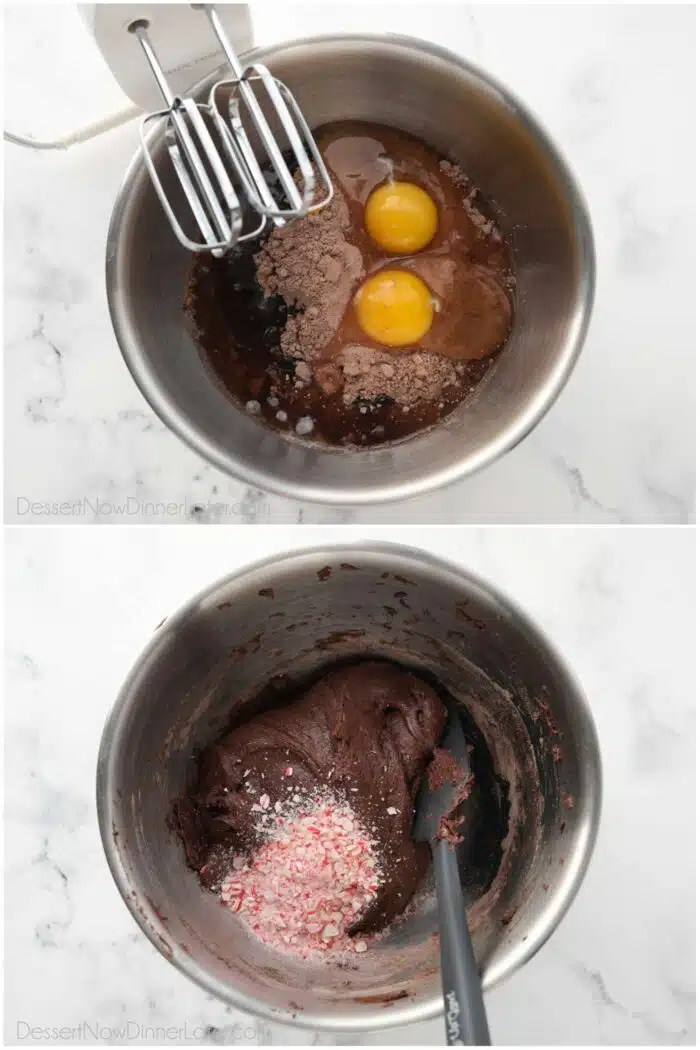
- Mix together the cake mix, oil, eggs, and peppermint extract in a STAND MIXER with the paddle attachment. (Please don’t break your electric hand mixer, this batter is thick!)
- Add crushed candy canes. Mix or fold to combine.
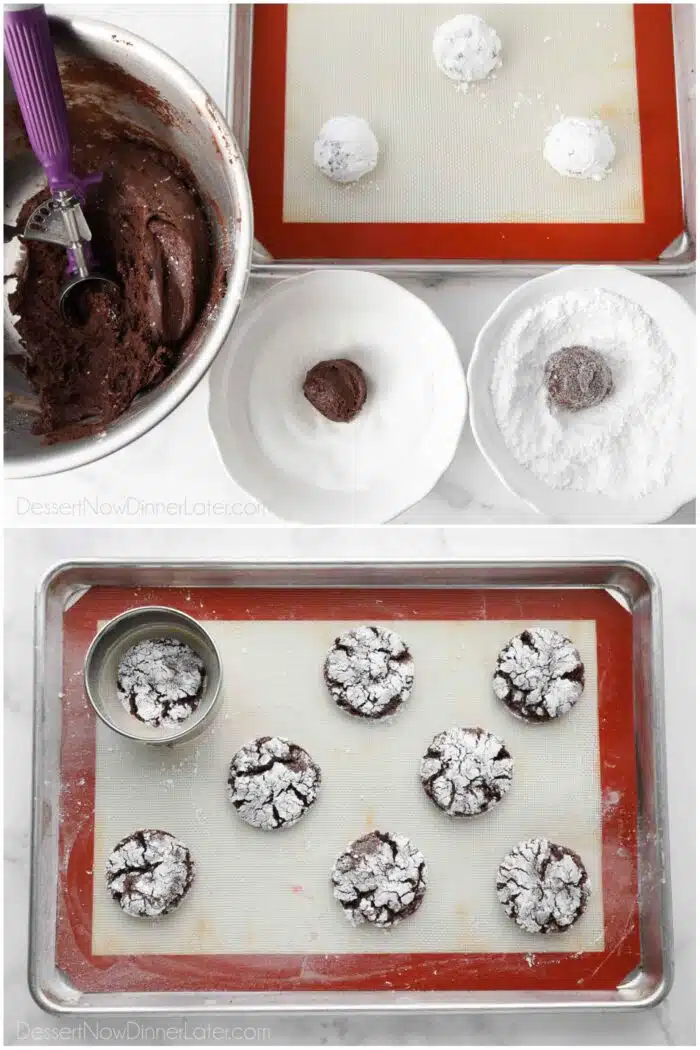
- Put granulated sugar and powdered sugar into two separate bowls. Using a #40 scoop or your hands, roll 1.5-inch balls. Coat them lightly with granulated sugar, and then generously with powdered sugar. Place the cookies several inches apart on the prepared baking sheets.
- Bake at 350˚F for 9-11 minutes until cookies have spread, cracked and look done. They will be moist still, but the trick is that they have spread on their own without you pushing them down. TIP: Use a round cookie cutter to swirl around the edges of the cookies while still hot, to help shape the cookies. Helps especially if the candy cane bits have melted out the side. Cool completely.

Storing and Freezing
- Store cookies flat inside of an airtight container with parchment paper between layers. These cookies will last 3-4 days at room temperature.
- To Freeze: Shape cookie dough balls and freeze for 1 hour, then transfer to a zip-top freezer bag and freeze for up to 3 months. When you’re ready to bake, thaw the cookie dough balls on the counter for 30 minutes. Then roll the balls in granulated sugar and powdered sugar, and bake as instructed.
- Baked cookies do not freeze well because the powdered sugar will absorb into the cookie and they won’t look as pretty. If that doesn’t bother you, you can freeze the cookies inside of an airtight container with parchment paper between layers for up to 3 months. Thaw at room temperature before consuming.

More Christmas Cookies
- Cherry Chocolate Chip Cookies (red cookies)
- Pistachio Pudding Cookies (green cookies)
- Peanut Butter Blossoms
- Meltaway Cookies
- Raspberry Thumbprint Cookies
- Chocolate Peppermint Cookies
- Turtle Thumbprint Cookies
- Snowball Cookies
- Christmas Cornflake Wreaths
If You Make This Recipe, Please Rate and Review it in the Comments Below. THANKS!

Chocolate Peppermint Crinkle Cookies
Ingredients
- 15.25 oz (432 g) box devil's food cake mix, *See notes regarding size of boxed mix
- ⅓ cup (80 ml) oil, canola/vegetable
- 2 large eggs
- ½ tsp peppermint extract, this is different than mint extract
- 4 peppermint candy canes, crushed (1/4 cup)
- ¼ cup (50 g) granulated sugar, for rolling
- ¼ cup (30 g) powdered sugar, for rolling
Equipment
Instructions
- Preheat oven to 350℉. Line sheet trays with parchment paper or a silicone baking mat.
- Unwrap candy canes and place inside of a zip-top bag. Use the flat side of a meat mallet or a rolling pin to crush candy canes into small crumbs.
- Mix together the cake mix, oil, eggs, and peppermint extract in a STAND MIXER with the paddle attachment. (Please don't break your electric hand mixer, this batter is thick!)
- Add crushed candy canes. Mix or fold to combine.
- Put granulated sugar and powdered sugar into two separate bowls. Using a #40 scoop or your hands, roll 1.5-inch balls. Coat them lightly with granulated sugar, and then generously with powdered sugar. Place the cookies several inches apart on the prepared baking sheets.
- Bake at 350˚F for 9-11 minutes until cookies have spread, cracked and look done. They will be moist still, but the trick is that they have spread on their own without you pushing them down. TIP: Use a round cookie cutter to swirl around the edges of the cookies while still hot, to help shape the cookies. This is especially helpful if the candy cane bits have melted out the side. Cool completely.
Notes
- NOTE: The size of boxed cake mix is continually shrinking. If you cannot find the size stated, use a kitchen scale and add extra flour until the weight matches 15.25-oz.
- Store cookies flat inside of an airtight container with parchment paper between layers. These cookies will last 3-4 days at room temperature.
- To Freeze: Shape cookie dough balls and freeze for 1 hour, then transfer to a zip-top freezer bag and freeze for up to 3 months. When you’re ready to bake, thaw the cookie dough balls on the counter for 30 minutes. Then roll the balls in granulated sugar and powdered sugar, and bake as instructed.
- Baked cookies do not freeze well because the powdered sugar will absorb into the cookie and they won't look as pretty. If that doesn't bother you, you can freeze the cookies inside of an airtight container with parchment paper between layers for up to 3 months. Thaw at room temperature before consuming.
Nutrition
Did you make this?
Don’t forget to leave a rating below and make sure to follow on Pinterest and Instagram for more!
*Originally published 12/11/2011. Post updated November 2023.












The photos were just perfect! The instructions are easy to follow (with a LOT of hints and helpful notes!) Thank you for the work you put into this!
Can’t wait to try them!
Will mix by hand as I don’t have a stand mixer!
Thanks for your kind words JoDee! I do try and make my posts as helpful as possible, so I’m glad you found were able to find good use of the information I shared. Hope you enjoy the cookies!
It will depend on which brand of cake mix and cool whip that you use. I like to use the MyFitnessPal app to compute recipes and configure calories.