Stabilized Whipped Cream + Video
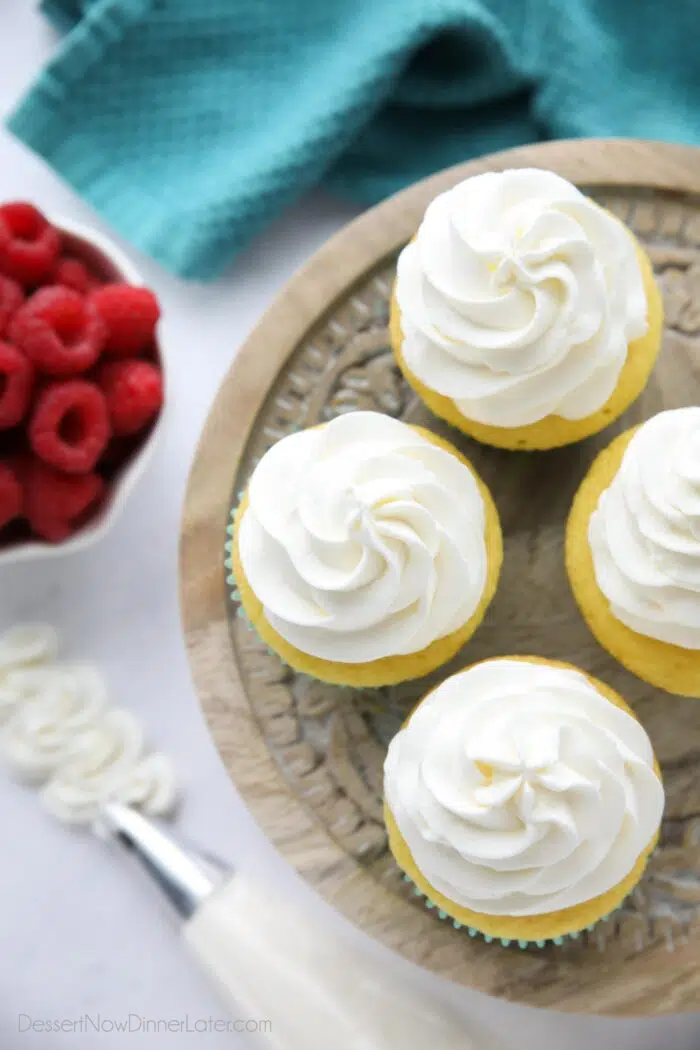
Stabilized Whipped Cream with gelatin is the best way to create long lasting whipped cream. Perfect for frosting cupcakes, cake decorating, topping pies, cheesecakes, or other desserts, and is a great alternative to Cool Whip.
If you want stabilized whipped cream without gelatin, you can make stabilized whipped cream with pudding, or make cream cheese whipped cream frosting instead.
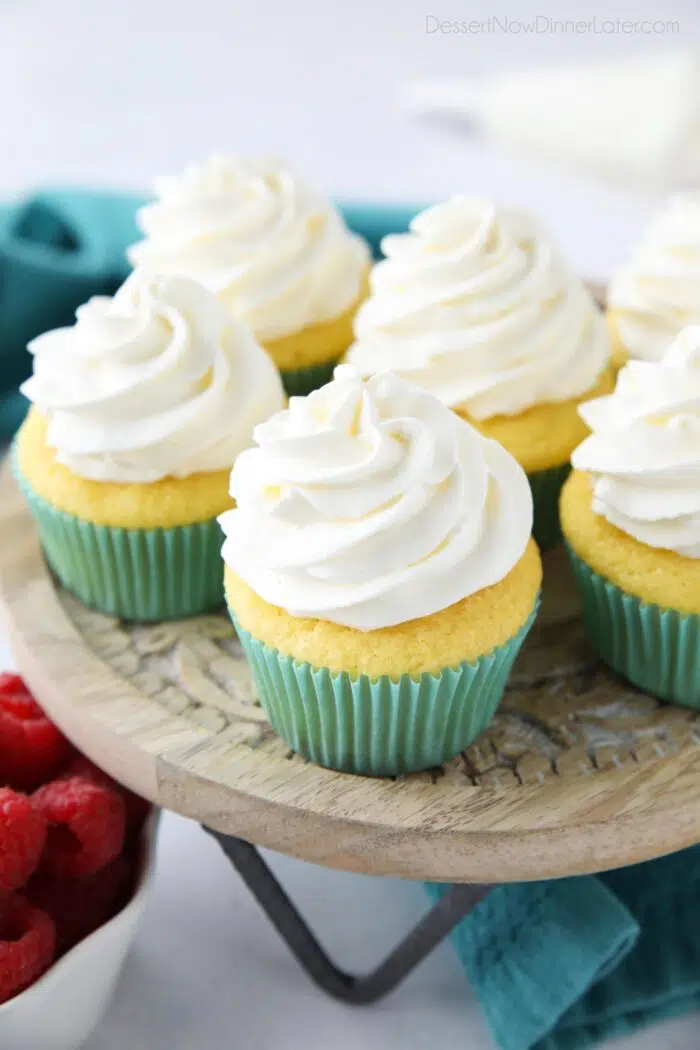
What is stabilized whipped cream?
Stabilized whipped cream is made with a thickener (gelatin, pudding, cornstarch, cream of tartar etc.) to stabilize the cream so it won’t deflate.
Save This recipe
Enter your email below to get a link to this recipe emailed straight to you to save later! Plus be signed up for all new recipes.
Is it necessary? That depends on what you are making.
In short, if you want the cream to hold its shape, then you need to stabilize it. Otherwise it will deflate over time and may even weep (get watery).
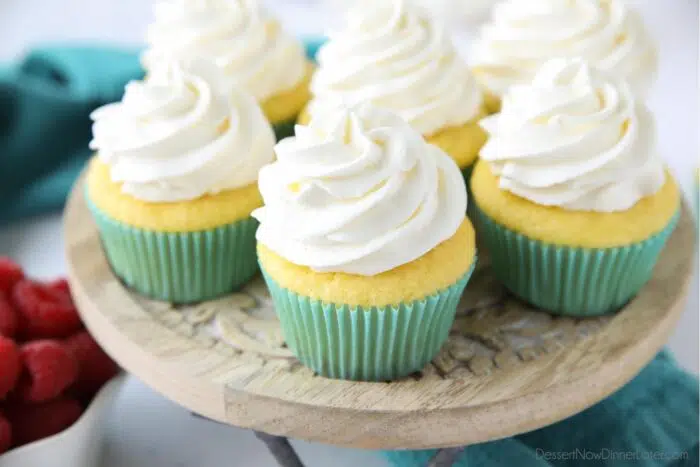
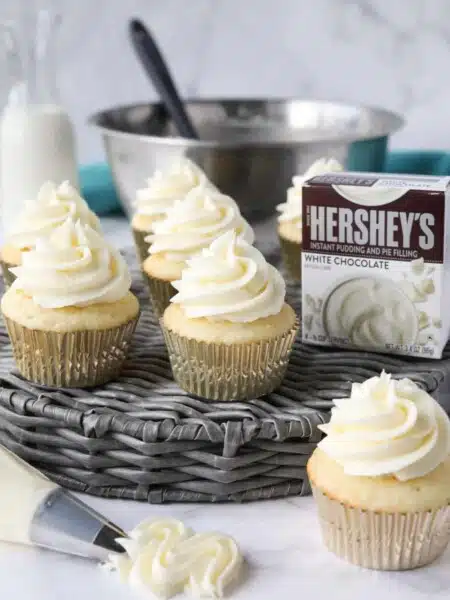
Stabilized whipped cream is great for piping and decorating cakes and cupcakes, or topping cheesecakes, pies, tarts, etc. It adds a bit of elegance to every dessert.
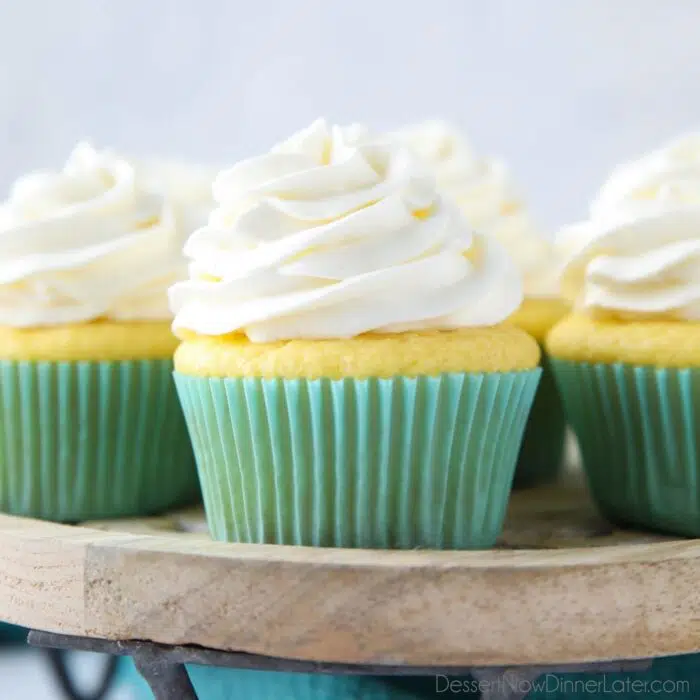
What is the difference between stabilized whipped cream and regular whipped cream?
The only difference between regular whipped cream and one that has been stabilized, is the addition of a thickener.
Sweetened homemade whipped cream typically has heavy whipping cream, powdered sugar, and vanilla.
Stabilized whipped cream adds unflavored gelatin to make the cream more sturdy for piping. It will literally hold its shape for days — even in hot weather (as long as you keep it in the shade and for no more than 2 hours).
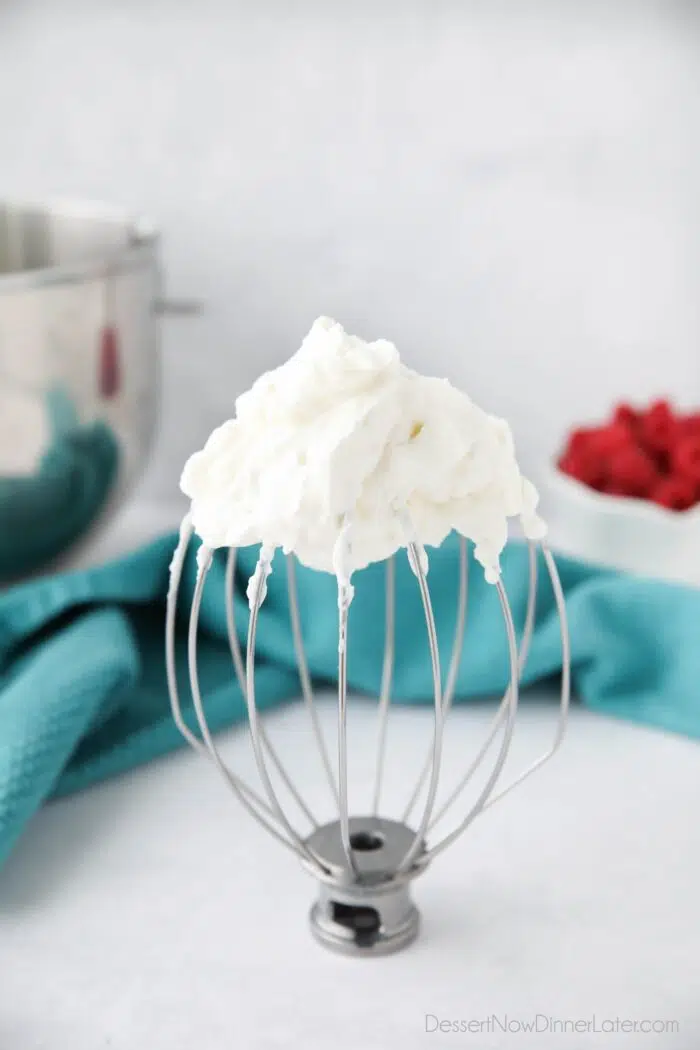
Alternative to Cool Whip
If you have a recipe that calls for Cool Whip (aka whipped topping), you can make your own homemade whipped cream instead.
Technically you can leave out the gelatin. But if you are making a layered dessert, or piping it at all, you will want to make stabilized whipped cream.
It’s one extra step for a much more reliable whipped topping. Let me show you just how easy it is to make!
Ingredients
To make stabilized whipped cream you will need:
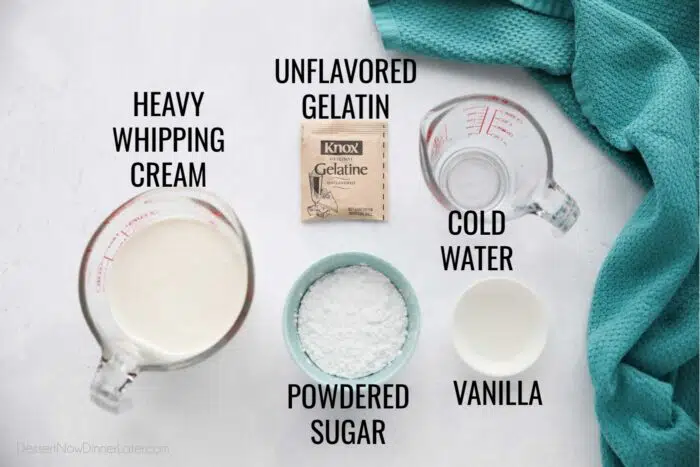
- Unflavored Gelatin – This is found in the aisle with the Jello and pudding mixes. It usually comes in a box of four packets.
- Cold Water – To bloom the gelatin. The gelatin will absorb the water and dissolve the granules.
- Heavy Whipping Cream – Or any heavy cream with at least 36% fat.
- Powdered Sugar – To sweeten the cream. This can be adjusted to your taste. You can always use less, but I wouldn’t add much more, or it may not whip as well.
- Vanilla Extract – You can leave this out if you want to. It just adds extra flavor. I used pure clear vanilla.
Blooming the Gelatin
To make stabilized whipped cream, first you will bloom the gelatin.
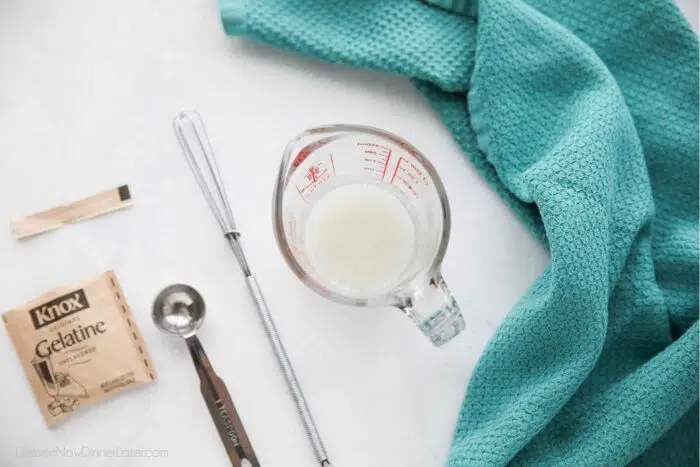
Place cold water in a microwave safe dish (preferably one with a pourable spout) and sprinkle the gelatin over the water. Whisk/stir together and set aside for 5 minutes to absorb and solidify.
How to Make Stabilized Whipped Cream
Next you will begin whipping the cream.
NOTE: Cream whips better with with cold ingredients and cold equipment. Chill the bowl and whisk/beaters in the fridge for 5-10 minutes before getting started.
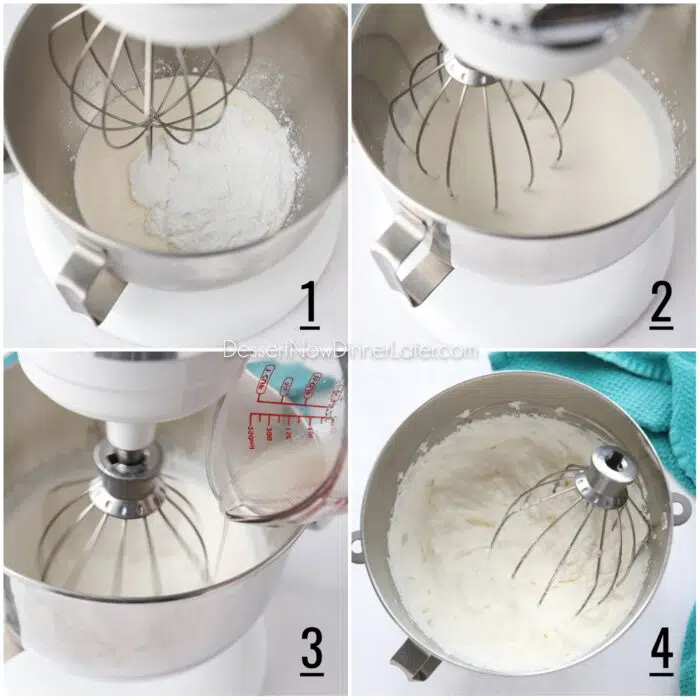
- Place heavy cream, powdered sugar and vanilla extract in the bowl of a stand mixer.
- Using the whisk attachment, beat until mixture is thickened, but not quite soft peaks.
- Nuke gelatin in microwave for 5-10 seconds to melt it. Whisk/stir briefly until smooth. Make sure it’s warm, but not too hot. Drizzle the gelatin into the cream while the mixer is running on low speed. (It’s important to do this slowly to avoid lumps.)
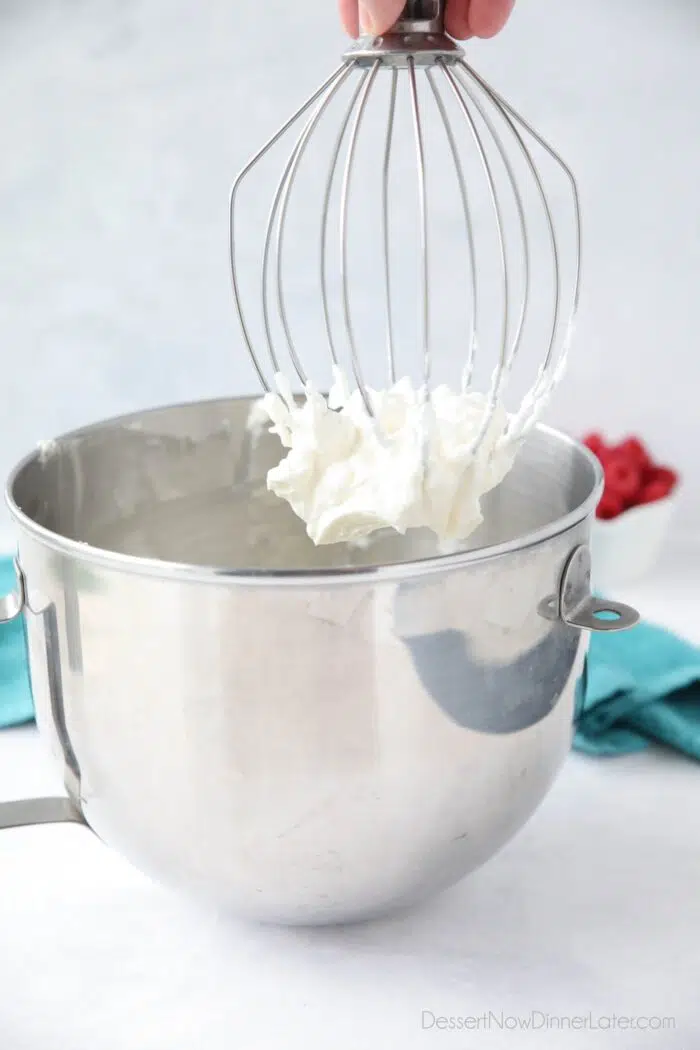
- Slowly increase speed to medium-high and whip until stiff peaks form. (Just until it starts to look thick and leaves trails from the whisk. Do not over-mix or it will curdle and turn into butter. Keep a close eye on it.)
NOTE: When nuking the gelatin, you want it warm enough that it doesn’t solidify when it hits the cold cream. But not so hot that it deflates it. Gelatin melts rather quickly and will be clear when ready. It should take no more than 5-10 seconds in the microwave to liquify it. Do not overheat.
Uses and Storage
Once the cream has reached stiff peaks, it’s ready for piping and/or decorating. It’s best to use this whipped topping immediately as it becomes more sturdy as it sets.
Use stabilized whipped cream to top your favorite desserts or cakes. I actually had whipped cream frosting for my wedding cake because I like that it’s light and not too sweet. The possibilities are endless!
NOTE: You cannot use whipped cream underneath fondant, as it is too light and wet to support the weight of fondant.
How long does stabilized whipped cream last? In the refrigerator it will last for 4-5 days when stored in an airtight container.
You can freeze stabilized whipped cream after it’s been piped onto your dessert for up to two months, if wrapped well. But unfortunately, it cannot be used for spreading or piping after being frozen. It must be in its final state when going into the freezer.
More Frosting Recipes
- Pudding Frosting without whipped cream
- Cream Cheese Frosting
- Chocolate Cream Cheese Frosting
- Vanilla Buttercream Frosting Recipe
- Chocolate Buttercream
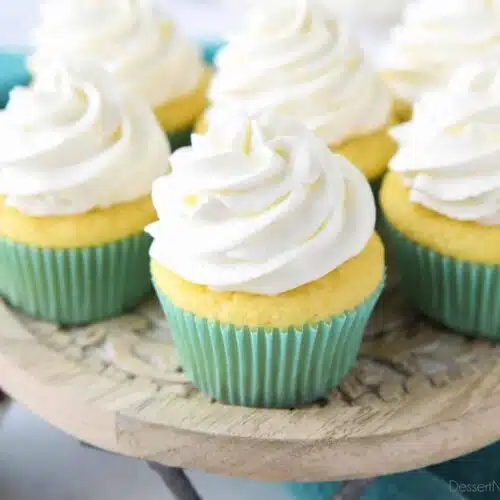
- Lemon Cream Cheese Frosting
- Strawberry Frosting with jam
Stabilized Whipped Cream
Ingredients
- 1 tsp unflavored gelatin
- 4 tsp cold water
- 1 ½ cups (355 ml) heavy whipping cream, cold
- ½ cup (60 g) powdered sugar
- 1 tsp vanilla extract
Instructions
- Chill bowl and whisk/beaters in fridge for 5-10 minutes.
- Place cold water in a microwave safe dish (preferably one with a pourable spout) and sprinkle the gelatin over the water. Whisk/stir together and set aside for 5 minutes to absorb and solidify.
- Place heavy cream, powdered sugar and vanilla extract in the bowl of a stand mixer.
- Using the whisk attachment, beat until mixture is thickened, but not quite soft peaks.
- Nuke gelatin in microwave for 5-10 seconds to melt it. Whisk/stir briefly until smooth. Make sure it’s warm, but not too hot. Drizzle the gelatin into the cream while the mixer is running on low speed. (It’s important to do this slowly to avoid lumps.)
- Slowly increase speed to medium-high and whip until stiff peaks form. (Just until it starts to look thick and leaves trails from the whisk. Do not over-mix or it will curdle and turn into butter. Keep a close eye on it.)
- If using to pipe or decorate cakes/cupcakes, use stabilized whipped cream immediately for best results. Store in an airtight container in the fridge for up to 4-5 days.
Video
Notes
- Yield: 3 ¼ cups which is equal to one 8-oz tub of Whipped Topping. It's enough frosting to cover a two-layer 8 or 9-inch cake or generously frost 12 cupcakes.
- Find unflavored gelatin in the aisle with the Jello and pudding mixes. It usually comes in a box of four packets.
- When nuking the gelatin, you want it warm enough that it doesn't solidify when it hits the cold cream. But not so hot that it deflates it. Gelatin melts rather quickly and will be clear when ready. It should take no more than 5-10 seconds in the microwave to liquify it. Do not overheat.
Nutrition
Did you make this?
Don’t forget to leave a rating below and make sure to follow on Pinterest and Instagram for more!






At which step could we add food coloring? If we can, should we reduce the amount of liquid somewhere to compensate?
Thanks!
You would add the food coloring to the heavy cream and stir it together before you whip it. You shouldn’t need to compensate any liquid since you really only need a small amount of food coloring to color it.
Thanks so much for sharing this tips…please to be on safer side, how many TSp of gelatin can I use for 500g of powdered whipped cream.
1 1/2 cups of cream is 357g. So if you had 500g of cream, you would need 1.4 tsp of gelatin. I would say 1 1/2 tsp would be just fine. Round up.