Sugar Cream Pie + Video
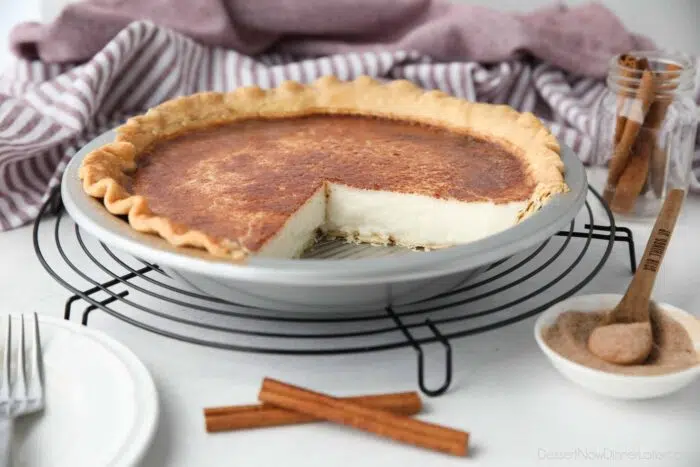
Sugar Cream Pie, aka Hoosier Pie, is made with an easy, egg-free vanilla custard inside of a flaky pastry crust. Don’t skip the sweet cinnamon and nutmeg topping!
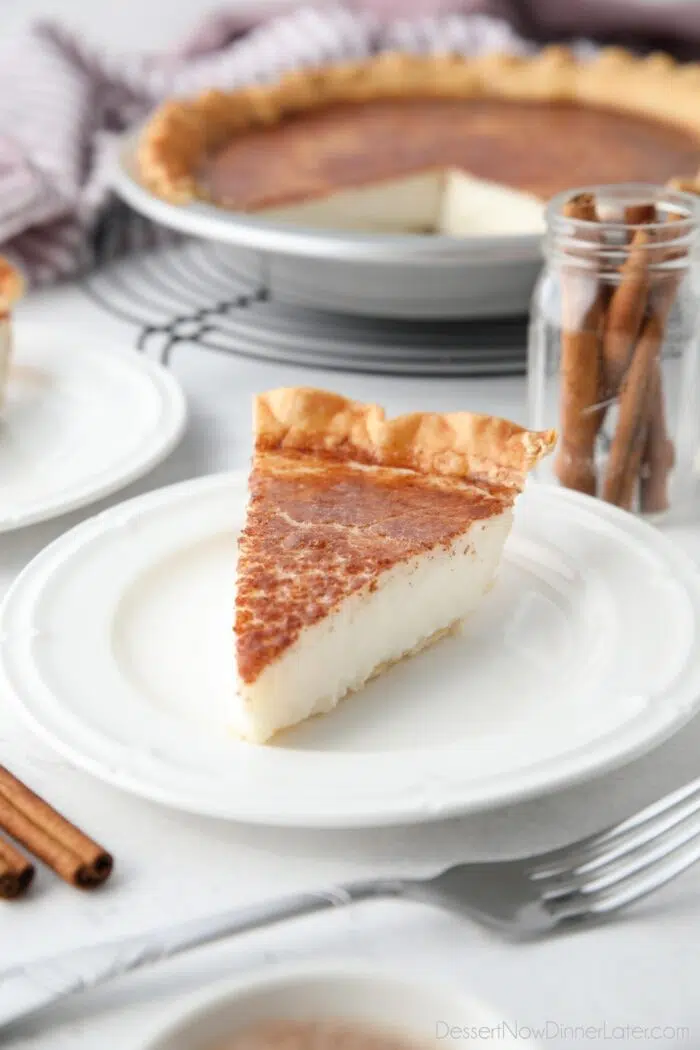
Where did Sugar Cream Pie originate?
Sugar cream pie is an old-fashioned recipe that’s been around since the mid-1800’s and originated from the Amish and Shaker communities of Indiana.
It was a pie made from basic ingredients that you’d have on-hand in the winter month’s when fresh fruit/nuts were unavailable. These humble ingredients included: flour, butter, sugar, and cream or milk.
Save This recipe
Enter your email below to get a link to this recipe emailed straight to you to save later! Plus be signed up for all new recipes.
What does sugar cream pie taste like?
Sugar cream pie is similar in taste to that of a crème brûlée, especially with the broiled topping. The filling is lightly sweet, and smooth like a custard, but is made without eggs.
In fact, the lack of eggs in this recipe is what distinguishes it from other custard pies. Giving the filling a pure, silky taste of cream and vanilla. Of course it’s not real Indiana Sugar Cream Pie without a sprinkle of nutmeg with the cinnamon on top. That’s essential.
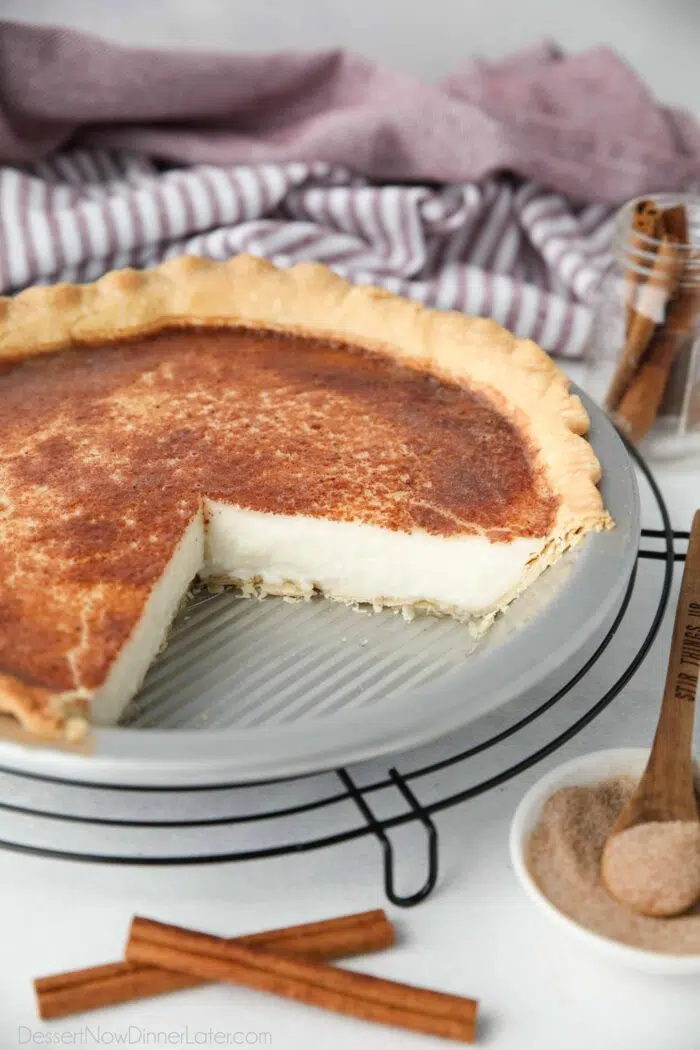
Indiana Hoosier Pie
In 2009, Hoosier Sugar Cream Pie was named the unofficial state pie of Indiana. (The term “Hoosier” refers to a native or inhabitant of Indiana.)
The most popular place to grab a slice of the state’s favorite pie is a bakery & cafe called Mrs. Wick’s that is famous for their sugar cream pies.
If you don’t live in or near Indiana like me, you can order Wick’s sugar cream pie from Goldbelly where they ship nationwide, but $65 for a pie is bit steep!
You can, and definitely should, make your own with this sugar cream pie recipe. It’s really easy, I promise!
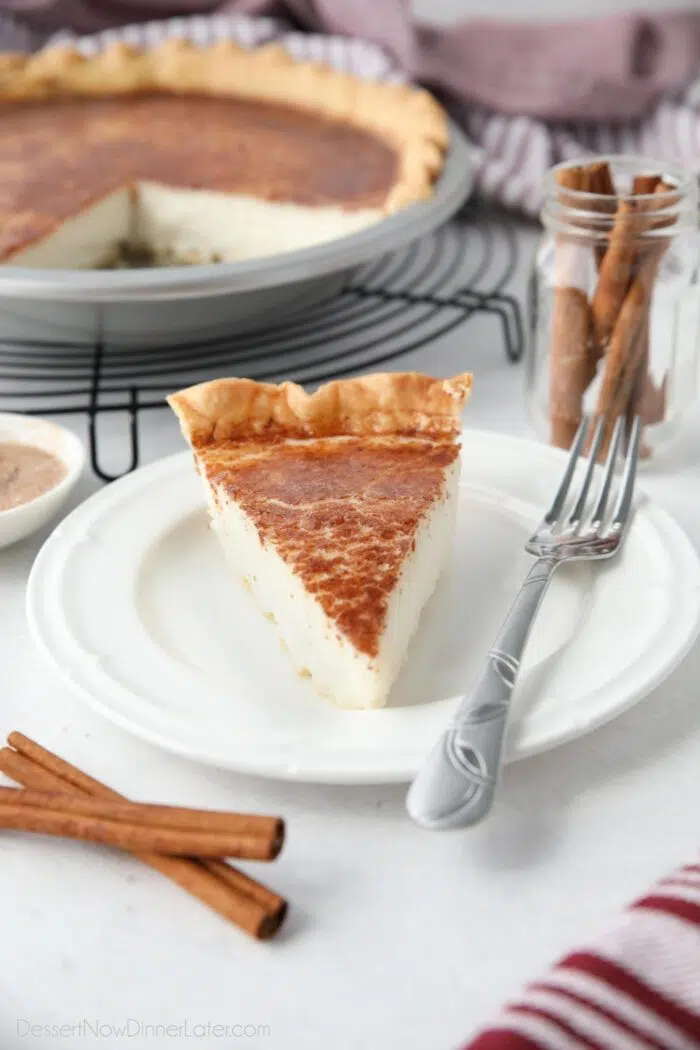
How to Make Sugar Cream Pie
The filling and crust for this sugar cream pie are made and cooked/baked separately. Then the pie is assembled and broiled for a few minutes to forge the topping. Last, the pie is refrigerated to set the filling completely.
NOTE: Exact measurements and instructions can be found in the printable recipe card below.
Blind Bake a Pie Crust
To get started, you will need to bake and cool a single 9-inch pie crust completely. You can check out my photo instructions on how to blind bake pie crust, if you’re not sure how that works.
You may use a store-bought refrigerated or frozen pie crust, if pastry is not your forte. There may be different instructions for how to bake an empty crust on the packaging, so go ahead and do what it is recommended on the packaging.
If you’d like to make a homemade crust you can try my perfect pie crust (made with shortening) that is pretty forgiving, or you can try and master an all-butter pie crust.
Make the Filling
After the crust is baked and cooling, it’s time to make the vanilla cream filling.
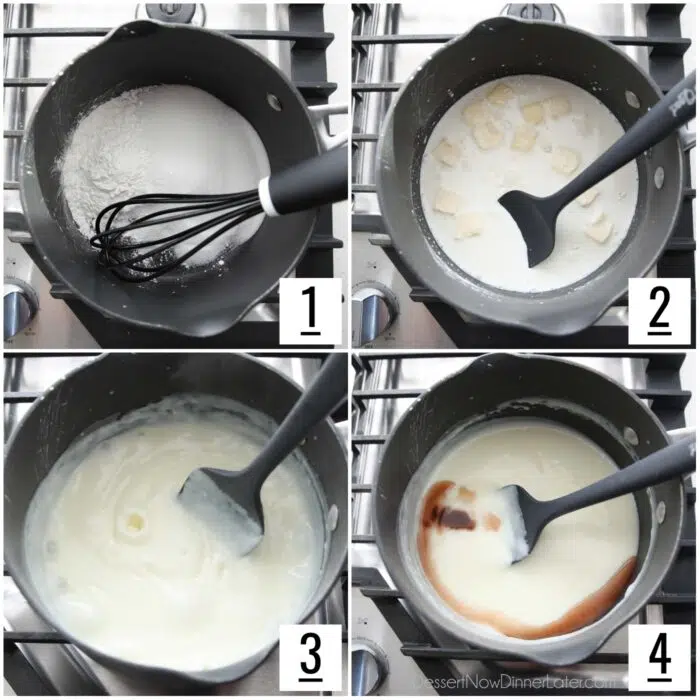
- Whisk together the sugar and cornstarch in a large saucepan.
- Whisk in the half & half and add the cubes of butter.
- Cook over medium heat, stirring constantly, until the mixture boils, then cook for 1 minute more. It should become very thick and creamy.
- Remove from heat and stir in the vanilla.
Assemble the Pie
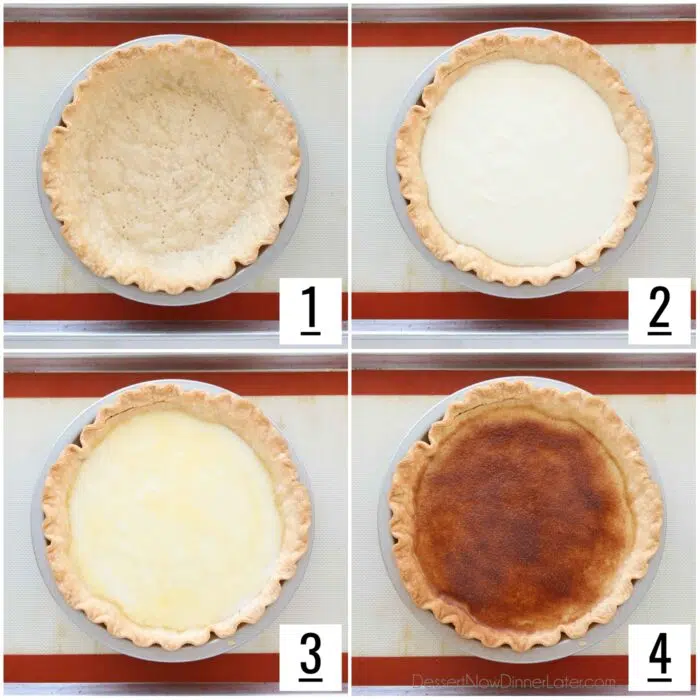
- Place the baked pie crust on a rimmed baking sheet.
- Pour the filling into the baked pie crust and smooth evenly with a spatula.
- Pour the melted butter over the filling. You may tilt the pan or use a spatula to carefully distribute the butter evenly over the filling.
- Combine sugar, cinnamon, and nutmeg. Sprinkle evenly over the melted butter.
Broil the Topping
- Move the oven rack up, to about 6-inches from the heating element.
- Preheat the oven broiler to high.
- Cover the edges of the pie crust with foil. (So they don’t burn.)
- Use the baking sheet to place the pie under the broiler. Broil until the butter bubbles, leaving the oven door cracked open. Watch the whole time because it doesn’t take long.
- Remove pie from oven and cool on a wire rack for 15-30 minutes. Then refrigerate at least 4 hours or overnight until the center is set.
Thoughts
This sugar cream pie tastes a lot like créme brûlée, although the caramelized topping is thinner and includes spices, which compliment the vanilla cream filling well. The flavor is similar to Horchata and would be much more plain without the spices.
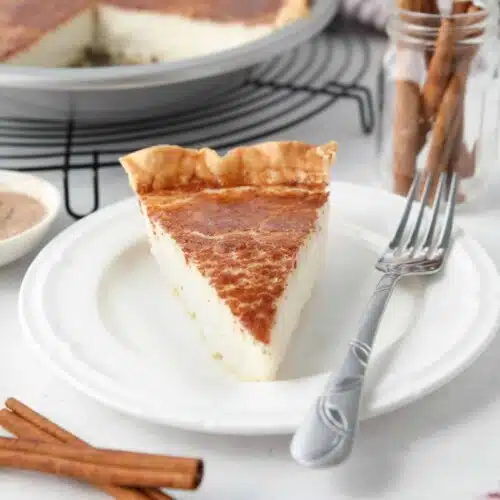
I just loved the sweet taste of the cream filling without any eggy-ness of a traditional custard. It’s silky-smooth and not overly sweet. (TIP: Use a pure vanilla for the best flavor.)
Serving and Storing
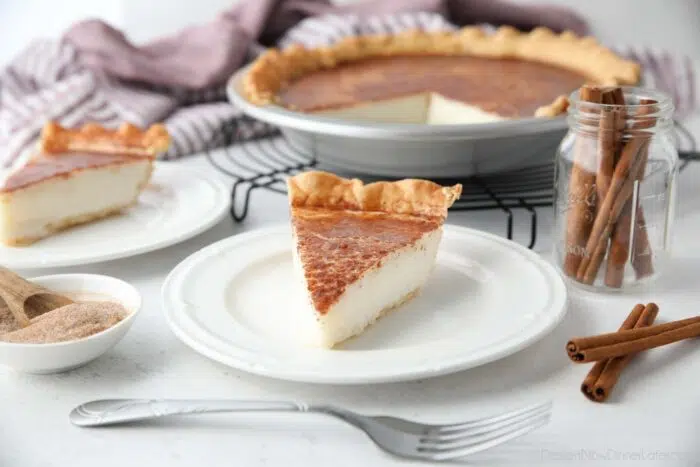
For nice slices: Run a knife under hot water, then carefully dry it with a cloth, and use the warm knife to slice the pie. Re-heat and dry the knife between slices.
Refrigerating: This pie keeps well for several days when sealed in an airtight container in the refrigerator. It’s the perfect pie for Thanksgiving, Christmas, and other holidays or special events, as you can make it a day ahead, so it has time to properly set overnight.
Freezing: This pie should freeze well whole, or in individual slices. Double wrap the full pie with plastic wrap and foil, or wrap individual slices with plastic wrap and place in an airtight freezer container. Allow pie (or slices) to thaw in the fridge overnight before serving.
More Cream Pie Recipes
- Chocolate Cream Pie with pudding
- Jello Coconut Cream Pie Recipe
- Blueberry Cream Cheese Pie
- Lemon Cream Cheese Pie
- Raspberry Cream Pie
- Strawberry Cream Pie
- Caramel Banana Cream Pie Recipe
- Chocolate Cream Cheese Pie
Sugar Cream Pie
Ingredients
- 9 inch pie crust, baked
Pie Filling:
- ¾ cup (150 g) granulated sugar
- ¼ cup (40 g) cornstarch
- 2 ¼ cups (532 ml) half & half, (half heavy cream and half milk)
- 4 Tbsp (57 g) unsalted butter, cut into cubes
- 1 Tbsp vanilla extract
Topping:
- 2 Tbsp unsalted butter, melted
- 2 Tbsp granulated sugar
- 1 tsp ground cinnamon
- ¼ tsp ground nutmeg
Instructions
- Prepare and bake the pie crust. Homemade, frozen, or refrigerated crusts are fine. Follow directions on packaging for baking instructions, or use this tutorial for how to blind bake pie crust.
- Pie Filling: Whisk together the sugar and cornstarch in a large saucepan. Whisk in the half & half and add the cubes of butter.
- Cook over medium heat, stirring constantly, until the mixture boils, then cook for 1 minute more. It should become very thick and creamy. Remove from heat and stir in the vanilla.
- Place the baked pie crust on a rimmed baking sheet. Pour the filling into the baked pie crust and smooth evenly with a spatula.
- Topping: Pour the melted butter over the filling. You may tilt the pan or use a spatula to carefully distribute the butter evenly over the filling.
- Combine sugar, cinnamon, and nutmeg. Sprinkle evenly over the melted butter.
- Move the oven rack up, to about 6-inches from the heating element. Preheat the oven broiler to high. Cover the edges of the pie crust with foil. (So they don’t burn.)
- Use the baking sheet to place the pie under the broiler. Broil until the butter bubbles, leaving the oven door cracked open. Watch the whole time because it doesn’t take long.
- Remove pie from oven and cool on a wire rack for 15-30 minutes. Then refrigerate at least 4 hours or overnight until the center is set.
Video
Notes
- For nice slices: Run a knife under hot water, then carefully dry it with a cloth, and use the warm knife to slice the pie. Re-heat and dry the knife between slices.
- Refrigerating: This pie keeps well for several days when sealed in an airtight container in the refrigerator.
- Freezing: This pie should freeze well whole, or in individual slices. Double wrap the full pie with plastic wrap and foil, or wrap individual slices with plastic wrap and place in an airtight freezer container. Allow pie (or slices) to thaw in the fridge overnight before serving.
Nutrition
Did you make this?
Don’t forget to leave a rating below and make sure to follow on Pinterest and Instagram for more!










This pie was so good and easy! My dad has been asking for a custard pie, I made him one last year and I did not like the eggy taste. So when I saw this recipe I had to give it a try! My dad and everyone else loved it as well!
Yay! I’m so glad you found this recipe and enjoyed it! Thanks for taking the time to share your experience with my recipe.